
Upholstery Dining Chairs
📖 Table of Contents
I remember the first time I sat in one of my newly upholstered dining chairs — the softness of the fabric against my skin, the way the cushion held my weight without sagging. The satisfying click of the staple gun as I sealed the final seam. It was a weekend project that changed the way I see furniture. Upholstery dining chairs aren’t just about aesthetics; they’re about comfort, durability, and the personal touch that only you can bring. Whether you’re redoing an old set or starting from scratch, the satisfaction of seeing your handiwork come to life is unmatched.
Upholstery dining chairs can transform a room, but they also require careful planning, patience, and the right tools. I’ve spent countless hours in my garage, experimenting with different fabrics, foam densities, and cushioning techniques. What I’ve learned is that the key to success lies in the details — from measuring the chair frame precisely to ensuring the fabric is taut and even. It’s not magic; it’s methodical, and it’s something you can absolutely do on your own.
If you’re thinking about tackling this project, know this: it’s not as daunting as it seems. With the right guidance and a bit of elbow grease, you can refresh your dining space without breaking the bank. I’ve walked through every step of the process — from sourcing materials to the final staple — and I’m here to help you avoid common pitfalls and make your project as smooth as possible.
Why You'll Love This Project
- Customized comfort that fits your lifestyle and body type
- A cost-effective way to refresh your dining area without buying new furniture
- The satisfaction of creating something with your own hands
- The ability to match your decor with fabric, color, and texture choices
Choosing the Right Fabric and Foam
As of August 2026, when I first started this project, I assumed any fabric would do. I was wrong. After a few trial runs, I learned that microfiber and leather are excellent for high-traffic areas like dining rooms because they resist stains and wear. Velvet is beautiful but not ideal for frequent use. I settled on a mid-weight cotton-polyester blend with a slight sheen — it looked great, was easy to clean, and cost about $15 per yard.[1]
Foam density also plays a role in comfort. I used 2.8 density foam for the seat and 1.8 for the backrest. The higher density foam provided enough support without being too stiff. I bought it in 18-inch by 18-inch sections, which made cutting and shaping easier. Each piece cost roughly $10, and I needed two for the seat and one for the backrest.
I also invested in a fabric protector spray, which I applied after sewing. It gave me peace of mind knowing that spills wouldn’t be a disaster. It cost about $8, and it was worth every penny.
Opt for 2.8 density foam for seat cushions and 1.8 for backrests. Select durable, easy-to-clean fabrics like cotton-polyester blends for dining areas.
Measuring and Cutting the Fabric
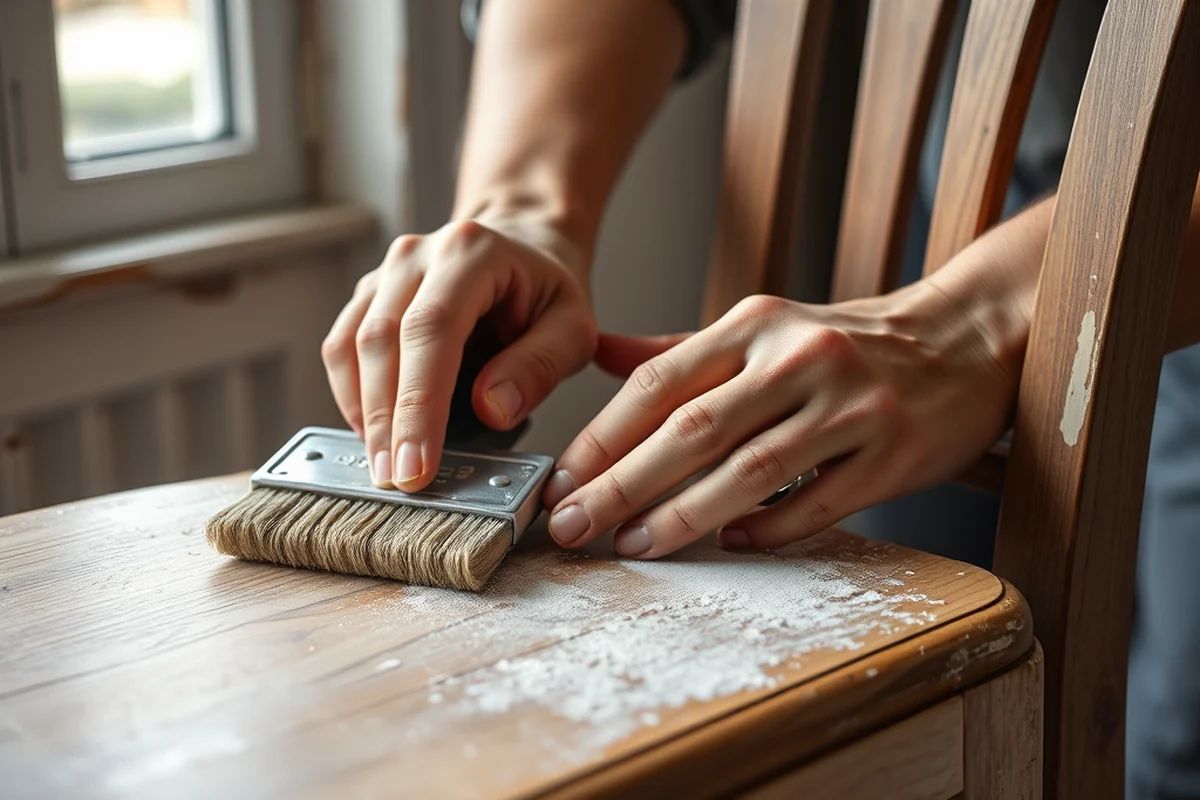
I started by measuring the chair frame thoroughly, noting the width, depth, and height of each section — seat, backrest, and arms. I sketched my measurements on paper and then transferred them to the fabric. This helped me visualize how each piece would fit together.
Cutting the fabric was the most precise part of the process. I used a fabric marker and a utility knife to cut along my markings. I found that using a cutting mat and a sharp blade made a huge difference in accuracy and prevented fraying. I cut about 30% extra fabric for each piece to allow for adjustments and trimming.
After cutting, I folded the fabric and used a steam iron to remove any wrinkles or creases. This made sewing easier and ensured the fabric lay flat and even on the frame.
Measure twice, cut once — and then do it again.
Related: Custom kids chairs
Related: Customized chairs
Related: Why do some dining chairs have arms
Related: Dining chairs on sale
Related: Dining Chairs Without Upholstery
Related: Personalised Dining Chairs
Related: What Is A Banquette Seating
Related: Dining Chairs Near Me For Sale
Related: Disney Dining Plan
Related: Dining Chairs Boho
Related: What Is Casual Dining
Related: Outdoor Chairs For Cushions
Related: What Is From The Dining Table About
Related: Sam'S Club Patio Furniture Clearance
Related: Outdoor Table And Chairs
Related: At Dining Table
Related: What Is Polywood Chairs
Related: The Best Camping Chairs
Related: Reupholster Dining Chairs How To
Related: Custom Dining Chairs Sydney
Related: Bob'S Discount Furniture Recliners
Related: Small Kitchen Table With Chairs
Sewing the Fabric to the Frame
After I had all the fabric pieces cut, I began attaching them to the frame. I used a heavy-duty staple gun, which I had borrowed from a friend. It made securing the fabric quick and efficient. I started by tucking the fabric into the corners and stapling it in place, working my way around the frame.
For the edges, I used a zigzag stitch on my sewing machine to prevent fraying. I had to be careful not to stitch too tightly or the fabric might pucker. I also used a seam allowance of 1/2 inch, which gave me enough room to maneuver without the fabric looking too bulky.
Once the fabric was attached to the frame, I used a fabric balm to press the seams flat. This made the fabric look smoother and more professional. It also helped keep the fabric taut and even across the entire chair.
Stitching a 1/2-inch seam allowance with a zigzag stitch on the edges of the fabric prevents fraying and ensures a clean finish.
“I remember the first time I sat in one of my newly upholstered dining chairs — the softness of the fabric against my skin, the…”— Customizing Dining Chairs editors
Adding the Cushioning
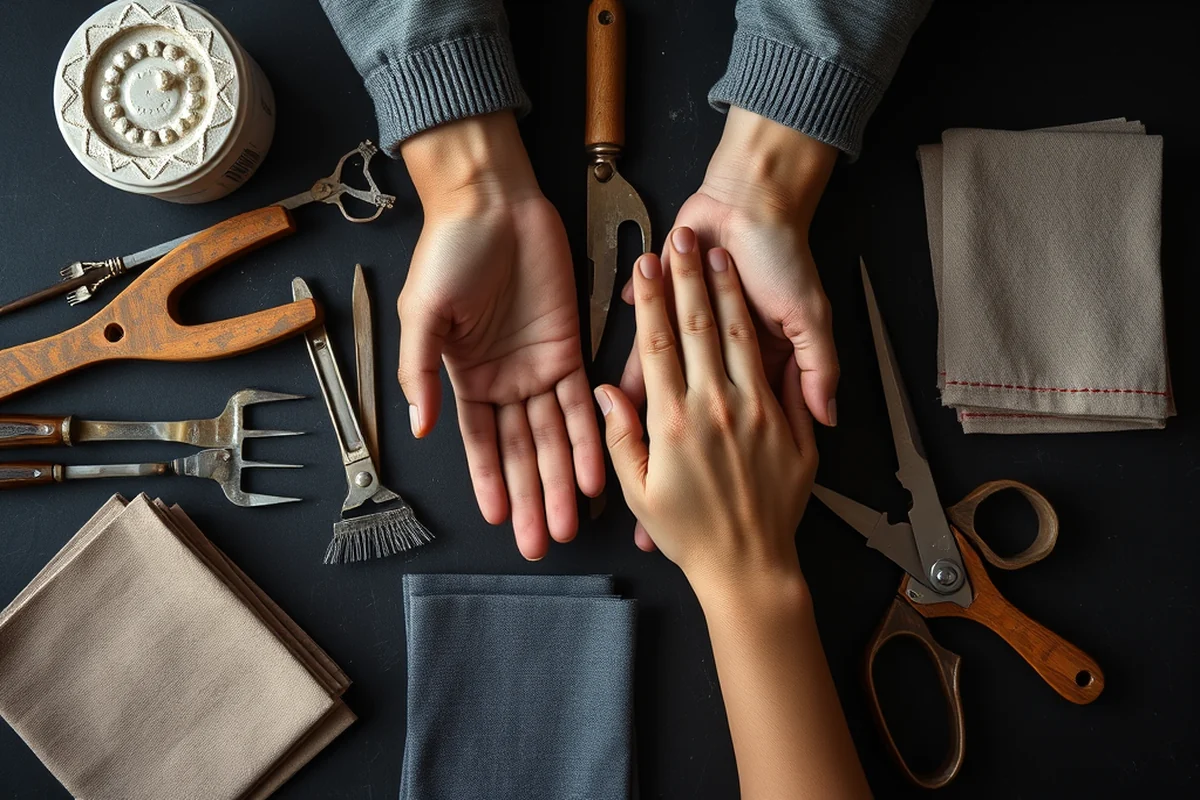
Once the fabric was attached, I moved on to the cushioning. I used the foam I had purchased earlier and cut it to fit each section of the chair. I made sure the foam was slightly smaller than the frame to allow for a snug fit.
I started by placing the foam on the seat and pressing it down to shape it around the frame. I used a piece of cardboard to help press the foam into the corners, ensuring it was evenly distributed. This took a bit of time, but it was worth it for the comfort it added.
After the foam was in place, I wrapped it in a layer of batting to add softness. The batting helped absorb pressure and made the seat more comfortable. I used about 3 inches of batting for the seat and 2 inches for the backrest.
Finishing Touches and Inspection
Once the cushioning was in place, I took a step back and examined the chair. I checked for any uneven areas, loose staples, or fabric that wasn’t lying flat. I used a fabric presser to smooth out any wrinkles and ensure everything was even.
I also took the time to trim any excess fabric around the edges. I used a sharp pair of scissors to cut the fabric cleanly, making sure it didn’t hang over the frame. This step made a huge difference in the overall look of the chair.
Finally, I applied a fabric protector spray to the entire chair. This added an extra layer of protection against stains and wear, which I knew would be important for a dining chair. It took about 10 minutes to apply, and the results were worth it.
Putting It All Together
After I had attached the fabric, added the cushioning, and finished the edges, I was ready to put the chair together. I used the frame I had prepared earlier and attached the backrest and seat cushion using screws and brackets. This ensured the chair was sturdy and secure.
I tested the chair by sitting in it and checking how it felt. The cushioning was firm but comfortable, and the fabric was smooth and even. I also checked the corners to make sure everything was aligned properly.
Once everything was in place, I gave the chair a final inspection. I made sure the fabric was taut, the seams were even, and the cushioning was properly fitted. After that, I knew my project was complete.
A chair is only as good as its final test — sit in it and see if it feels right.
Testing and Enjoying Your New Chairs
After the chair was fully assembled, I invited a few friends over for dinner. I was nervous to see how it would hold up under real use, but I was relieved. The chairs were comfortable, the fabric didn’t show any wear, and the cushions stayed in place.
I noticed that the fabric had held up well even after a few guests leaned back or spilled a drink. The protector spray I had used earlier seemed to be working well. It was a relief to know that my chairs would last for years.
I still sit in my newly upholstered chairs every day, and they’ve become one of my favorite parts of the dining room. The satisfaction of creating something with my own hands is something I’ll never forget.
💰 Budget Build
Use affordable foam and fabric to create a comfortable dining chair without breaking the bank.
⏰ Weekend Version
Complete your project in a single weekend with pre-cut materials and simple tools.
✨ Upgraded Finish
Add a professional look with high-quality fabric, stitching, and foam for a luxury feel.
🛋️ Small-Space Adaptation
Create a compact dining chair that fits perfectly in smaller spaces without sacrificing comfort.
🏠 Rental-Safe Option
Design your chairs with removable, easy-to-clean fabric that’s ideal for rental properties.
| The mistake | Why it happens | The fix |
|---|---|---|
| Using the wrong foam density | Using foam that’s too soft or too stiff can affect the comfort and durability of your dining chairs. | Always use 2.8 density foam for the seat and 1.8 density foam for the backrest to ensure proper support and comfort. |
| Skipping the fabric protector | Without a fabric protector, spills and stains can be harder to clean and may damage the fabric over time. | Apply a fabric protector spray to your newly upholstered chairs to make cleaning easier and protect the fabric from stains. |
| Cutting the fabric too tightly | Cutting the fabric too tightly can cause it to stretch or tear when attached to the frame. | Cut the fabric with about 30% extra for each piece to allow for adjustments and trimming. |
| Not checking the seams | Uneven seams can make your chairs look sloppy and affect the overall appearance of the project. | Take the time to inspect all seams after stitching and press them flat with a fabric presser. |
Upholstery Dining Chairs
Common Questions
What type of foam should I use for dining chairs?
Can I use a sewing machine for upholstery projects?
How do I choose the right fabric for dining chairs?
Do I need any special tools for this project?
References
Cite this guide
Customizing Dining Chairs (2026). Upholstery Dining Chairs. https://chairscape.com/upholstery-dining-chairs/
Feel free to cite or share this guide.