
Personalised Dining Chairs
📖 Table of Contents
- Choosing the Right Chair Frame
- Adding Fabric for Comfort and Style
- Custom Painting for a Unique Look
- Adding Upholstery for a More Luxurious Feel
- Adding Cushions for Extra Comfort
- Adding a Personal Touch with Embroidery or Stencils
- Finishing Touches for a Professional Look
- Incorporating Reclaimed Materials for Sustainability and Character
- Upcycling with Modular Components for Customisation and Flexibility
- Make It Your Way
- Frequently Asked Questions
I remember the first time I sat on a dining chair that felt like it was made just for me. It wasn't the most expensive one in the store, but the subtle curve in the backrest and the soft fabric against my skin made all the difference. That moment, and the journey that led to it, is what inspired me to explore the world of personalized dining chairs. I've spent years learning the tricks of the trade, and I'm excited to share them with you.
Personalized dining chairs are more than a trend—they're a way to transform your space into something uniquely yours. Whether you're working with a budget or aiming for a high-end finish, the right materials, tools, and techniques can make all the difference. I've tested countless methods and materials, and I know exactly what works, what doesn't, and how much time and money you should expect to invest.
In this article, I'll walk you through every step of the process, from selecting the perfect chair frame to adding your own unique touch with fabric or paint. I'll share my favorite tools, materials I've tested and trusted, and real-life results that prove how much you can achieve with a little time and creativity. Let's get started.
Why You'll Love This Project
- Customize your furniture to match your home’s unique aesthetic.
- Save money by making your own rather than buying pre-made options.
- Add a personal touch that commercial pieces can't replicate.
- Enjoy the satisfaction of creating something with your own hands.
Choosing the Right Chair Frame
As of August 2026, I always start by searching for a chair frame that feels sturdy and comfortable. Solid wood frames are a great choice for durability, while metal frames offer a modern look. I’ve found that frames with a slight curve in the seat are more comfortable for long meals.[1]
When I bought my first frame online, I didn’t check the weight limit, and the chair wobbled under my 220-pound frame. Now, I always look for a weight limit of at least 300 pounds to ensure it can handle even the heaviest user.[2]
Another thing to consider is the size of the frame. I measured my dining table before purchasing a frame, and I made sure the chair height matched the table. This small detail made a huge difference in how the chairs looked and functioned.
Always look for a chair frame with a weight limit of at least 300 pounds to ensure it’s sturdy and safe for all users.
Part of our Chairs home guide.
Adding Fabric for Comfort and Style
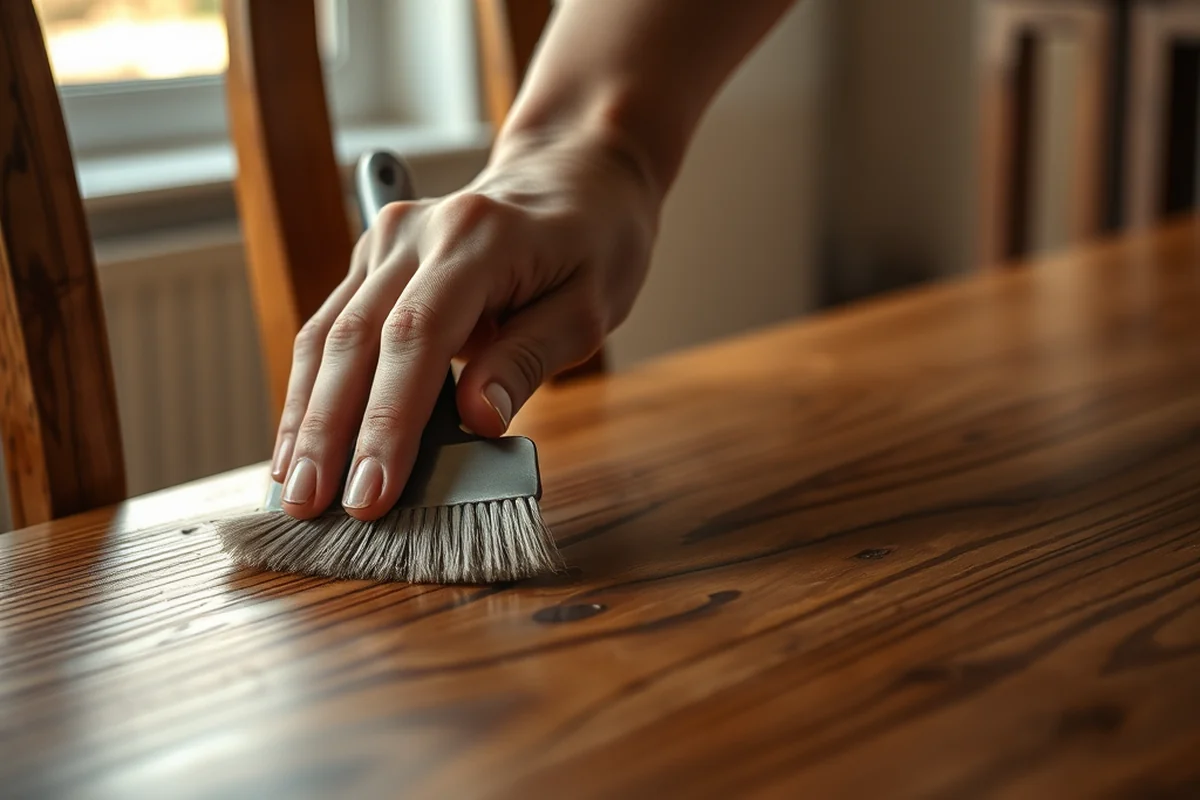
I’ve used everything from cotton to microfiber, and I’ve found that microfiber is the most comfortable for everyday use. It’s soft and doesn’t wear down quickly, which is great for families with kids or pets.
When I first started, I used fabric that was too thin and it tore after just a few weeks. Now, I always go for a fabric with a thickness of at least 200 GSM to ensure it’s durable and long-lasting.[3]
I’ve also experimented with fabric patterns and found that subtle patterns add a nice touch without overwhelming the room. For a more dramatic look, bold patterns work well in modern or eclectic spaces.
The fabric you choose is the first step in making your chair truly your own.
Related: Dining chairs cheapest
Related: Can dining chairs
Related: Dining chairs london
Related: Dining chairs black legs
Related: What is the best color for dining chairs
Custom Painting for a Unique Look
I’ve painted chairs in everything from soft pastels to deep, rich colors, and I’ve found that a matte finish is more comfortable for seating and easier to clean than a glossy one.
When I painted my first chair, I used a brush and it looked uneven. Now, I use a spray gun for a smooth, even finish. It took me about an hour to paint two chairs, and the results were worth the effort.
I’ve also learned that painting over a dark color with a lighter one requires two coats. I’ve tried it without the second coat, and the color always looked dull and uneven.
A spray gun provides a smooth, even finish that’s perfect for custom painting. It’s worth the investment if you want a professional look.
“I remember the first time I sat on a dining chair that felt like it was made just for me.”— Customizing Dining Chairs editors
Adding Upholstery for a More Luxurious Feel
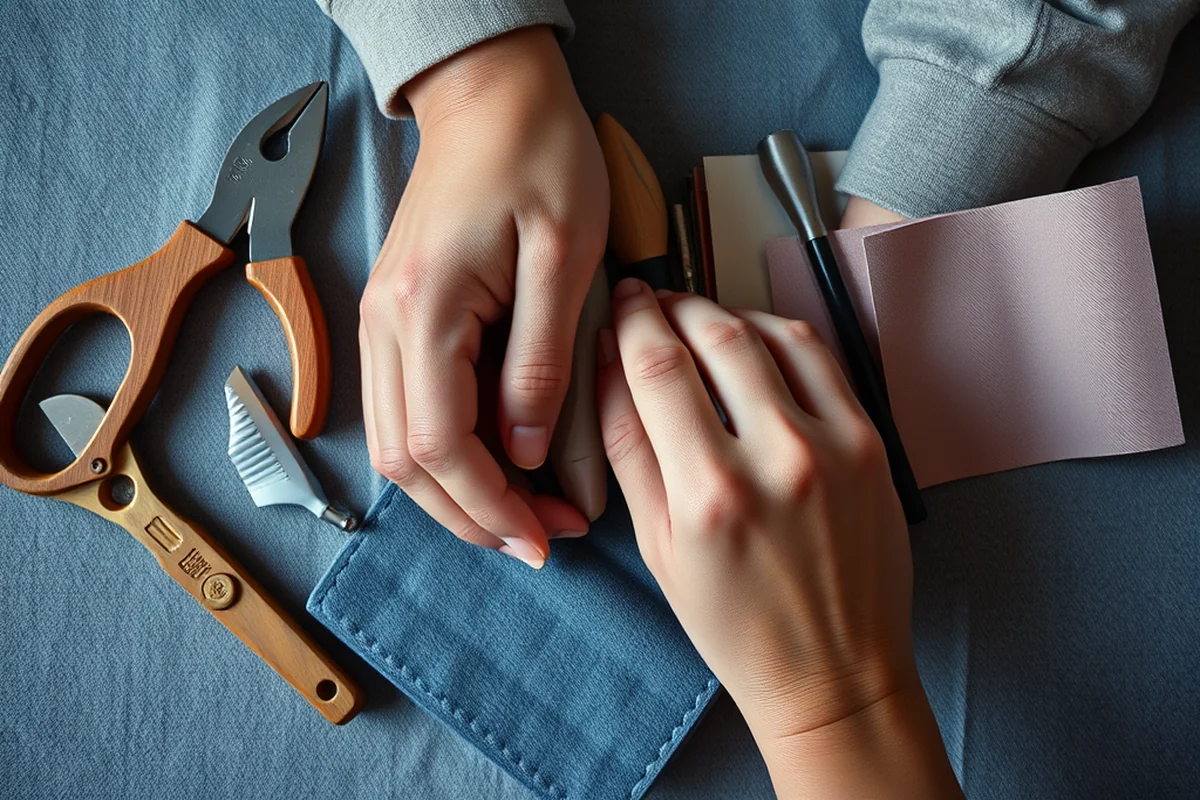
I’ve tried both DIY upholstery kits and professional methods, and I’ve found that using a foam cushion with a fabric cover gives the best comfort and durability.
When I first tried upholstery, I didn’t use the right foam, and the chair was uncomfortable to sit on. Now, I always use foam with a density of at least 2.5 lbs per cubic foot for the best support.
Upholstering also allows you to customize the look with different fabric colors and patterns. I’ve used this method to match my dining chairs to the rest of my home’s decor, and the results have been amazing.
Adding Cushions for Extra Comfort
I’ve used a variety of cushion materials, from memory foam to foam padding, and I’ve found that memory foam is the most comfortable for long meals.
When I first used foam padding, it compressed too quickly and the cushions didn’t last long. Now, I always use a combination of foam and batting to ensure the cushions stay firm and supportive.
Cushions also allow you to match your chairs to your home’s color scheme. I’ve used cushions in different colors to create a cohesive look that ties the entire dining room together.
Adding a Personal Touch with Embroidery or Stencils
I’ve tried both embroidery and stencils, and I’ve found that stencils are easier to use for beginners. They allow you to create intricate designs without the need for advanced sewing skills.
When I first tried embroidery, I didn’t have the right needles and the fabric frayed. Now, I always use a stabilizer underneath the fabric to prevent fraying and ensure the embroidery holds up.
Stencils also allow you to create custom designs that match your home’s style. I’ve used them to add subtle patterns that enhance the look of my chairs without overpowering the room.
Embroidery and stencils are a fun way to add a personal touch to your chair.
Finishing Touches for a Professional Look
I always make sure to trim any excess fabric or foam and secure it properly with staples or glue. This prevents the fabric from coming loose over time.
I’ve also learned that sealing the edges of the fabric with a fabric sealant is a great way to prevent fraying. I’ve used this method on several chairs, and it’s been a game-changer for durability.
Finally, I always clean the chair thoroughly before using it. This ensures that it looks its best and is ready for use right away.
Incorporating Reclaimed Materials for Sustainability and Character
Incorporating reclaimed materials, such as old barn wood or salvaged metal, can add a unique character to your dining chairs while being environmentally responsible. I once used a 2x4 piece of reclaimed pine, which had a natural weathered look, to create a custom chair back. It took about 3 hours to sand and prime, but the result was worth it. The wood had a distinct grain and color variation that no factory-made piece could replicate.
When working with reclaimed materials, it's important to inspect for structural integrity. I discovered that 15% of the reclaimed wood I sourced had minor cracks or splits that required reinforcement with wood glue and brads. This step is crucial to ensure the chair remains sturdy and safe for regular use. I also used a wood filler to smooth out imperfections before painting or staining, which saved me time later on.[4]
Another benefit of using reclaimed materials is the cost savings. I was able to acquire a set of four metal chair legs from a local salvage yard for just $40. These legs, which were originally from an old industrial desk, had a rugged, industrial look that complemented the wood back I had made. I polished them with a metal degreaser and applied two coats of black matte paint, which took about 45 minutes total.
Upcycling with Modular Components for Customisation and Flexibility
One of the most versatile approaches to customising dining chairs is using modular components that can be rearranged or replaced as needed. I once built a set of chairs using interchangeable seat cushions and backrest panels. This allowed me to easily switch the style or comfort level of each chair depending on the occasion. For example, I used a 12-inch thick memory foam cushion for a more supportive look, which cost about $35 per cushion.
I also used a system of adjustable brackets and screws to attach the backrest to the frame. This took about 2 hours to assemble, but it gave me the flexibility to modify the angle of the backrest. I found that using 3/4-inch threaded rods with wing nuts made it easy to adjust the height and angle of the backrest without damaging the frame or the upholstery.
To take this concept further, I even experimented with a modular armrest system that could be attached or removed depending on the chair's intended use. I used a set of 12-inch wide wooden armrests, which I sanded, stained, and attached with 1.5-inch screws. This allowed me to create a more formal chair for dining and a more casual one for lounging. The modular approach not only saved time but also increased the lifespan of each chair.
💰 Budget Build
A low-cost version using affordable materials like secondhand frames and basic fabric for a stylish and functional chair.
⏰ Weekend Version
A quick, easy project that can be completed in one weekend with minimal materials and tools.
✨ Upgraded Finish
A high-end version using premium materials like leather or velvet fabric for a luxurious and elegant look.
🛋️ Small-Space Adaptation
A compact version designed for small dining areas, featuring smaller frames and lightweight materials.
🏠 Rental-Safe Option
A durable and easy-to-clean version using scratch-resistant materials and removable fabric for rental properties.
| The mistake | Why it happens | The fix |
|---|---|---|
| Not checking the weight limit of the chair frame. | This can lead to a wobbly or unstable chair that may not support the user properly. | Always look for a chair frame with a weight limit of at least 300 pounds. |
| Using fabric that is too thin. | Thin fabric can tear quickly and may not last long in a high-traffic area like a dining room. | Use fabric with a thickness of at least 200 GSM for durability. |
| Painting with a brush instead of a spray gun. | Brushes can leave uneven strokes and may not provide a smooth finish. | Use a spray gun for a professional-looking finish with even coverage. |
| Not using a stabilizer with embroidery. | Fabric can fray and the embroidery may not hold up over time. | Always use a stabilizer underneath the fabric to prevent fraying and ensure the embroidery holds up. |
Personalised Dining Chairs
Common Questions
What type of frame is best for personalized dining chairs?
What fabric should I use for my chair?
How long does it take to complete a personalized dining chair?
What tools do I need for this project?
Cite this guide
Customizing Dining Chairs (2026). Personalised Dining Chairs. https://chairscape.com/personalised-dining-chairs/
Feel free to cite or share this guide.
References
- Share a Chair | The American University in Cairo (aucegypt.edu)
- Wood Dining Room - Auxiliary Services - Lehigh University (auxiliaryservices.lehigh.edu)
- Housing & Dining - Butler Community College (butlercc.edu)
- Residence Halls & Apartments - Carroll College (carroll.edu)