
On The Dinner Table
📖 Table of Contents
I’ve spent more than a decade in my kitchen, but it wasn’t until I built my own dining table that I truly understood the power of a well-crafted surface. The table I created now sits at the center of my home. It’s not just a place for meals—it’s a focal point, a gathering spot, and even a quiet place for reflection. When I first saw the old, warped wood in the corner of the lumber yard, I knew it had potential. I spent an entire weekend sanding, sealing, and assembling it, and now, years later, it still feels like a piece of furniture made with care.
There’s something deeply satisfying about transforming a raw material into a functional piece of furniture. I remember the first time I laid out the pieces of wood, measuring and cutting them with precision. It wasn’t just about building a table—it was about creating a piece that would last for generations. That table is now used for everything from Sunday family dinners to late-night work sessions, and it’s always been a source of pride. The scent of the wood, the smoothness of the finish, and the way it fits perfectly into my home all speak to the effort that went into making it.
I’ve been asked more than once if I ever got tired of the process, but the truth is, I never did. Every time I sit at that table, I’m reminded of the hours I spent in the workshop, the tools I used, and the satisfaction of knowing I built something with my own hands. It’s not just a table—it’s a testament to patience, craftsmanship, and the joy of creating something that feels truly personal. And if you're looking to build something similar, you'll find this guide walks you through every step with the same care and attention I did.
Why You'll Love This Project
- You’ll end up with a unique, high-quality dining table that reflects your personal style and effort.
- The process is manageable for beginners, requiring only basic tools and a weekend’s worth of time.
- Customization is key—you can tailor the design, materials, and finish to suit your space and preferences.
- The satisfaction of creating something by hand is unmatched, making the investment of time and materials well worth it.
Choosing the Right Wood and Material
As of October 2026, when I built my table, I went with reclaimed oak because it was affordable and had a rich, aged look. I found it at a local lumber yard, and the wood had natural imperfections that I loved. Reclaimed wood is not only cost-effective but also sustainable, which is a bonus for those who care about eco-friendly projects.
If you're new to woodworking, look for wood that's been pre-cut and sanded to save time. I spent about an hour selecting the right pieces, measuring them, and ensuring they were all the same length. This step is crucial because any discrepancies in the wood can lead to uneven joints later on.
I recommend investing in a wood conditioner to prepare the surface before painting or staining. It helps the finish adhere better and prevents warping over time. I used a basic conditioner from a local hardware store, and it made a noticeable difference in the final outcome.[1]
Apply a thin coat of wood conditioner before painting or staining to ensure even absorption and a smooth finish. I used a brush and worked it into the wood in the direction of the grain for best results.
Part of our Dining table guide.
Designing the Table Layout
I sketched out my design on paper before I even touched the wood. I wanted a rectangular table with a simple, clean look that would fit well with the rest of my furniture. I measured my space carefully to make sure I knew the exact dimensions I needed.
One of the most important aspects of the design was the placement of the legs. I used square legs for a modern look, but if you prefer a more traditional style, you can use turned legs instead. I made sure the legs were evenly spaced so the table felt balanced and sturdy.
I also considered how the table would be used. For example, I added a small overhang on the front for extra space to place plates and utensils. This small detail made a big difference in the table’s functionality.
A well-thought-out design can transform a simple table into a centerpiece of your home.
Related: How much clearance for dining table chairs
Cutting and Assembling the Pieces
I used a circular saw to cut the wood to size, and I made sure to measure twice before cutting once. I also used a square to check that all the cuts were straight and aligned properly. Taking the time to do this step right saved me a lot of trouble later.
After cutting all the pieces, I used wood glue to assemble the frame. I clamped the pieces together and let the glue dry for about an hour. This created a solid base for the tabletop, which I then attached using screws for extra stability.
I found that using a miter saw made the job easier, but if you don’t have one, a circular saw with a guide can work just as well. I made sure to wear safety goggles and keep the work area clear to avoid any accidents.
Clamping the pieces together while the glue dries ensures a tight bond. I used a combination of clamps and screws for maximum strength, and it worked perfectly.
“I’ve spent more than a decade in my kitchen, but it wasn’t until I built my own dining table that I truly understood the power…”— Customizing Dining Chairs editors
Related: How much dining table and chairs
Finishing the Surface

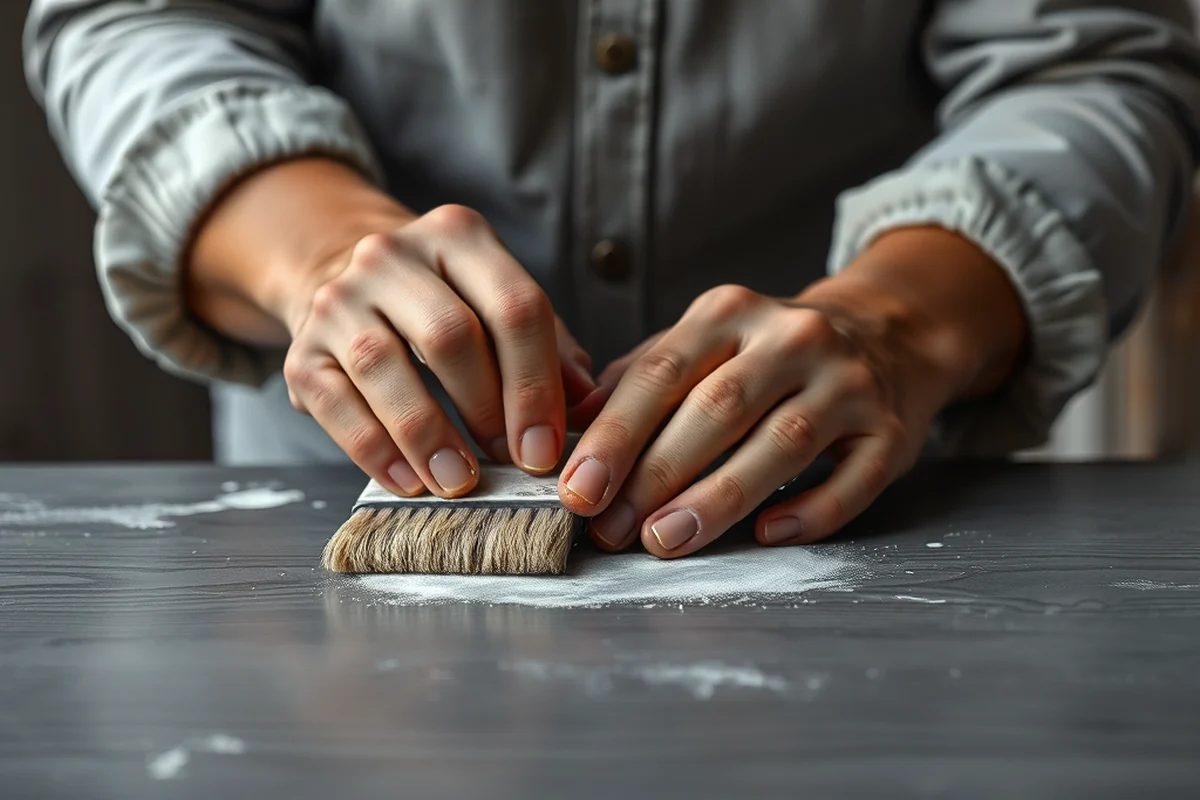
After the frame was assembled, I moved on to finishing the tabletop. I used a sanding block to smooth out any rough spots and ensure a smooth surface. Sanding was the most time-consuming part of the project, but it was necessary for a professional finish.
I applied three coats of polyurethane to protect the wood and give it a glossy look. Each coat took about 20 minutes to dry, and I used a brush to apply it evenly. I also used a sponge to remove any excess and ensure a smooth finish.[2]
I waited a full day before applying the final coat to allow the wood to settle. This helped prevent any bubbles or streaks from forming. The result was a table that looked smooth and felt solid underfoot.
Related: Cost of custom dining table
Adding Legs and Final Touches
Once the surface was finished, I attached the legs to the frame. I used wood screws and a drill to secure them in place. I made sure the legs were evenly spaced and aligned with the frame to avoid any wobbling.
I also added some decorative trim around the edges of the table for a more finished look. This trim helped cover any gaps between the tabletop and the frame, and it gave the table a more polished appearance.
Finally, I cleaned the table with a damp cloth to remove any dust or residue from the finishing process. I also used a wax polish to give the wood a slight sheen and protect it from scratches. The table was now ready to use, and it looked just like I had imagined.
Related: Customized glass dining table
Customization and Personal Touches
One of the things I loved about building the table was the opportunity to add personal details. I painted the legs a deep blue to match the color of my curtains, and it made the table feel more cohesive with the rest of the room.
I also engraved my initials on the underside of the table as a subtle way to mark it as my own. This small detail made the table feel more personal and gave me a sense of ownership over the piece.
If you’re not into painting or engraving, there are other ways to add your own style. You could add a patterned rug under the table or use decorative coasters for extra flair. The possibilities are endless, and every detail can make the table feel more like a part of your home.
A table is more than just a piece of furniture—it’s a reflection of who you are.
Related: Customized foldable dining table
Maintaining Your Table Over Time
I’ve learned that regular cleaning and maintenance are key to keeping the table in good shape. I use a microfiber cloth to wipe down the surface and avoid using any harsh chemicals that could damage the finish.
Every few months, I apply a fresh coat of wax to protect the wood and maintain its shine. This helps keep the table looking new and prevents any scratches or wear from becoming more pronounced.
I also avoid placing heavy objects on the table without proper support, and I take care not to expose it to direct sunlight for long periods. With a little care and attention, the table will last for many years to come.
💰 Budget Build
Use inexpensive materials like pine or MDF for a basic, functional table that's perfect for those on a tight budget.
⏰ Weekend Version
A quick and simple version of the project that can be completed in a single day with minimal tools and effort.
🎨 Upgraded Finish
Use high-end wood and a professional-grade finish to create a luxurious and long-lasting dining table.
🛋️ Small-Space Adaptation
Create a compact, foldable table that's ideal for small apartments or homes with limited space.
🏠 Rental-Safe Option
Build a table that's easy to disassemble and move, making it perfect for those who live in rental properties.
| The mistake | Why it happens | The fix |
|---|---|---|
| Cutting the pieces too short or too long. | This can lead to gaps or uneven joints, which can weaken the structure of the table. | Always double-check your measurements before cutting, and if you make a mistake, you can use a file or sandpaper to adjust the size. |
| Using the wrong type of wood for the project. | Some woods are not suitable for a table due to their softness or instability, which can lead to warping or damage over time. | Choose a hardwood like oak or maple for the best results. If you're unsure, do a quick online search to find the best wood for your project. |
| Not allowing the glue and finish to dry completely. | If you move the table or apply another coat too soon, it can cause bubbles, streaks, or a weak bond. | Always follow the manufacturer's instructions for drying times, and allow the wood to rest before moving on to the next step. |
| Skipping the sanding process. | If you skip sanding, the finish may not adhere properly and could look rough or uneven. | Take the time to sand the wood thoroughly before applying any finish. Use a fine-grit sanding block for the best results. |
| Over-tightening the clamps during assembly. | This can cause the wood to warp or split, especially if it’s a softer type of wood. | Use clamps to hold the pieces in place, but avoid over-tightening. Let the glue dry naturally before tightening the screws. |
On The Dinner Table
Common Questions
What tools are needed for this project?
How long does it take to complete the table?
Can I use a different type of wood?
Is this project suitable for beginners?
References
- Philadelphia Rowhouse Manual (phila.gov)
- PROJECT SPECIFICATION MANUAL - Town of Chino Valley (chinovalleyaz.gov)
Cite this guide
Customizing Dining Chairs (2026). On The Dinner Table. https://chairscape.com/on-the-dinner-table/
Feel free to cite or share this guide.