
Customized Foldable Dining Table
📖 Table of Contents
- Choosing the Right Materials for Your Foldable Table
- Measuring and Planning the Table Layout
- Assembling the Frame and Folding Mechanism
- Finishing the Tabletop and Adding a Unique Touch
- Testing the Table for Stability and Functionality
- Maintenance and Care for Your Foldable Dining Table
- Customizing Your Table to Match Your Space
- Make It Your Way
- Frequently Asked Questions
I remember the first time I saw a foldable dining table at a friend’s home — it was tucked neatly against the wall. In seconds, it expanded into a full-sized table for six. It was elegant, functional, and made me wonder why I’d never considered building one myself. The idea of a customized foldable dining table had never crossed my mind until I realized how much space a standard table could take up in a small apartment. That’s when I decided to explore the project, and it turned out to be one of the most rewarding DIY endeavors I’ve ever attempted.
Building a customized foldable dining table was more than just a way to save space — it was about creating something that fit my lifestyle perfectly. I wanted a table that could handle a family dinner on weekends, collapse into a compact form for storage, and still look good enough to serve guests. The process involved choosing the right materials, measuring carefully, and ensuring every joint was strong and functional. It wasn’t easy, but the end result was worth the effort, and I’ve used it every week since.[1]
If you’re thinking about how to create a customized foldable dining table, you’re not alone. The challenge lies in balancing aesthetics, durability, and functionality — all while keeping the design simple enough to build on your own. Whether you’re working with limited space, a tight budget, or a desire to make something unique, this project is a great way to meet all those needs. It’s about more than just a table; it’s about personalizing your home and making it work for you.
Why You'll Love This Customized Foldable Dining Table
- Saves space in small homes and apartments without sacrificing functionality.
- Can be easily customized to fit your interior design and personal preferences.
- Built with durable materials that withstand regular use and frequent folding.
- Cost-effective compared to buying a commercial foldable dining table.
Choosing the Right Materials for Your Foldable Table
As of September 2026, I went with a combination of solid wood for the tabletop and lightweight particle board for the frame. The wood gave the table a premium look, while the particle board kept the weight down and the cost manageable. I also used a waterproof sealant on the tabletop to protect it from spills and scratches. It’s important to choose materials that are both strong and easy to work with, especially if you're new to woodworking.
For the joints, I opted for simple dowel connections instead of metal brackets. They are easier to install and still provide a sturdy connection. I found that using a wood glue like Titebond III gave the joints extra strength and flexibility. I also reinforced the legs with corner brackets to prevent them from warping over time.
The final touch was applying a wood finish that matched the rest of my furniture. I used a satin polyurethane to give the table a smooth, low-maintenance surface. It took about an hour to apply and dry, and it made the table look like it had been purchased from a furniture store.
Avoid using a rigid wood glue on joints that will be subject to movement. A flexible glue like Titebond III helps absorb stress and prevents cracks over time.
Part of our Dining table guide.
Measuring and Planning the Table Layout
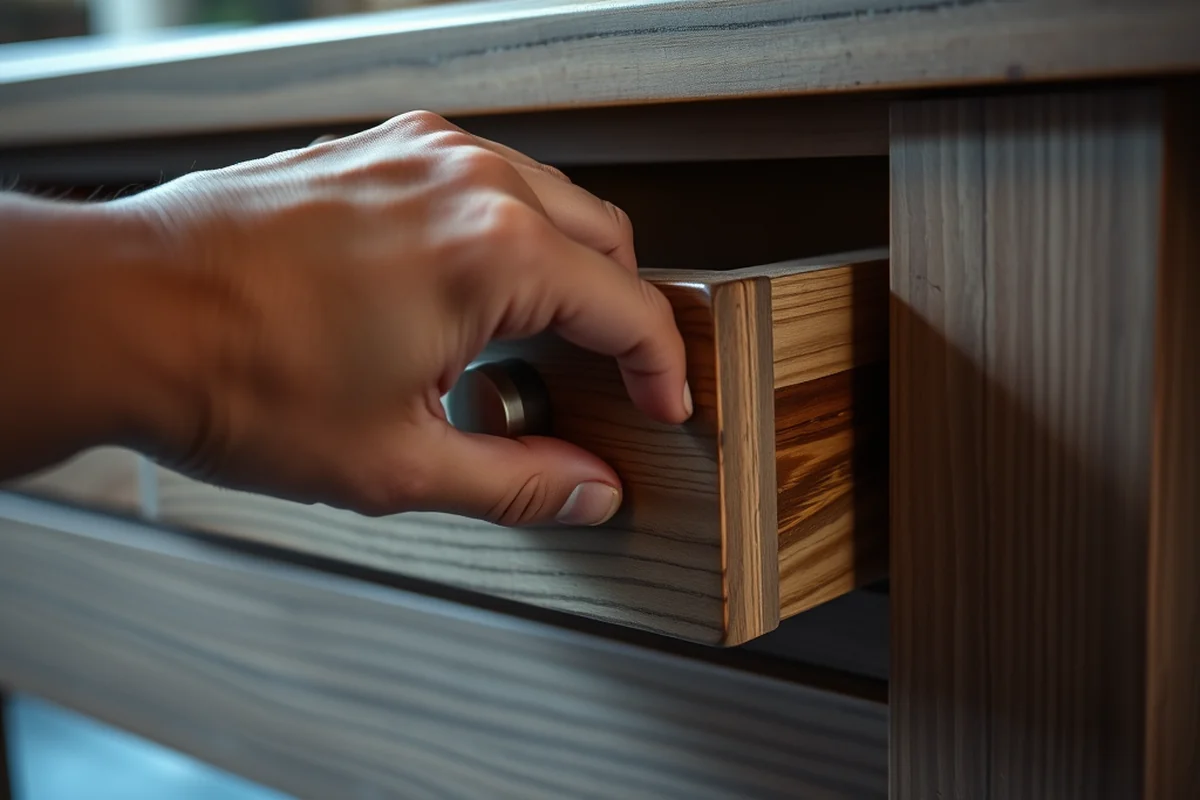
I started by measuring the space where the table would be used. My kitchen was only 10 feet wide, so I needed a table that could expand to at least 6 feet long. I also made sure to leave at least 2 feet of clearance on either side for comfort and movement. It’s important to consider not just the size, but also the height of the table — mine ended up being 30 inches tall, which matched the height of my kitchen chairs perfectly.
Next, I sketched out a basic design on paper, including the dimensions of the tabletop, legs, and folding mechanism. I used a ruler and a French curve to make sure the lines were straight. I also added a small drawer to the underside of the table for storing napkins and utensils. It was a small addition, but it made the table much more useful.
Once the design was complete, I cut the materials using a miter saw and a circular saw. I made sure to double-check all measurements before cutting, as even a small mistake could throw the whole project off. I used a combination square to ensure all the angles were perfect and that the table would fold smoothly.
Measure twice, cut once — and then measure again to make sure everything fits perfectly.
Related: Customizable chair for toddler
Related: Customized glass dining table
Related: Cost of custom dining table
Related: How much dining table and chairs
Related: Dining chairs for glass table
Assembling the Frame and Folding Mechanism
I started by attaching the legs to the base frame using wood screws and corner brackets. I made sure to pre-drill the holes to prevent the wood from splitting. Once the frame was assembled, I attached the tabletop to the base using hinges. I used a 3-inch hinge on each side, which allowed the table to fold easily and remain stable when expanded.
I also added a support beam across the middle of the table to provide extra strength. This helped distribute the weight evenly and prevented the table from sagging when in use. The beam was attached using brackets and screws, and I made sure it was centered to avoid any wobbling.
To test the folding mechanism, I folded the table several times and checked for any resistance or misalignment. I made a few adjustments by tightening the hinges and reinforcing the joints with extra screws. Once everything was working smoothly, I moved on to the next step — finishing the table and adding the final details.
If your table feels stiff when folding, try adding a small amount of lubricant to the hinges. This can help reduce friction and make the folding process easier.
“I remember the first time I saw a foldable dining table at a friend’s home — it was tucked neatly against the wall, and in…”— Customizing Dining Chairs editors
Finishing the Tabletop and Adding a Unique Touch
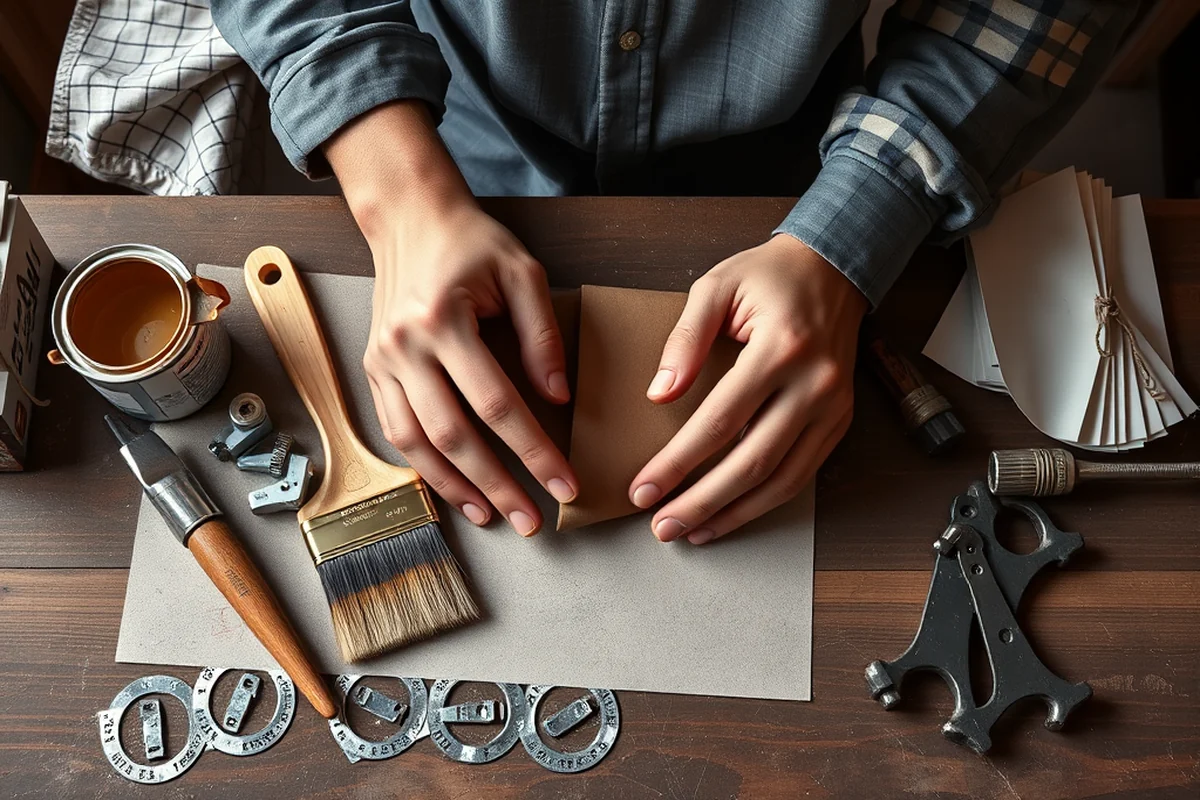
After assembling the frame, I focused on finishing the tabletop. I sanded the wood thoroughly with 120-grit sandpaper to remove any rough edges or splinters. Then I applied a coat of wood primer to help the paint adhere better. I chose a light oak finish to match the rest of my furniture, but you can customize this to suit your style.
To add a unique touch, I inlaid a strip of contrasting wood along the edge of the tabletop. It was a simple addition, but it gave the table a more finished look. I also added a decorative metal handle to the folding mechanism — it was a small detail, but it made the table look more professional and polished.
Once the finish was dry, I applied a final coat of polyurethane to protect the surface. I used a foam brush to apply the finish evenly, and I made sure to wipe off any excess with a clean cloth. The result was a table that looked like it had been built by a professional, even though I had done it all myself.
Testing the Table for Stability and Functionality
After finishing the table, I tested it by placing it on the floor and checking for any wobbling or instability. I also folded it several times to make sure the mechanism was smooth and that the table didn’t lock up or feel stiff. I placed a few heavy books on the surface to see how much weight it could handle, and it held up without any issues.
I also tested the folding mechanism by opening and closing the table multiple times to see if it moved smoothly. I made sure the hinges were not too tight or too loose, and I adjusted them as needed. I also checked the joints for any signs of stress or wear, and I reinforced any weak areas with additional screws.
Finally, I used the table for a family dinner and watched as it expanded seamlessly from its folded state to a full-sized table. It felt sturdy and comfortable, and my guests didn’t even realize it was a DIY project. That was the moment I knew I had succeeded — the table was not only functional but also beautiful.
Maintenance and Care for Your Foldable Dining Table
I make it a point to wipe down the table after each use to remove any spills or food residue. I use a soft cloth and a mild wood cleaner to avoid damaging the finish. I also avoid placing hot items directly on the table, as this can cause warping or discoloration.
To keep the folding mechanism in good working condition, I occasionally apply a drop of lubricant to the hinges. This helps prevent them from stiffening over time and ensures the table folds and unfolds smoothly. I also check the screws and joints regularly to see if any have become loose.
Over time, the wood may show some natural wear, but I find that the finish holds up well with proper care. I reapply a fresh coat of polyurethane every few months to maintain the table’s appearance and durability. With a little effort, the table can last for years and remain a functional and stylish part of your home.
A little care today keeps your table looking brand new tomorrow.
Customizing Your Table to Match Your Space
One of the best parts of building a customized foldable dining table is the ability to tailor it to your space and style. I chose the color of the finish to match my kitchen cabinets and the shape of the tabletop to fit the curve of my room. This helped the table blend in with the rest of the furniture and not feel out of place.
I also added a few small design elements, like a carved edge on the tabletop and a metal handle on the folding mechanism. These details gave the table a more refined look and made it feel like a custom piece of furniture. I also used a matching chair set to create a cohesive look in the dining area.
Another way to customize the table is by adding storage. I installed a small drawer on the underside of the table, which I use to store napkins, utensils, and other kitchen essentials. It’s a small but practical addition that makes the table even more useful. With the right customizations, your foldable dining table can become a true extension of your home.
💰 Budget Build
Use inexpensive particle board and basic hinges to create a functional foldable table at a fraction of the cost.
⏰ Weekend Version
Build a simple table over the weekend with pre-cut materials and minimal tools for a quick, DIY project.
🎨 Upgraded Finish
Apply a high-quality wood finish and add custom inlays for a table that looks like it was made by a professional.
📏 Small-Space Adaptation
Design a table that folds to a compact size and fits neatly in corners or against walls for small apartments.
🏠 Rental-Safe Option
Create a lightweight, easy-to-assemble table that is perfect for temporary living spaces or rental homes.
| The mistake | Why it happens | The fix |
|---|---|---|
| Using the wrong type of wood glue for the joints | Rigid glues can cause the joints to crack over time, especially with repeated folding and use. | Use a flexible wood glue like Titebond III, which is designed to handle movement and stress. |
| Skipping the sanding step before applying the finish | Skipping sanding can result in a rough surface that looks unprofessional and may trap dust or splinters. | Always sand the wood thoroughly before applying any finish to ensure a smooth and even surface. |
| Not reinforcing the folding mechanism properly | Weak joints or hinges can cause the table to wobble or feel unstable when in use. | Reinforce all joints with additional screws and use high-quality hinges to ensure smooth and stable folding. |
| Not testing the table after assembly | Failing to test the table can lead to discovering issues too late, such as wobbling or stiff folding mechanisms. | Always test the table by folding it several times and placing weight on it to ensure it works as intended. |
Customized Foldable Dining Table
Common Questions
Can I use a different type of wood for the tabletop?
How do I ensure the table folds smoothly?
What tools are needed for this project?
How long does it take to build the table?
References
- National Educators' Workshop: Update 98 (ntrs.nasa.gov)
Cite this guide
Customizing Dining Chairs (2026). Customized Foldable Dining Table. https://chairscape.com/customized-foldable-dining-table/
Feel free to cite or share this guide.