
Wood Dining Table
📖 Table of Contents
- Choosing the Right Wood for Your Dining Table
- Measuring and Cutting the Table Top
- Building the Table Legs and Aprons
- Sand and Finish the Table
- Adding a Unique Touch with Inlay or Carving
- Testing the Table for Stability and Comfort
- Finishing Touches and Enjoying Your Table
- Make It Your Way
- Frequently Asked Questions
I remember the first time I sat down at my newly built wood dining table — the warmth of the oak, the smoothness of the finish, the way the light hit the surface. It wasn’t just a table; it was a centerpiece of my home, a statement of craftsmanship and care. Building a wood dining table from scratch has been one of the most rewarding DIY projects I’ve ever taken on, and I'm here to guide you through every step.
Creating a wood dining table isn’t just about assembling a few pieces of lumber and calling it a day. It’s about selecting the right materials, understanding joinery techniques, and paying attention to the details that make the difference between a functional table and a beautiful one. Whether you’re a first-time woodworker or have been building furniture for years, this guide will walk you through the process with clarity and confidence.
The journey of making a wood dining table is as much about the experience as it is about the final product. From choosing the right wood species to applying the perfect finish, every decision shapes the character of your table. It's not just a piece of furniture — it's a legacy you’ll be proud to leave behind for years to come.
Why You'll Love This Wood Dining Table
- Customization: You can tailor the design and finish to match your home’s aesthetic.
- Durability: Properly constructed and finished, the table will last for decades.
- Satisfaction: The sense of accomplishment from building it yourself is unmatched.
- Investment: A custom table is a long-term investment that adds value to your home.
Choosing the Right Wood for Your Dining Table
As of October 2026, when building a wood dining table, selecting the right wood is the first and most important decision. Hardwoods like oak, maple, and walnut are ideal due to their strength and resistance to warping. Softwoods like pine are more affordable but may not hold up as well to heavy use over time.
I chose oak for my table because of its natural beauty and resilience. It’s also relatively easy to work with, making it a good choice for beginners. If you're looking for a more rustic look, reclaimed wood is an excellent option, though it may require more prep work.
Consider the cost and availability of the wood in your area. I found my oak planks at a local lumber yard for about $15 per board foot, which was a reasonable price for the quality. Always inspect the wood for knots and defects before purchasing.
Before purchasing any wood, check its moisture content with a moisture meter. Wood that is too wet can warp or crack as it dries. I've learned this the hard way after my first attempt with overly damp lumber.
Part of our Dining table guide.
Measuring and Cutting the Table Top
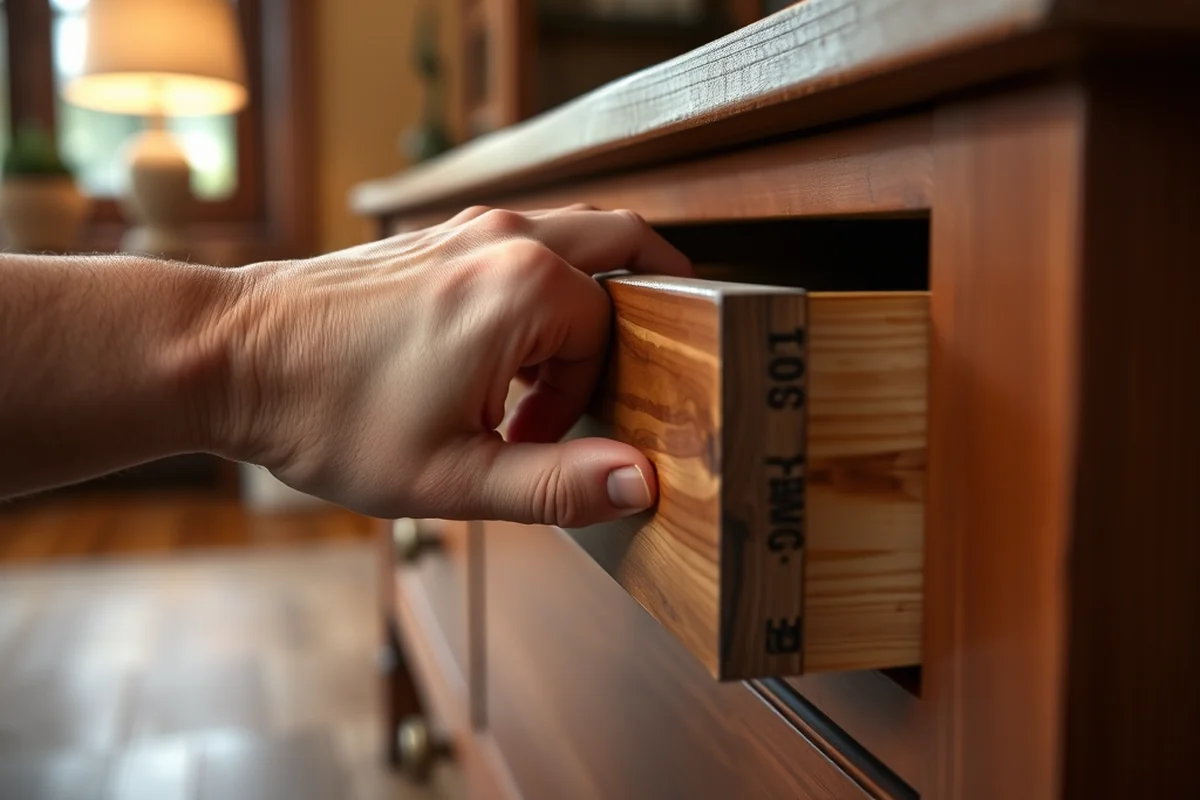
Once you've selected your wood, the next step is to measure and cut the pieces for the table top. I recommend starting with the longest dimension to ensure that your pieces will fit together properly. I used a tape measure and a pencil to mark my cuts before using a circular saw.[1]
I made sure to account for the thickness of the wood when calculating the size of the table top. I ended up cutting two 1.5-inch thick planks and joining them together using a dado joint to create a 3-inch thick top, which added stability and reduced the risk of warping.
After cutting the pieces, I used a router to create a slight bevel along the edges of the table top, which made the edges smoother and gave the table a more finished look. This step took about an hour but was well worth the effort.
A well-measured table top is the foundation of a great dining table.
Related: What is dining room table
Building the Table Legs and Aprons
The legs and aprons form the skeleton of your table, so it's important to build them with care. I used 2x4s for the aprons and 4x4s for the legs to ensure that the table would be sturdy and long-lasting. I cut the pieces to the desired lengths and used a miter saw to make precise cuts.
I used pocket hole screws to join the aprons to the legs, which made the assembly process much easier. The pocket hole jig I used was a game-changer, allowing me to create strong, hidden joints with minimal effort. I also added corner brackets to the aprons for extra reinforcement.
Once the legs and aprons were assembled, I attached them to the table top using wood screws and wood glue. I made sure to check that everything was square and level before tightening the screws. This step took about two hours, but it was crucial for ensuring the table's stability.
Before attaching the legs to the table top, use a square to check that the aprons are perfectly aligned and a level to make sure the table is even. I skipped this step on my first project, and it resulted in a slightly wobbly table that I had to fix later.
“I remember the first time I sat down at my newly built wood dining table — the warmth of the oak, the smoothness of the…”— Customizing Dining Chairs editors
Related: Wooden dining table and chairs
Sand and Finish the Table
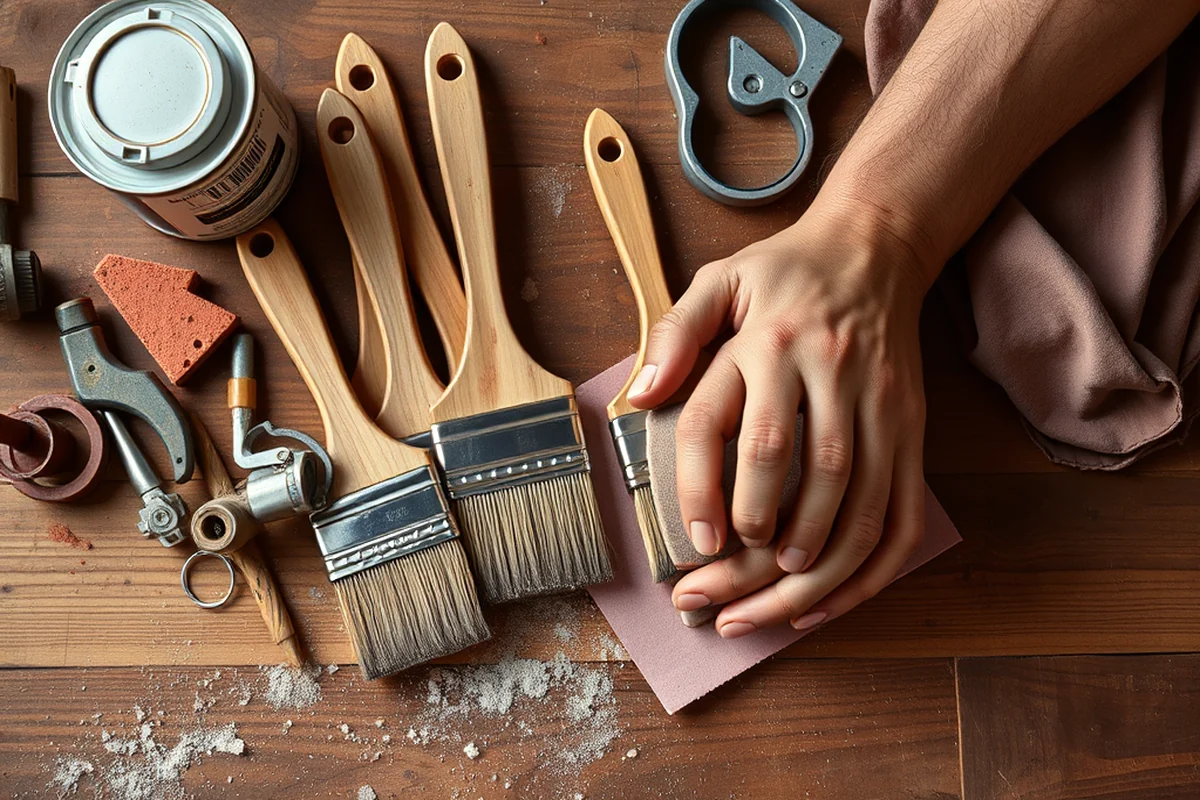
Once the table is fully assembled, it's time to sand and finish it. I started with a coarse sandpaper (around 80 grit) to remove any rough spots, then moved to a finer grit (around 120 grit) for a smoother finish. I repeated the process until the surface was perfectly smooth.[2]
After sanding, I applied a wood conditioner to help the stain and finish adhere evenly. I used a brush to apply a couple of coats of wood stain, letting each coat dry completely before applying the next. The stain I used was a dark walnut color, which gave the table a rich, elegant look.
Finally, I applied a couple of coats of polyurethane to protect the finish. I used a foam brush and applied the polyurethane in thin, even layers, making sure to avoid drips and bubbles. This step took about two hours, but it was essential for creating a long-lasting, durable surface.
Related: Round kitchen table and chairs
Adding a Unique Touch with Inlay or Carving
If you want to take your table to the next level, consider adding a custom inlay or carving. I used a template and a router to create a simple inlay of contrasting wood in the center of my table top, which added visual interest and depth.
I chose a dark walnut inlay for my table because it complemented the darker stain I used on the oak. The process involved cutting out the shape with a router bit and then attaching the inlay with wood glue. I made sure to match the inlay to the surrounding wood as closely as possible.
Carving is another option for adding a unique touch. I used a chisel and a mallet to carve a simple pattern into the aprons of my table. It was a time-consuming process, but the result was worth it — the table now has a one-of-a-kind design that I’m proud of.
Related: A small kitchen table and chairs
Testing the Table for Stability and Comfort
After finishing the table, I spent some time testing it to ensure that it was stable and comfortable. I placed a few heavy objects on the table to see if it would hold up under weight. I also tested the legs to make sure they were level and didn't wobble.
To check the stability, I rolled a marble across the surface of the table to see if it would move or get stuck. If the surface was too rough, I sanded it again. I also used a level to make sure that the table was perfectly even on all four legs.
Finally, I sat down at the table with a few family members to see how comfortable it was. I made some adjustments to the height and the seat cushion to ensure that everyone could sit comfortably. This step took about an hour, but it was essential for ensuring that the table was both functional and comfortable.
A table that doesn’t hold up to the test is just a pile of wood.
Related: Modern dining table set
Finishing Touches and Enjoying Your Table
After the table has been tested and any adjustments have been made, it's time to add the final touches. I cleaned the surface with a damp cloth to remove any dust or debris. I also applied a final coat of polyurethane to protect the finish, making sure to wipe off any excess before it dried.
I hung a few decorative pieces on the wall above the table to complete the look. I also added a few throw pillows to the chairs to make the space more comfortable. These final touches helped bring the room together and gave the table a more finished appearance.
Now that the table is complete, I enjoy using it every day. It's a beautiful piece of furniture that I'm proud of, and it's a great example of what can be achieved with patience, skill, and dedication. Building a wood dining table is a rewarding experience that I would recommend to anyone who loves DIY and furniture building.[3]
💰 Budget Build
A no-frills wood dining table using affordable materials and simple techniques for a low-cost project.
⏰ Weekend Version
A quick and easy wood dining table that can be built over the course of a single weekend with minimal effort.
✨ Upgraded Finish
A wood dining table with a professional-grade finish and added design elements for a more refined look.
🛋️ Small-Space Adaptation
A compact wood dining table designed for smaller spaces, with a focus on functionality and versatility.
🏠 Rental-Safe Option
A lightweight and portable wood dining table that's easy to move and ideal for rental properties.
| The mistake | Why it happens | The fix |
|---|---|---|
| Using the wrong type of wood | Softwoods can warp and crack over time, especially when exposed to moisture and heat. | Always choose a hardwood like oak or maple for long-term durability. |
| Skipping the sanding process | Skipping sanding can result in a rough, uneven surface that's uncomfortable to use and difficult to finish. | Take the time to sand the wood thoroughly before applying any finish. |
| Not checking for square and level | A table that's not square or level will be unstable and uncomfortable to use. | Use a square and level to ensure that all components are aligned and level. |
| Applying too much polyurethane | Applying too much polyurethane can result in a thick, uneven coat that drips and bubbles. | Apply thin, even coats and wipe off any excess before it dries. |
Wood Dining Table
Common Questions
What type of wood is best for a dining table?
How long does it take to build a wood dining table?
What tools are needed for this project?
Can I build a wood dining table if I'm a beginner?
References
- Development of a Multifunctional Dining Table Design Using the ... (academia.edu)
- Property Tax Assessment - Connecticut General Assembly (cga.ct.gov)
- Creating Outdoor Spaces | HeadStart.gov (headstart.gov)
Cite this guide
Customizing Dining Chairs (2026). Wood Dining Table. https://chairscape.com/wood-dining-table/
Feel free to cite or share this guide.