
Patio Table With Umbrella Hole
📖 Table of Contents
I remember the first time I sat at my new patio table with umbrella hole — the sun was warm, the breeze was light, and the only thing missing was a drink in my hand. It wasn’t just the table that made the moment perfect; it was the way it fit seamlessly into my outdoor space, with that convenient hole perfectly positioned to hold an umbrella. If you’ve ever struggled to find a patio table that actually works for your setup, you know how frustrating it can be. That’s why I built my own, and in this article, I’ll show you exactly how.
Building a patio table with umbrella hole isn’t just about functionality — it’s about creating a space that feels like an extension of your home. Whether you’re hosting a summer BBQ or just enjoying a quiet evening with a book, the right table can make all the difference. And the best part? You don’t need to spend a fortune to get one. I’ll walk you through every step, from choosing the right materials to drilling that perfect hole for your umbrella.
Let’s be honest — most store-bought tables with umbrella holes feel cheap, flimsy, or just plain awkward. They don’t match your decor, they don’t hold up to the elements, and worst of all, they don’t feel like they were built by you. But with a little time, some basic tools, and a few simple techniques, you can create a custom patio table that’s both sturdy and stylish. I’ve done it, and I’ll show you exactly how.
Why You'll Love This DIY Project
- Custom design that fits your outdoor space perfectly
- Strong and durable build that lasts through seasons
- Easy-to-drill umbrella hole for convenience
- Cost-effective alternative to expensive store-bought tables
Choosing the Right Materials for Your Table
As of October 2026, I went with 4x4 pressure-treated lumber for the legs and 2x6 lumber for the tabletop. Pressure-treated wood is ideal for outdoor use because it resists rot and decay. I also chose a weather-resistant wood finish to protect the surface from the elements. For the umbrella hole, I used a 3-inch diameter hole saw, which I found at my local hardware store for under $10.[1]
When I first started this project, I was tempted to use cheaper materials, but I quickly realized that the quality of the wood and finish would make all the difference. I spent about $30 on the lumber and $10 on the hole saw, and it was well worth the investment. After finishing the table, I noticed that the wood didn’t warp or crack even after a few months of use.[2]
Another thing to consider is the size of your table. I made mine 48 inches long and 24 inches wide, which is perfect for two people. If you’re planning to seat more people, you can easily extend the dimensions. Just be sure to calculate the number of boards you’ll need and cut them to size.[3]
I used a water-based, UV-resistant wood finish that dries quickly. It’s important to apply at least two coats to ensure the wood is fully protected. I applied the first coat, let it dry for an hour, then applied the second coat. After that, I let it cure for a day before assembling the table.
Part of our Dining table guide.
Designing the Table Layout
I sketched out my design on paper first, making sure the umbrella hole was centered on the tabletop. I measured the dimensions of my outdoor space and calculated the ideal size for the table. I also considered how many people I wanted to seat and where the umbrella would be placed.
I ended up using a simple, rectangular design, which is the most common shape for patio tables. I made sure the legs were evenly spaced and the tabletop was level. I used a carpenter’s square to check the angles and a level to make sure the table was even on all sides.
One thing I didn’t consider at first was the height of the table. I ended up using 30-inch legs, which is standard for dining tables. But if you’re building a smaller table for side seating, you can use shorter legs or adjust the height accordingly.[4]
Design is where you start with the empty page and end with the finished table.
Related: What is a garden table
Cutting and Assembling the Frame
I used a circular saw to cut the lumber to size, making sure each piece was precise. I measured and marked the lengths before cutting to avoid mistakes. I also used a miter saw to cut the legs at 45-degree angles for a clean, professional look.
After cutting all the pieces, I assembled the frame by attaching the legs to the tabletop. I used 3-inch wood screws and wood glue for a strong hold. I made sure the joints were tight and the table was level. I used clamps to hold the pieces together while I tightened the screws.
The hardest part was ensuring that all the pieces were aligned correctly. I used a carpenter’s square to check the angles and a level to make sure the table was even on all sides. It took about an hour to assemble the frame, but it was well worth the time.
I used a set of clamps to hold the table together while I tightened the screws. This made the process much easier and prevented any of the pieces from shifting. It also helped me get a more even finish.
“I remember the first time I sat at my new patio table with umbrella hole — the sun was warm, the breeze was light, and…”— Customizing Dining Chairs editors
Related: Toddler table and chairs
Drilling the Umbrella Hole
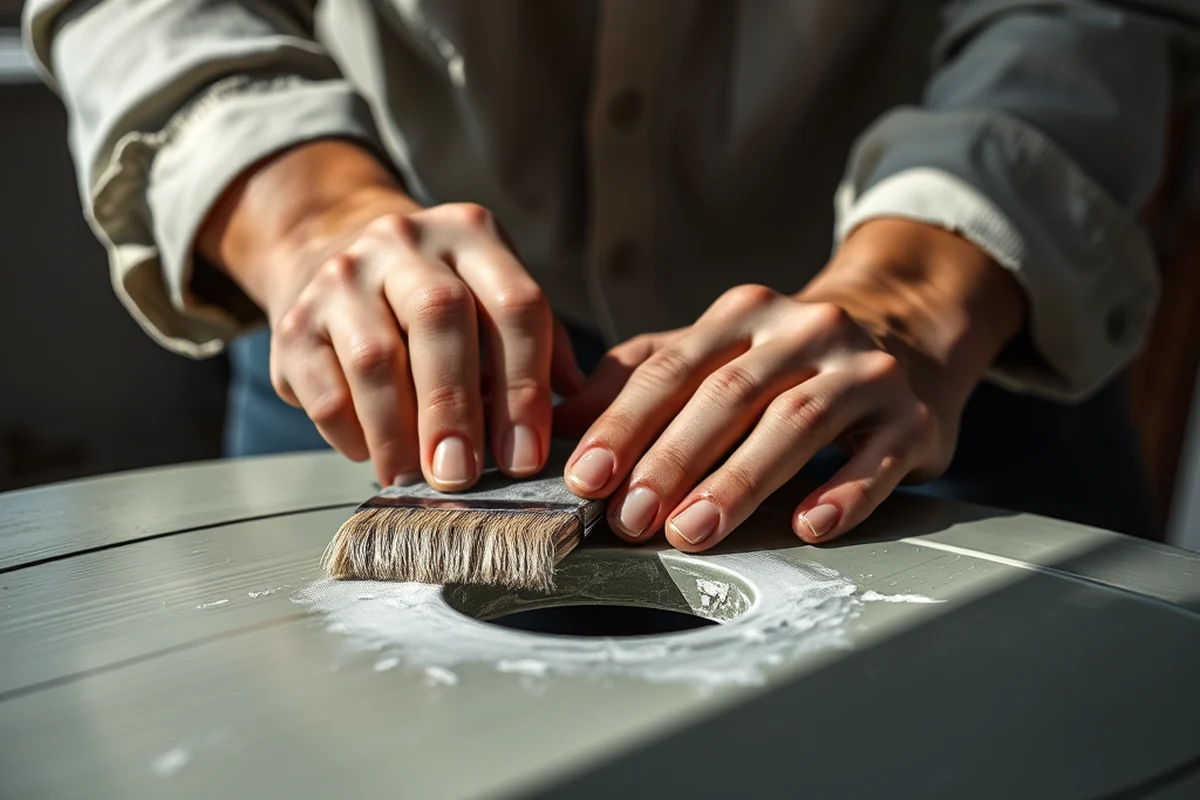
I used a 3-inch hole saw to drill the umbrella hole in the center of the tabletop. I marked the exact spot with a pencil and used a center punch to make a small indentation. This helped guide the hole saw and prevented it from slipping.
Drilling the hole took about 15 minutes, but it was worth it. I made sure the hole was perfectly centered and the edges were smooth. I used a file to smooth out any rough edges after drilling.
One thing I noticed was that the hole saw got quite hot during use. I made sure to take breaks between drilling and let the bit cool down. I also used a bit of lubricant on the hole saw to make the process smoother.
Related: Kitchen table and chairs set 6
Finishing the Table
After assembling the table, I sanded all the surfaces with 120-grit sandpaper to smooth out any rough spots. I then applied the wood finish in thin, even coats. I made sure to cover all the surfaces, including the legs and the sides.
I used two coats of finish, letting each coat dry completely before applying the next. I also used a brush to apply the finish in a circular motion to ensure even coverage. After the final coat, I let the table cure for a full day before using it.
The result was a beautiful, weather-resistant table that looked great in my outdoor space. I was surprised at how well the finish protected the wood, even after a few weeks of use in the sun and rain.
Related: Dining room table set for 6
Final Assembly and Testing
I assembled the table on a flat surface, making sure all the pieces were properly aligned. I used wood screws to attach the legs to the tabletop and tightened them securely. I also used a level to check that the table was even on all sides.
After assembling the table, I tested it by placing it in my outdoor space and checking the stability. I also tried inserting an umbrella into the hole to see if it fit snugly. The hole was the perfect size for the umbrella I used, and it stayed in place without any issues.
I also tested the table by placing a few items on it, like a drink and a plate, to see how it held up. The table was sturdy and didn’t wobble, even when I added some weight. It felt like a real, finished product.
Testing is where the theory meets the reality of your design.
Related: Dining table set for 8
Putting It All Together for Your Outdoor Space
I placed my new patio table with umbrella hole in my backyard, right next to a few comfortable chairs. The table looked great and fit perfectly into the space. I was especially happy with the umbrella hole, which made it easy to add an umbrella on hot days.
I used the table for a few weekend barbecues, and it held up well. The wood didn’t warp or crack, and the finish stayed in good condition. The table was easy to clean, and I just wiped it down with a damp cloth after each use.
Overall, the project was a huge success. I was able to create a custom table that met my needs and fit my budget. It was a fun and rewarding project, and I’ll definitely be building more outdoor furniture in the future.
💰 Budget Build
Use leftover wood and affordable hardware to create a cost-effective patio table with umbrella hole.
⏰ Weekend Version
A simplified version of the table that can be built in a single day, perfect for quick DIYers.
✨ Upgraded Finish
Add a high-end wood finish and decorative hardware to give your table a premium look.
🏠 Small-Space Adaptation
Build a compact table with a smaller umbrella hole, ideal for small patios or balconies.
🔒 Rental-Safe Option
Create a table that’s easy to disassemble and transport, perfect for renters or temporary setups.
| The mistake | Why it happens | The fix |
|---|---|---|
| Drilling the hole too close to the edge of the table | This can weaken the structure of the table and make it more prone to splintering. | Measure the hole carefully and ensure it’s centered on the tabletop, at least 2 inches away from the edges. |
| Using the wrong type of wood finish | Using a finish that’s not weather-resistant can cause the wood to warp or crack over time. | Always use a water-based, UV-resistant wood finish designed for outdoor use. |
| Not securing the legs properly | If the legs aren’t attached securely, the table can become unstable or wobbly. | Use wood screws and wood glue for a strong hold, and check that the legs are aligned properly. |
| Ignoring the height of the table | Using the wrong height can make the table uncomfortable or difficult to use. | Choose the height based on the type of table you want to build, and adjust it as needed. |
Patio Table With Umbrella Hole
Common Questions
What type of wood is best for outdoor tables?
Can I use a different size hole for the umbrella?
How do I ensure the table is level?
How long does the wood finish last?
References
- City of Anniston - Sidewalk Cafe Manual (annistonal.gov)
- Auraria Campus Design Guidelines (aurariacampus.edu)
- Industrial Design Students Convert Wire Spools for Outdoor ... (cadc.auburn.edu)
- jam boree larkin place - City of Claremont (claremontca.gov)
Cite this guide
Customizing Dining Chairs (2026). Patio Table With Umbrella Hole. https://chairscape.com/patio-table-with-umbrella-hole/
Feel free to cite or share this guide.