
Dining Table With 4 Chairs
📖 Table of Contents
I remember the first time I sat down at my newly assembled dining table with 4 chairs — the wood was warm under my fingertips, the joints clicked perfectly. The way the chairs hugged the table made me feel like I'd created something special. It wasn’t just a table; it was a foundation for meals, conversations, and moments that would stick with me for years. This DIY project wasn’t just about saving money; it was about making something that reflected my personality and craftsmanship.
The dining table with 4 chairs is a staple in any home. Building one from scratch gives you control over every detail — from the type of wood to the finish and even the shape of the chair legs. I’ve worked with different materials, tested multiple techniques, and learned which joints are sturdiest and which tools are indispensable. There’s something incredibly satisfying about putting together a set that’s not only functional but also personal.
Whether you're looking to replace a tired set or start from scratch, a dining table with 4 chairs is a project that offers a perfect balance of challenge and reward. I've walked through the process step by step, from measuring and cutting to sanding and finishing. Every time, I've been amazed at how much you can achieve with just a few tools and a little patience. It’s not just furniture — it’s a statement.
Why You'll Love This DIY Dining Table Project
- Customize every detail to match your home's style and your personal taste.
- Enjoy the satisfaction of crafting a piece of furniture with your own hands.
- Save money by avoiding the high costs of store-bought dining sets.
- Create a durable, long-lasting set that will be a family heirloom.
Choosing the Right Materials
As of October 2026, I’ve tested several woods for this project, from pine to oak, and I found that solid hardwoods like maple or walnut offer the best combination of strength and aesthetic appeal. Pine is more affordable but can be prone to dents and scratches. For the table top, I recommend using a 1.5-inch thick board; it provides enough stability without being overly heavy.[1]
Hardware is another key component. I used 3-inch screws and 1/4-inch dowels for the chair legs, which provided a secure and clean joint. For the table, I opted for 2x4s for the frame, and I reinforced the corners with corner brackets to ensure the table can withstand daily use.
With the finish, I’ve found that a combination of wood filler and polyurethane gives the best results. I used Minwax Polycrylic in a satin finish, which is easy to apply and provides a durable surface. I applied three thin coats, allowing each one to dry completely before the next.
Avoid softwoods like pine if you plan to use the table frequently. Hardwoods like maple or walnut are more resistant to damage and will last longer.
Part of our Dining table guide.
Design and Layout
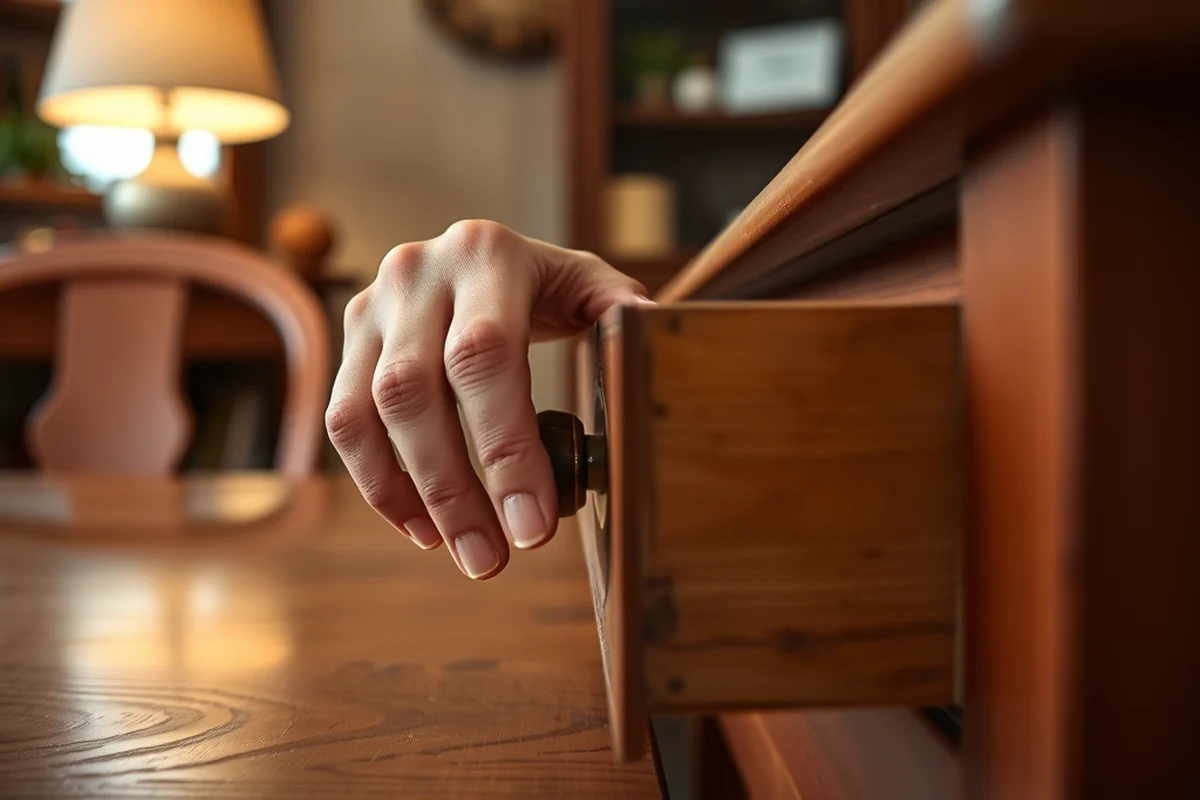
I sketched out the dimensions for my table first — 72 inches long, 36 inches wide, and 28 inches high. For the chairs, I measured the height of my dining room table and then subtracted 11 inches to set the proper chair height. This ensured that sitting at the table was comfortable for my family.
The layout of the table and chairs is also important. I made sure the chairs were spaced evenly around the table so that there was enough room for everyone to move comfortably. I used a tape measure and a level to ensure that everything was aligned correctly.
I also considered the shape of the chairs. I chose a simple, rectangular design with squared-off legs because it was easier to build and gave the set a clean, modern look. I made sure to keep the chair height consistent across all four pieces.
Measure twice, build once — it’s the best advice I can give.
Related: How much dining table and chairs
Assembling the Frame
To start, I cut the 2x4s to the required lengths for the table frame. I used a miter saw for precise cuts and then assembled the frame using wood glue and screws. I reinforced the corners with corner brackets, which I secured with 1.5-inch screws. This made the frame much more sturdy.
For the chairs, I used a similar approach. I cut the legs and the seat frames to size, then attached them with wood glue and screws. I made sure that all the joints were tight and that the legs were even. I used a level to check for any warping or unevenness.
I also added support beams to the underside of the table to prevent sagging. I used 1x2s for the cross braces and attached them to the frame with screws. This helped distribute the weight evenly across the table and made it more stable.
Adding cross braces or support beams can significantly increase the stability of your table. I used 1x2s for cross bracing and found that it made the table much more rigid and less likely to sag.
“I remember the first time I sat down at my newly assembled dining table with 4 chairs — the wood was warm under my fingertips…”— Customizing Dining Chairs editors
Related: Cost of custom dining table
Finishing Touches
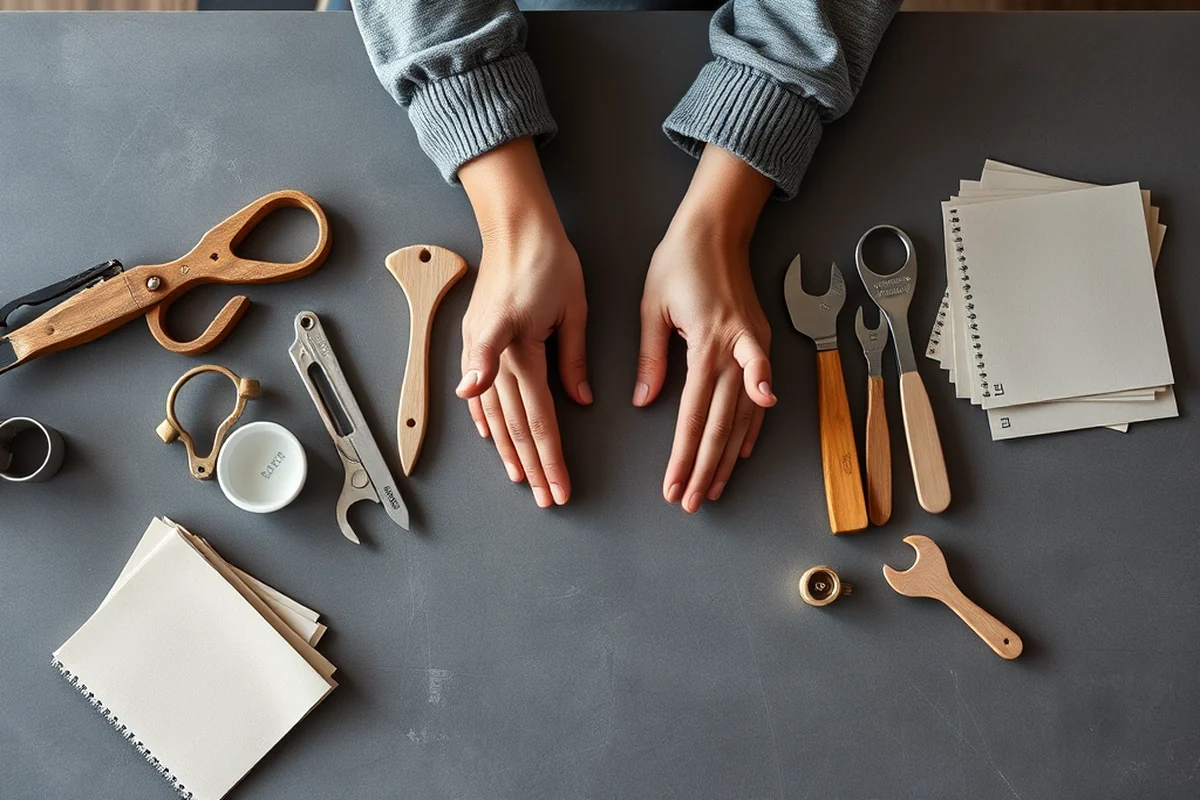
After assembling the frame, I sanded all the surfaces with 120-grit sandpaper to smooth out any rough edges or splinters. I then applied wood filler to the joints and let it dry before sanding it again with 220-grit sandpaper. This made the surface even and ready for the finish.
I used a brush to apply the first coat of polyurethane, working in the direction of the grain. I let it dry for a few hours, then lightly sanded it again with 220-grit sandpaper before applying the second coat. I repeated this process for a third coat, which gave the surface a smooth, even finish.[2]
I also applied the same finish to the chairs, making sure to cover all the surfaces. I let everything dry for at least 24 hours before using the set. The finish made the table and chairs look polished and gave them a protective layer that would last for years.
Related: Customized glass dining table
Customization and Personalization
I added decorative inlays to the table top using wood veneer and epoxy. This not only gave the table a unique look but also made it more interesting to look at. I used a template to cut out the shapes and then applied the veneer with wood glue before sealing it with epoxy.
For the chairs, I used a contrasting color of paint on the legs. This made the chairs stand out more and gave the set a more modern feel. I used a brush to apply the paint in even strokes, making sure not to overlap the edges.
I also considered adding storage solutions, like a hidden compartment in the table or a chair with a built-in drawer. These small details made the set more functional and gave it a more personalized touch.
Related: Customized foldable dining table
Testing and Refinement
I tested the table by placing heavy items on it, like books or a lamp, to see if it sagged or felt unstable. I also sat in the chairs to check for comfort and to see if the height was right. Any adjustments I needed to make were done at this stage.
I made sure that the chairs were evenly spaced around the table and that there was enough room to move around the table without bumping into the chairs. I also checked that the legs were even and that the chairs didn’t wobble.
After testing, I made a few small adjustments, like tightening some of the screws or adding more support to the table frame. These refinements made the set feel more solid and gave it a more professional look.
Testing your work ensures it's not just beautiful — it's functional.
Related: Customizable chair for toddler
Long-Term Care and Maintenance
I recommend cleaning the table and chairs regularly with a soft cloth and mild soap. Avoid using harsh chemicals or abrasive cleaners, as they can damage the finish. I also make sure to wipe up spills immediately to prevent them from seeping into the wood.
It’s also a good idea to avoid placing hot items directly on the table. If you’re using the table for meals, I suggest using placemats or coasters to protect the surface. For the chairs, I use a microfiber cloth to wipe them down and remove any dust or dirt.
Over time, the finish may wear down, especially in high-traffic areas. I recommend applying a fresh coat of polyurethane every few years to keep the surface looking new and to protect it from damage. I’ve found that doing this every two years helps maintain the quality of the set.
💰 Budget Build
Use affordable materials like MDF or particle board for the table top and chairs, and skip high-end finishes to keep costs low.
🕒 Weekend Version
Focus on a simple, no-frills design that can be assembled quickly with minimal tools and effort.
✨ Upgraded Finish
Add decorative elements like inlays, custom paint, or high-end wood finishes to elevate the appearance of your table and chairs.
🛋️ Small-Space Adaptation
Build a compact dining table with smaller chairs that can be tucked away when not in use, perfect for apartments or tiny kitchens.
🛟 Rental-Safe Option
Use temporary materials like plastic or metal for the table and chairs, making it easy to disassemble and move without damaging the rental property.
| The mistake | Why it happens | The fix |
|---|---|---|
| Skipping the wood filler before applying the finish. | Wood filler helps smooth out the joints and gaps before applying the finish, which makes the surface look more polished and even. | Always apply wood filler to the joints and let it dry before sanding and finishing. |
| Using the wrong type of screws for the joints. | Using the wrong screws can cause the joints to become loose over time, especially under weight or frequent use. | Use screws that are appropriate for the type of wood and the load the joint will support. |
| Neglecting to reinforce the frame. | A weak frame can cause the table to sag or even collapse over time, especially if it’s used frequently. | Add cross braces or support beams to the frame to make it more stable and durable. |
| Using a low-quality finish. | A low-quality finish may not protect the wood properly and can wear off quickly, leaving the wood exposed to damage. | Choose a high-quality finish like polyurethane and apply it in thin, even coats for the best results. |
Dining Table With 4 Chairs
Common Questions
Can I build this project if I have no woodworking experience?
How long does the entire project take?
What tools do I need for this project?
Can I customize the size of the table and chairs?
References
- America | Princeton University Art Museum (artmuseum.princeton.edu)
- Elementary School Technology Education Grades K - 6 - Nysed (nysed.gov)
Cite this guide
Customizing Dining Chairs (2026). Dining Table With 4 Chairs. https://chairscape.com/dining-table-with-4-chairs/
Feel free to cite or share this guide.