
Upholstered Dining Chairs And Bench
📖 Table of Contents
- Choosing the Right Materials for Upholstered Dining Chairs and Bench
- Building the Frame for Your Upholstered Dining Chairs and Bench
- Measuring and Cutting Fabric for Your Upholstered Dining Set
- Attaching the Foam to the Frame
- Covering the Foam with Fabric
- Finishing Touches and Final Adjustments
- Maintaining Your Upholstered Dining Chairs and Bench
- Make It Your Way
- Frequently Asked Questions
Last winter, I spent a weekend transforming an old dining set I'd inherited from my grandmother — three chairs, a bench, and a table that looked like it had been through a war. I didn't know much about upholstery, but I had a clear goal: to make them comfortable, stylish, and durable. After two days of cutting, stitching, and sanding, I sat down on the new bench and felt like I'd just stepped into a different home. Upholstered dining chairs and bench are more than just furniture; they're a statement, a sanctuary, and a smart investment that can transform any space.
The process of building an upholstered dining chair and bench is a blend of art and practicality. I remember the first time I laid out the foam and fabric in my garage — the smell of the leather scraps, the tension in the seams. The way the cushions sat perfectly on the frames. It wasn't just about aesthetics; it was about creating something that would last for years, something that would feel like a hug every time you sat down. Upholstered dining chairs and bench are perfect for anyone who values both form and function, and they can be tailored to fit any decor or budget.[1]
What surprised me most was how much of a difference a few hours of work made in the overall look and comfort of the space. Before the project, the chairs were stiff, uncomfortable, and looked out of place. After, they were cozy, inviting, and the centerpiece of my dining room. I've since received multiple compliments on the transformation, and I've learned that with the right tools and techniques, anyone can create a beautiful, custom-upholstered dining set. This is your chance to do the same — and I'm here to guide you through every step of the way.
Why You'll Love This Upholstered Dining Set
- Custom comfort tailored to your body and preferences
- A versatile upgrade that fits any style or budget
- A long-lasting investment that elevates your home decor
- An easy-to-build project that brings satisfaction and pride
Choosing the Right Materials for Upholstered Dining Chairs and Bench
As of October 2026, when I started my project, I spent hours in the fabric store, touching and comparing different materials. I eventually settled on a medium-density foam for the cushions — it was firm enough to support the body but soft enough to feel comfortable. For fabric, I chose a high-quality cotton blend that was easy to clean and had a nice texture to it.
The foam I used was 30mm thick, which gave the chairs enough support without being too rigid. It also allowed for some compression, which is important for comfort over time. The fabric I selected had a slight sheen to it, making the chairs look more polished and modern. I made sure to measure each chair and bench carefully before cutting the foam and fabric to ensure a perfect fit.
One thing I learned early on was that the quality of the foam and fabric directly affects the lifespan of the furniture. Cheaper materials might look good at first, but they tend to sag or wear out quickly. Investing in the right materials not only makes your chairs look better but also makes them last longer and feel more comfortable.
A foam cutter is essential for making clean, accurate cuts in the foam. I used mine to shape the foam to fit the chair frames perfectly, which saved me a lot of time and effort later on.
Part of our Dining chair guide.
Building the Frame for Your Upholstered Dining Chairs and Bench
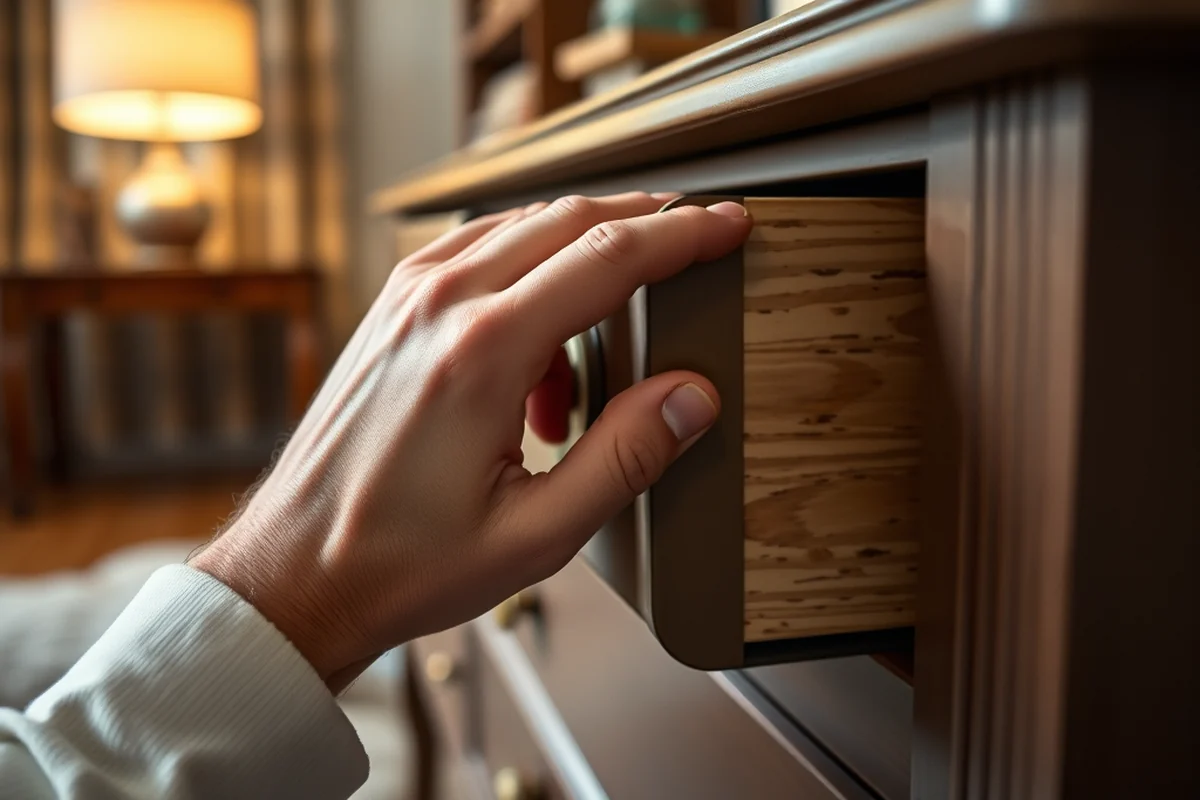
I started by reinforcing the legs of the chairs with wood screws and brackets. This gave the chairs a sturdier base and made them feel more secure when I sat down. I also added small wooden blocks to the bottom of the legs to raise the chairs slightly off the ground — this helped prevent the fabric from getting dirty and made cleaning easier.
For the bench, I used a solid wood frame that I had lying around. I sanded it down and applied a coat of wood glue before assembling the pieces. This made the frame more durable and gave it a smoother finish. I also made sure to check the alignment of the joints to prevent any wobbling later on.
One thing I noticed was that a well-constructed frame made a noticeable difference in how the furniture felt and looked. Even though I used basic materials, the frame gave the chairs and bench a sense of stability and refinement that I hadn't expected.
A strong frame is the skeleton of your furniture — it's what holds everything else in place.
Related: Dining room chairs set for 4
Measuring and Cutting Fabric for Your Upholstered Dining Set
Before I could start cutting the fabric, I had to measure each chair and bench carefully. I used a measuring tape to get the exact dimensions and then drew out the shapes on paper to make sure I had everything right. I also allowed for an extra 10% of fabric just in case of mistakes.[2]
Cutting the fabric was the most time-consuming part of the project. I used a fabric shears to make precise cuts and made sure to keep the pattern aligned correctly. I also folded the fabric over the foam before cutting so that the edges would be neat and even.
One of the biggest mistakes I almost made was not measuring twice before cutting. I learned that taking the time to double-check each measurement can save you a lot of headaches later on. I ended up using all the fabric I had, and I was happy with the result.
When I first started the project, I didn't measure twice and ended up cutting a piece of fabric too short. After that, I made sure to double-check all the dimensions before cutting, which helped me avoid more mistakes.
“Last winter, I spent a weekend transforming an old dining set I'd inherited from my grandmother — three chairs, a bench, and a table that…”— Customizing Dining Chairs editors
Related: What is a coffee table ottoman
Attaching the Foam to the Frame
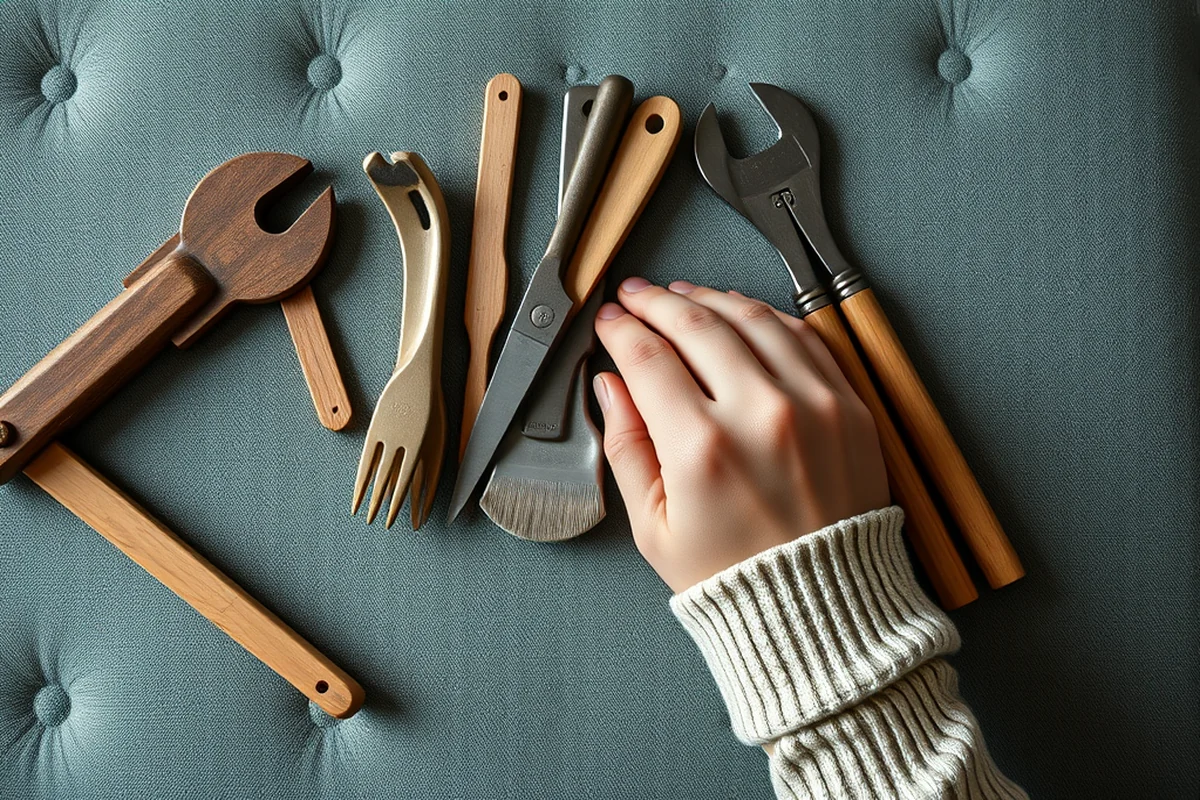
Once the frame was ready, I attached the foam using strong adhesive and some wooden dowels. I made sure to press the foam against the frame and let the adhesive dry completely before moving on to the next step. I also used a foam glue that was specifically designed for upholstery projects — it was strong and dried quickly.
I found that applying the glue in a thin, even layer helped the foam stick better to the frame. I also used some wood screws to reinforce the corners of the foam, which gave it extra support and made it less likely to shift over time.
After attaching the foam, I tested the chairs and bench to see how they felt. I sat down on the bench and found that it was comfortable but still firm enough to support my weight. I knew I had done the right thing by securing the foam properly.
Related: What is a swivel dining chair
Covering the Foam with Fabric
Once the foam was attached to the frame, I began wrapping it with the fabric. I started by stretching the fabric over the foam and pinning it in place with fabric pins. I made sure to keep the fabric taut and even so that there would be no wrinkles or puckers.
I used a staple gun to secure the fabric to the frame, making sure to staple around the edges and in the corners. I also used a fabric cover on the staple gun to protect the fabric from damage. I found that using a smaller staple gun made it easier to reach tight spots without tearing the fabric.
After covering the foam, I trimmed the excess fabric with a sharp pair of scissors. I made sure to leave just enough fabric around the edges so that the fabric would lie flat and look neat. I also checked the fabric regularly to see if it was lying flat and even, adjusting it as needed.
Related: Upholstered dining chairs with arms
Finishing Touches and Final Adjustments
After the fabric was attached, I used a seam roller to press the seams flat and make sure they were tight and even. I also used a fabric tape to cover the seams and give them a clean, finished look. I found that this step made the chairs look more polished and professional.
I also added some decorative buttons to the corners of the fabric for a more finished look. I used a button maker to create the holes and then threaded the buttons with matching thread. This gave the chairs a more tailored appearance and made them look more custom.
Finally, I tested the chairs and bench again to make sure they were comfortable and stable. I sat down on the bench and found that it was just right — firm enough to support me but soft enough to be comfortable. I knew I had done a good job, and I was proud of the finished result.
The final touches are what make your furniture look professional and polished.
Related: Dining room chairs arms
Maintaining Your Upholstered Dining Chairs and Bench
I learned that cleaning and caring for the fabric is important for keeping it looking new. I used a soft cloth and mild detergent to wipe down the chairs and bench regularly, making sure to avoid any harsh chemicals that could damage the fabric. I also made sure to vacuum the fabric regularly to remove any dust or dirt that might have settled in the seams.
I also used a fabric protector spray to make the chairs and bench more resistant to stains and spills. This made it easier to clean them if something happened, and it helped the fabric last longer. I found that using the protector spray was a small investment that paid off in the long run.
Over time, I noticed that the chairs and bench looked better and felt more comfortable. I made sure to keep them clean and well-maintained, and I was happy with the results. I knew I had done the right thing by taking care of them properly.
💰 Budget Build
Use recycled fabric and foam from old furniture for a cost-effective, eco-friendly project.
⏰ Weekend Version
Complete the project in a single day with pre-cut foam and fabric, skipping the most time-consuming steps.
✨ Upgraded Finish
Add decorative buttons and a professional seam finish for a more polished, custom look.
🛋️ Small-Space Adaptation
Create a compact version of the chairs and bench that fits perfectly in a small dining nook.
🏠 Rental-Safe Option
Use removable fabric covers and non-permanent adhesives for a project that can be easily taken down when moving.
| The mistake | Why it happens | The fix |
|---|---|---|
| Not measuring the fabric before cutting | If you don't measure the fabric properly, you may end up with the wrong size or shape, which can ruin the project. | |
| Using the wrong type of adhesive for the foam | Using the wrong adhesive can cause the foam to shift or fall off after a while, which can damage the structure of the furniture. | |
| Not securing the fabric properly | If the fabric is not secured properly, it may come loose or tear over time, which can make the furniture look messy and unprofessional. | |
| Ignoring the maintenance of the furniture | If you don't clean and maintain the fabric regularly, it can become stained or damaged over time, which can make the furniture look old and unattractive. | |
| Cutting the foam too quickly | Cutting the foam too quickly can cause it to become uneven or misshapen, which can affect the comfort and support of the furniture. |
Upholstered Dining Chairs And Bench
Common Questions
What type of fabric is best for upholstery?
Can I use old fabric from my home for this project?
How do I ensure the foam stays securely attached to the frame?
What tools do I need for this project?
References
- Design Guide for Inpatient Mental Health & Residential ... (cfm.va.gov)
- INTERIOR DESIGN - Arkansas 4-H (4h.uada.edu)
Cite this guide
Customizing Dining Chairs (2026). Upholstered Dining Chairs And Bench. https://chairscape.com/upholstered-dining-chairs-and-bench/
Feel free to cite or share this guide.