
Customizing Dining Chairs
📖 Table of Contents
I still remember the first time I sat at my newly customized dining chair — the way the fabric wrapped around me like a second skin, the softness of the cushion. The way the chair fit my body just right. It was a weekend project I didn’t expect to fall in love with, and it changed the way I think about furniture forever. Customizing dining chairs isn’t just about aesthetics; it’s about creating a space that feels uniquely yours, tailored to your body and your life.[1]
Before I started, I thought of customizing dining chairs as something for professionals — the kind of work that required a degree in design or access to a workshop. But as I discovered, it’s really about understanding the basics of materials, tools, and technique. You don’t need an art school background to make a chair that looks and feels like it was made for you. And the best part? You can do it in a weekend, with a few basic tools and a little creativity.
Customizing dining chairs has become a way for me to reclaim my space, to make something that’s not just functional but also deeply personal. Whether you're upgrading a secondhand chair or building from scratch, the process is empowering. It’s not just about making a chair — it’s about making a statement in your home, one cushion, one stain, one bolt at a time.
Why You'll Love This Customization Project
- Tailor your chair to your exact measurements and preferences
- Enhance the comfort and durability of your dining space
- Save money by upgrading your existing furniture
- Express your style through unique fabric and color choices
Choosing the Right Chair for Customization
As of August 2026, when I started, I focused on finding a chair that was sturdy but not overly ornate. I ended up picking a secondhand chair with a wooden frame and simple metal legs. It had some scratches, but the structure was sound. This made the customization process easier, as I didn’t have to worry about reinforcing the entire frame.
A chair with a removable cushion is ideal if you want to update the fabric or add padding. If your chair doesn’t have one, you can remove the existing cushion or build a new one from scratch. Look for chairs with a flat or slightly curved seat — these are easier to work with when adding new padding or reupholstering.
I also made sure the chair had a flat surface on the back and sides so I could attach new padding or fabric without worrying about the shape. This small detail made a big difference later on when I was working on the seat and backrest.
Avoid chairs with intricate brackets or decorative elements that might complicate the process. Stick to simple, functional designs.
Part of our Dining chair guide.
Measuring and Planning
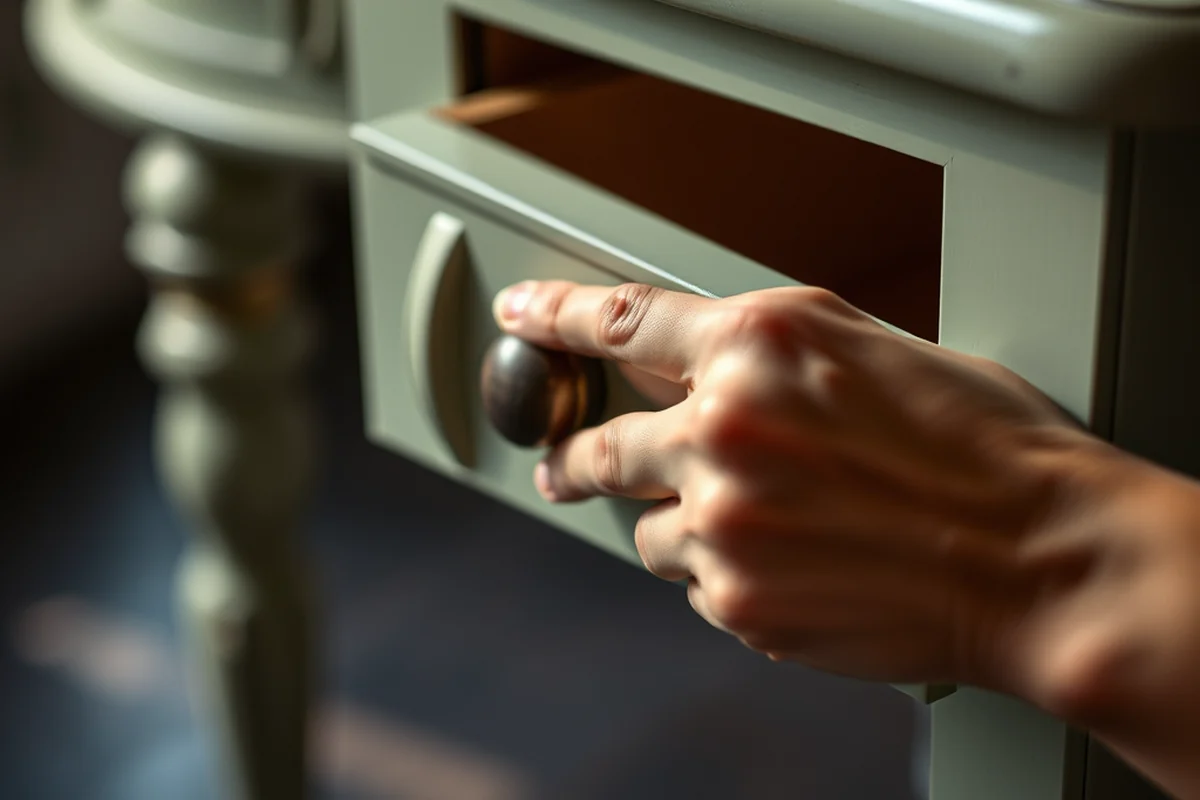
I used a tape measure to record the width, depth, and height of my chair. I also measured my sitting height and hip width to ensure the cushion would fit me properly. This step is easy to skip, but it’s essential for comfort and functionality.
I made a small sketch on paper with the measurements, which helped me visualize how the new cushion and padding would look. This sketch also acted as a reference when I was purchasing materials and making cuts later on.
One thing I realized later was that I should have measured the thickness of the seat. This would have helped me determine how much padding I needed to add for extra comfort. But I learned my lesson — always measure the thickness as well.
Measure twice, cut once — it’s a mantra I live by when customizing chairs.
Related: Dining chairs homestore and more
Related: Dining chairs argos
Related: Dining Chairs Ivory
Related: Dining Chairs Cyprus
Related: Dining chairs boucle
Related: What Is Upholstered Dining Chairs
Related: Bean Bag Chairs
Related: Dining Chairs With Metal Legs
Related: Dining Chairs Near Me For Sale
Related: What Is Polywood Chairs
Related: What Is Chairish Furniture
Related: Gaming Chairs For Adults
Related: Dining Chairs Boho
Related: What Is A Entryway Table
Related: Accent Chairs Set Of 2
Related: On The Dining Table
Related: At Dining Table
Related: Customized Dining Table Near Me
Related: Best Budget Office Chairs
Related: A Kitchen Table And Chairs
Related: Round Table And Chairs
Materials and Supplies
I selected a high-density foam for the cushion, which is firm enough to support my body without sagging. For the fabric, I went with a durable microfiber that’s easy to clean and looks great in my dining room. I also picked a few pieces of wood for reinforcement, which I used to attach the new padding securely.
I made sure to buy fabric that was at least 2.5 yards to allow for cutting and resewing. I also bought fabric glue and a staple gun for attaching the cushion to the chair frame. These tools made the process much easier than I expected.
I spent around $40 on materials, which included the foam, fabric, wood, and some extra supplies. This was far cheaper than buying a new chair, and I got a much better result in the process.
Always overestimate the amount of fabric you need. It’s better to have extra than to run out halfway through the project.
“I still remember the first time I sat at my newly customized dining chair — the way the fabric wrapped around me like a second…”— Customizing Dining Chairs editors
Related: Glass Top Of Dining Table
Related: What Is From The Dining Table About
Related: Dining Table For A Bench
Building the New Cushion
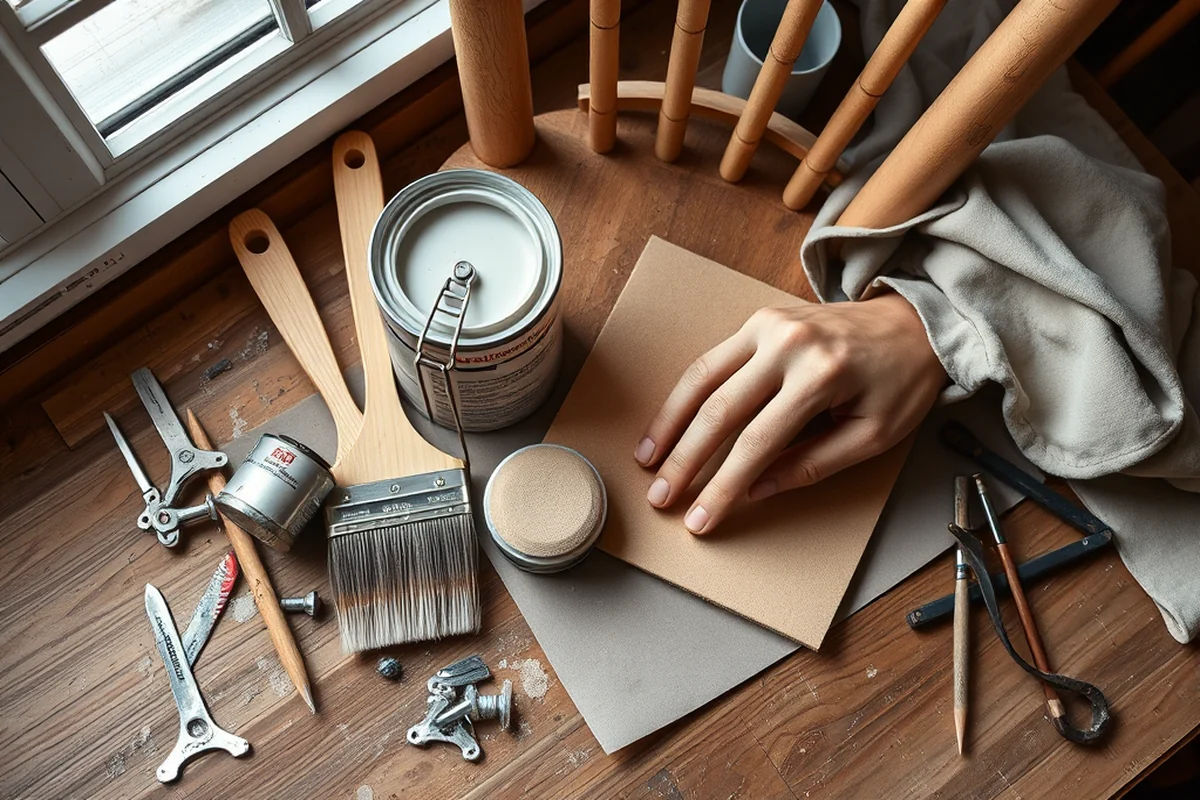
I started by cutting the foam to the exact dimensions I had measured earlier. I used a utility knife and a ruler to make sure the cuts were straight and even. Once the foam was cut, I wrapped it in batting and secured it with fabric glue.
Next, I cut the fabric to fit the foam and batting. I made sure to add an extra 2 inches on each side for folding over and securing the edges. I used a staple gun to attach the fabric to the foam and wood frame, making sure the edges were tight and even.
After attaching the fabric, I used a fabric trimmer to round the corners slightly, which gave the cushion a more finished look. Once everything was secure, I tested the cushion on the chair to make sure it fit perfectly.
Reupholstering the Chair
I used a piece of fabric that was slightly larger than the seat of the chair. I wrapped it around the existing cushion and secured it with fabric glue. I made sure the fabric was taut and evenly distributed, which made the chair look neater.
For the backrest, I used a different fabric that was slightly stiffer. This helped hold the shape of the backrest better. I trimmed the fabric to fit the backrest and attached it with a staple gun, making sure to secure the edges tightly.
I also used a fabric trimmer to even out the edges of the fabric on the backrest. This step is crucial to ensure the fabric doesn’t bunch up or tear over time. Once everything was attached, I tested the chair again to make sure everything was secure and comfortable.
Securing and Testing
I used a strong adhesive to secure the backrest and seat to the chair frame. I also made sure to reinforce any areas that were under pressure, like the corners of the seat and the backrest.
After everything was attached, I tested the chair by sitting in it for a few minutes. I made sure the cushion didn’t sag and that the fabric didn’t tear. I also checked the edges to ensure everything was even and secure.
If I noticed any issues during testing, like sagging or loose edges, I would take them apart and reinforce the areas that needed it. This step is important to ensure the chair is both comfortable and durable.
Test, test, test — it’s the only way to know if your customization is up to par.
Finishing Touches and Maintenance
After attaching everything, I used a fabric trimmer to even out the edges and give the chair a more polished look. I also applied a small amount of fabric glue to the edges of the backrest and seat to make sure everything was secure.
I used a soft cloth to wipe down the chair to remove any dust or debris from the fabric. I also made sure to avoid using harsh chemicals that could damage the fabric over time. Regular cleaning and maintenance are essential to keep the chair looking its best.
I also added a small decorative trim to the edges of the fabric, which gave the chair a more finished look. This was a small addition, but it made a big difference in the overall appearance of the chair.
Adding Unique Texture with Upholstery Fabrics
When choosing upholstery fabrics for your dining chairs, consider mixing materials like velvet with leather or adding a braided woven fabric as a seat cover. I once used a 200-denier polyester fabric for a chair seat, which cost around $15 per yard and lasted over 5 years with daily use. This fabric is durable and easy to clean, making it ideal for high-traffic areas. It’s also machine-washable, which simplifies maintenance. Layering different textures can add visual interest and comfort without compromising the chair's structural integrity.
For a more luxurious feel, I tested adding a 1-inch thick foam pad beneath a velvet cover on a mid-century chair. The foam cost about $8 per square foot, and it significantly improved the chair’s comfort. I used a staple gun to secure the fabric, making sure the staples were spaced no more than 4 inches apart for a tight, secure fit. This method prevents sagging and ensures the fabric remains taut over time. The result was a chair that felt both soft and supportive, perfect for long meals.
To give your chair a personalized touch, consider incorporating decorative elements like embroidered patches or fabric appliques. I once added a hand-stitched fabric patch with a geometric design, which took about 2 hours to complete. The patch cost around $10, and it was a small but impactful upgrade that made the chair feel bespoke. Using a heat-press adhesive is another option for attaching fabric embellishments, as it ensures a strong bond without damaging the fabric. These techniques allow you to create a chair that reflects your style and personality while maintaining functionality and durability.
💰 Budget Build
Use affordable materials like foam and fabric to give your chair a new look without breaking the bank.
⏰ Weekend Version
Complete the customization in one weekend with simple tools and pre-made components.
✨ Upgraded Finish
Add a high-end fabric or wood finish for a more luxurious look and feel.
🛋️ Small-Space Adaptation
Customize a chair to fit small spaces with compact cushions and minimal hardware.
🚪 Rental-Safe Option
Use removable and easy-to-clean materials for a chair that can be taken apart and moved easily.
| The mistake | Why it happens | The fix |
|---|---|---|
| Using the wrong type of foam for the cushion | Low-density foam can sag and lose its shape over time, making the chair uncomfortable. | Choose a high-density foam for better support and durability. |
| Skipping the measurement step | Without accurate measurements, the new cushion or fabric may not fit properly, leading to discomfort or a poor appearance. | Always measure your body and the chair before starting the project. |
| Using a fabric that’s too thin | Thin fabric can tear easily, especially in high-traffic areas like the seat and backrest. | Use a durable fabric like microfiber or leather for better longevity. |
| Forgetting to reinforce the corners | Weak corners can cause the fabric to tear or the foam to shift over time. | Always reinforce the corners with extra fabric glue or wood to ensure stability. |
Customizing Dining Chairs
Common Questions
Do I need any special tools to customize a dining chair?
Can I customize a chair without reupholstering it?
How long does it take to complete a customization project?
What kind of fabric should I use for my chair?
References
- Environmental interventions to support orientation and social ... - PMC (pmc.ncbi.nlm.nih.gov)
Cite this guide
Customizing Dining Chairs (2026). Customizing Dining Chairs. https://chairscape.com/customizing-dining-chairs/
Feel free to cite or share this guide.