
Patio Furniture Set
📖 Table of Contents
- Choosing the Right Materials for Your Set
- Designing Your Set for Comfort and Style
- The Importance of Proper Assembly and Joinery
- Adding the Final Touches: Cushions, Upholstery, and Finishes
- Testing Your Set: Comfort, Stability, and Longevity
- Maintaining Your Set for Longevity
- Customizing Your Set to Fit Your Space
- Make It Your Way
- Frequently Asked Questions
There's something about the way sunlight hits the surface of a weathered wooden chair, the slight creak as you settle into it. The scent of fresh paint mingling with the breeze that makes a well-crafted patio furniture set feel like a second home. I remember the first time I built my own set — it was a hot Saturday in June, and I was determined to make the most of my backyard. It took me two afternoons, a few trips to the hardware store, and a few questionable paint choices, but the result was worth every drop of sweat. A good patio furniture set isn't just about aesthetics; it's about creating a space that feels like your own.
The process of building a patio furniture set is more than just hammering and gluing — it's about making choices that speak to your personality and lifestyle. Whether you're looking for something rustic and rugged or sleek and modern, the right set can transform your outdoor space into an extension of your living room. I've spent countless hours researching, testing materials, and learning the fine art of woodworking, and I know that the right tools, techniques, and materials can make all the difference. This isn't just about getting the job done; it's about doing it right the first time.[1]
Over the years, I've come to appreciate the value of a well-built patio furniture set. It's a project that doesn't just improve the look of your outdoor area — it adds comfort, durability, and a sense of accomplishment. I've made mistakes, like using the wrong type of screws or skipping the weatherproofing step, but each lesson has brought me closer to creating the perfect set. If you're thinking about tackling this project, I promise you'll find the process both rewarding and surprisingly straightforward. It's not just about furniture; it's about making your space feel like home.
Why You'll Love This DIY Patio Furniture Set
- Customization: You can choose colors, materials, and styles that match your personal taste and outdoor space.
- Cost-Effective: Building your own set can save hundreds of dollars compared to buying pre-made options.
- Durability: When done correctly, your set can last for years with minimal maintenance.
- Pride in Craftsmanship: There's a unique sense of satisfaction that comes from creating something with your own hands.
Choosing the Right Materials for Your Set
As of September 2026, when I built my first set, I used pressure-treated pine because it's affordable and easy to work with. However, I quickly realized that it didn't hold up well in the rain. My second attempt used cedar, which is more expensive but naturally resistant to rot and insects. I also invested in UV-treated fabric for the cushions because they're less likely to fade or tear over time. The key is to choose materials that can withstand the elements without compromising on aesthetics.[2]
I found that using a combination of materials — like wood for the frame and metal for the legs — offers the best of both worlds. Metal is strong and resistant to weather, while wood adds a natural, warm touch. I also made sure to use weatherproof screws and sealants to prevent rust and decay. These choices not only extend the lifespan of the furniture but also reduce the need for frequent maintenance.
I spent about $40 on materials for my first set, which included wood, screws, sealant, and fabric. While it was an investment, it paid off in the long run. Choosing the right materials may seem like a small detail, but it makes a big difference in how your patio furniture set looks and feels over time.[3]
Opt for cedar or pressure-treated pine for long-lasting durability. Always check for UV-treated fabric to prevent fading.
Designing Your Set for Comfort and Style
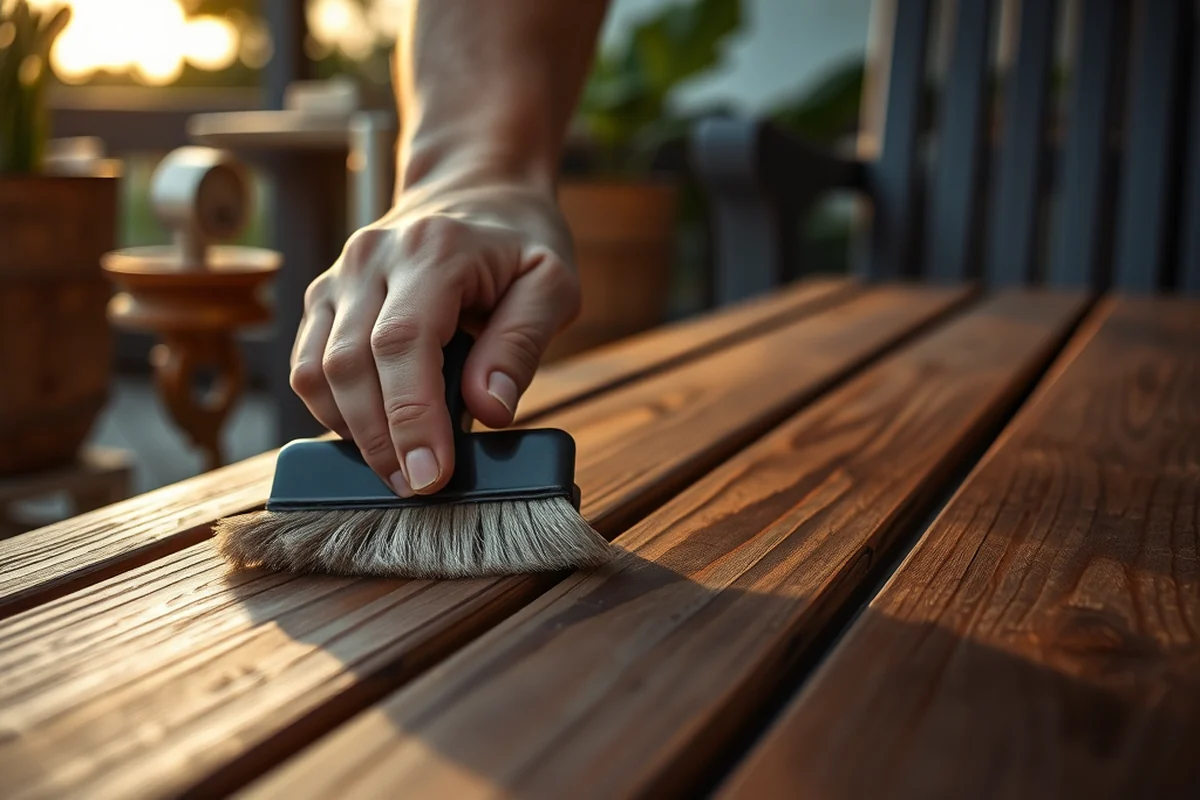
Designing your set is about more than just picking the right materials — it's about creating a space that's both comfortable and visually appealing. I spent a lot of time sketching out ideas and considering how each piece would fit into my backyard. I made sure the chairs were the right height for the table and that the cushions were thick enough for all-day comfort.
I also thought about how the set would look from different angles. The color and finish of the wood needed to complement the fabric of the cushions, and the overall style had to match the rest of my outdoor decor. It took some trial and error, but the final design was worth the effort. A well-designed set not only looks good but also enhances the usability of your outdoor space.
I made a few mistakes along the way — like choosing cushions that were too small or using a table that was too low — but each one taught me something new. The key is to think about how you'll use the space and what will make it most enjoyable for you and your guests.
Design is the silent salesperson of your outdoor space.
Related: Poolside lounge chairs
The Importance of Proper Assembly and Joinery
I learned the hard way that skipping the joinery steps can lead to a wobbly or unstable set. When I first built my set, I used simple screws to attach the legs to the table, but they came loose after just a few weeks. My second attempt used mortise and tenon joints with dowels, which provided much more stability. It took longer to assemble, but the result was worth it.
I also made sure to reinforce the joints with wood glue and screws, which helped prevent warping and loosening over time. For the table, I used a technique called biscuit joinery, which allowed for precise alignment and a stronger connection. These steps took more time, but they made a significant difference in the overall stability of the set.
Investing time in proper joinery and assembly can save you from future headaches. While it may seem like an extra step, it's crucial for ensuring your set is built to last. I've seen many DIY projects fail because of poor assembly, and I want to avoid that at all costs.
Invest in mortise and tenon joints or biscuit joinery for a more stable and long-lasting set. Always reinforce with wood glue and screws.
“There's something about the way sunlight hits the surface of a weathered wooden chair, the slight creak as you settle into it, and the scent…”— Customizing Dining Chairs editors
Related: Dining room chair cushions
Adding the Final Touches: Cushions, Upholstery, and Finishes

Once the frame was built, I moved on to the final touches — cushions, upholstery, and finishes. I made sure to use high-quality fabric for the cushions, which not only looked great but also felt comfortable to sit on. I chose a weather-resistant fabric that could withstand the elements and still maintain its shape and color.
I also applied a few coats of outdoor paint to the wood, which not only protected it from the sun but also gave it a fresh, new look. I used a spray paint that was designed for outdoor use, and it worked incredibly well. It took a few hours to dry, but the result was worth the wait. The finish not only protected the wood but also made it easier to clean and maintain.
Adding the final touches was one of my favorite parts of the project. It's the moment when all the hard work comes together, and you can see the finished product in its full glory. Whether it's the texture of the fabric, the sheen of the paint, or the comfort of the cushions, these details can make a big difference in how your set looks and feels.
Related: Staples office chairs
Testing Your Set: Comfort, Stability, and Longevity
After finishing my first set, I spent an entire afternoon testing it. I sat in the chairs to see how comfortable they were and adjusted the cushions to find the perfect fit. I also tested the stability of the table by placing heavy objects on it and checking for any wobbling or loosening.
I made a few adjustments — like tightening the screws and reinforcing the joints — based on what I found during testing. These small changes made a big difference in the overall feel of the set. I also tested the durability of the materials by exposing them to rain and sun, which gave me a better idea of how they would hold up over time.
Testing your set is an important step that shouldn't be skipped. It allows you to identify any issues before they become bigger problems. Whether it's the comfort of the seating or the stability of the frame, taking the time to test everything ensures that your set is ready for use.
Related: How to upholstered dining room chairs
Maintaining Your Set for Longevity
Even the best-built set can suffer from wear and tear over time. I've learned that regular maintenance is crucial for keeping your set in top condition. I make it a point to clean the cushions after each use and inspect the wood for any signs of damage or decay.
I also apply a fresh coat of paint every few years to protect the wood from the sun and moisture. This not only helps prevent fading but also makes the set easier to clean and maintain. I've found that a little bit of maintenance goes a long way in keeping your set looking new.
Taking the time to care for your set ensures that it lasts for years to come. Whether it's a quick wipe-down after a rainstorm or a thorough cleaning once a month, these small steps can make a big difference in the overall condition of your set.
Maintenance is the key to longevity.
Related: Dining chairs dark wood
Customizing Your Set to Fit Your Space
When I first started building my set, I didn't consider the size of my backyard. I made a set that was too large for the space, which made it look cluttered and uncomfortable. My second attempt took into account the dimensions of my outdoor area and the way I intended to use it — for example, I needed a table that was large enough for a few people to sit around but not so large that it took up the entire space.
I also considered how the set would look from different angles. I made sure the colors and finishes matched the rest of my outdoor decor, and I used a layout that allowed for easy movement and seating. It took some trial and error, but the final design was perfect for my space.
Customizing your set to fit your space is an essential step that shouldn't be overlooked. Taking the time to consider the size, layout, and visual appeal of your set ensures that it looks and functions the way you want it to.
💰 Budget Build
Use affordable materials like pressure-treated pine and DIY cushions for a cost-effective solution.
⏰ Weekend Version
Complete the project in one weekend with pre-cut materials and simple assembly.
🎨 Upgraded Finish
Use high-quality wood and weather-resistant fabric for a polished, long-lasting look.
🛋️ Small-Space Adaptation
Create a compact set that's perfect for patios or balconies with limited space.
арендовать Rental-Safe Option
Build a set that's easy to disassemble and transport for rental properties or temporary use.
| The mistake | Why it happens | The fix |
|---|---|---|
| Using the wrong type of wood for outdoor use. | Using wood that's not treated for outdoor conditions can lead to rot, warping, and decay over time. | Choose weather-resistant wood like cedar or pressure-treated pine to ensure your set lasts for years. |
| Skipping the joinery steps during assembly. | Weak joints can lead to a wobbly or unstable set that doesn't last. | Use strong joinery techniques like mortise and tenon joints or biscuit joinery to create a more stable and long-lasting set. |
| Ignoring the importance of maintenance. | Without regular cleaning and inspections, your set can suffer from wear and tear over time. | Make it a habit to clean and inspect your set regularly to ensure it stays in good condition for years to come. |
| Choosing the wrong size or layout for your space. | A set that's too large or too small can look out of place and not function well in your outdoor area. | Take the time to measure your space and consider how you plan to use the area to create a set that fits perfectly. |
Patio Furniture Set
Common Questions
What tools do I need to build a patio furniture set?
Can I use a different type of wood for my set?
How long does it take to build a patio furniture set?
What if I make a mistake during the assembly?
References
- Technical Study of the Sofa Super Store Fire - NIST (nist.gov)
- Guide for Use of Wood Preservatives in Historic Structures (research.fs.usda.gov)
- 33v07-201602-Solid-Waste.pdf (deq.louisiana.gov)
Cite this guide
Customizing Dining Chairs (2026). Patio Furniture Set. https://chairscape.com/patio-furniture-set/
Feel free to cite or share this guide.