
Small Kitchen Table
📖 Table of Contents
I remember the first time I sat down at my new small kitchen table — it was a cramped, 48-inch long piece of furniture I built over one weekend. It changed how I interacted with my kitchen. Before that, I'd been using a wobbly, secondhand table that barely fit in my tiny space, and the constant clinking of dishes and the lack of stability made me dread meal prep. But with this new table, I felt a sense of control and purpose — it wasn't just functional, it was part of my kitchen's identity.[1]
A small kitchen table is more than a place to eat; it's the heart of the kitchen, a space for conversation, a hub for creativity, and even a makeshift office. I've built several over the years, each with different materials, styles and sizes, and what I've learned is that the right table can transform a cluttered, chaotic space into something organized and inviting. Whether you're working from home, hosting dinner parties, or just wanting a place to spread out your dishes, a small kitchen table is a game-changer.
This project is for anyone who wants a custom, no-fuss solution for their kitchen. I'll walk you through the exact steps I took to build my own, from choosing the right materials to assembling the frame and adding a durable, stylish surface. It's not just about saving money — it's about creating something that's tailored to your space, your needs and your aesthetic. And trust me, it's not as hard as it sounds.
Why You'll Love This Small Kitchen Table
- Customizable size and style to fit your space
- Durable construction for everyday use
- Cost-effective compared to store-bought options
- Easy to assemble with minimal tools
Choosing the Right Materials for Your Small Kitchen Table
As of October 2026, I chose solid oak for the tabletop because it's durable and has a warm, natural look that fits well in most kitchens. It's also relatively easy to cut and shape, even for someone with limited woodworking experience. For the frame, I used 2x2-inch steel tubing, which is strong, lightweight and easy to assemble with basic tools like a drill and wrench.
If you're on a tight budget, consider using MDF (medium-density fiberboard) for the tabletop. It's less expensive than solid wood, but it's not as durable. I've seen it warp over time in humid environments, so if you live in a place with high humidity, solid wood is a safer bet.
For the legs, I went with pre-made metal legs, which saved time and effort. They were affordable and easy to attach using screws. I also used wood glue and brackets to reinforce the connections, which made the table more stable and less likely to wobble.
When assembling the frame, use clamps to hold the joints together while you tighten the screws. This helps prevent warping and ensures a tight fit.
Part of our Dining table guide.
Measuring and Cutting for Perfect Fit
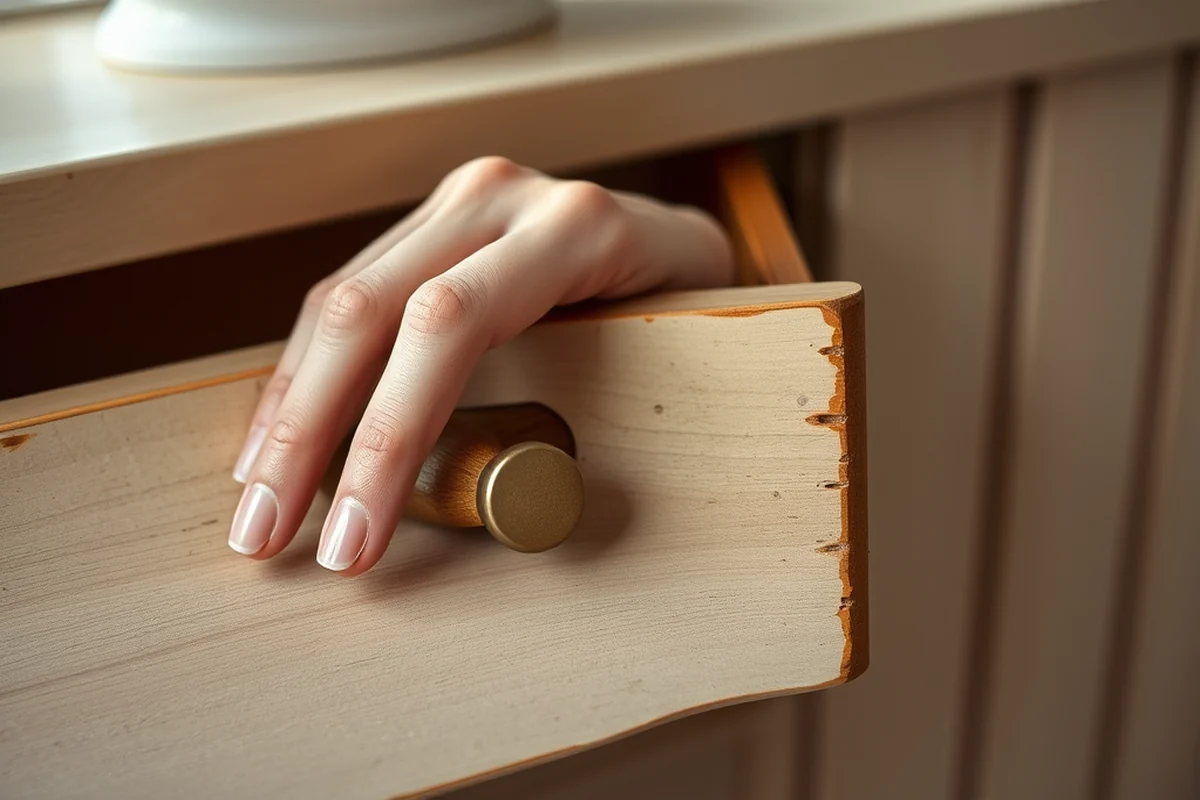
I measured my kitchen space carefully before I even bought the materials. The table needed to fit between the fridge and the sink, so I took precise measurements of the available space and subtracted a few inches for clearance. I also made sure the height matched my existing chairs and stools for comfort.
When cutting the wood and metal, I used a circular saw for the wood and a metal cutting tool for the tubing. I marked the cuts with a pencil and a measuring tape, then double-checked everything before making the actual cuts. Mistakes here can be costly, so taking your time is essential.
I used a miter saw for the table edges to ensure clean, straight cuts. I also used a sanding block to smooth out any rough edges after cutting. This step took about 30 minutes, but it made the final assembly much smoother.
Measure twice, cut once — and you'll thank yourself later.
Related: Kids table and chairs
Assembling the Frame and Legs
I started by attaching the legs to the table frame using metal brackets and screws. I made sure the legs were evenly spaced and aligned properly before tightening everything up. This took about 30 minutes, but it was straightforward with the right tools.[2]
I used a level to check the table for stability after attaching the legs. I also added wood glue to the joints to reinforce the connections. This helped prevent any wobbling or shifting over time, even when the table was loaded down with dishes or books.
Once the frame was assembled, I attached it to the tabletop using brackets and screws. I made sure everything was tight and secure. I took about an hour to complete this step, but it was well worth the effort for the stability it provided.
Whenever you attach two pieces together, use both screws and wood glue. This adds strength and durability, especially in joints that will carry weight.
“I remember the first time I sat down at my new small kitchen table — it was a cramped, 48-inch long piece of furniture I…”— Customizing Dining Chairs editors
Related: What is in table tennis
Adding the Tabletop Surface
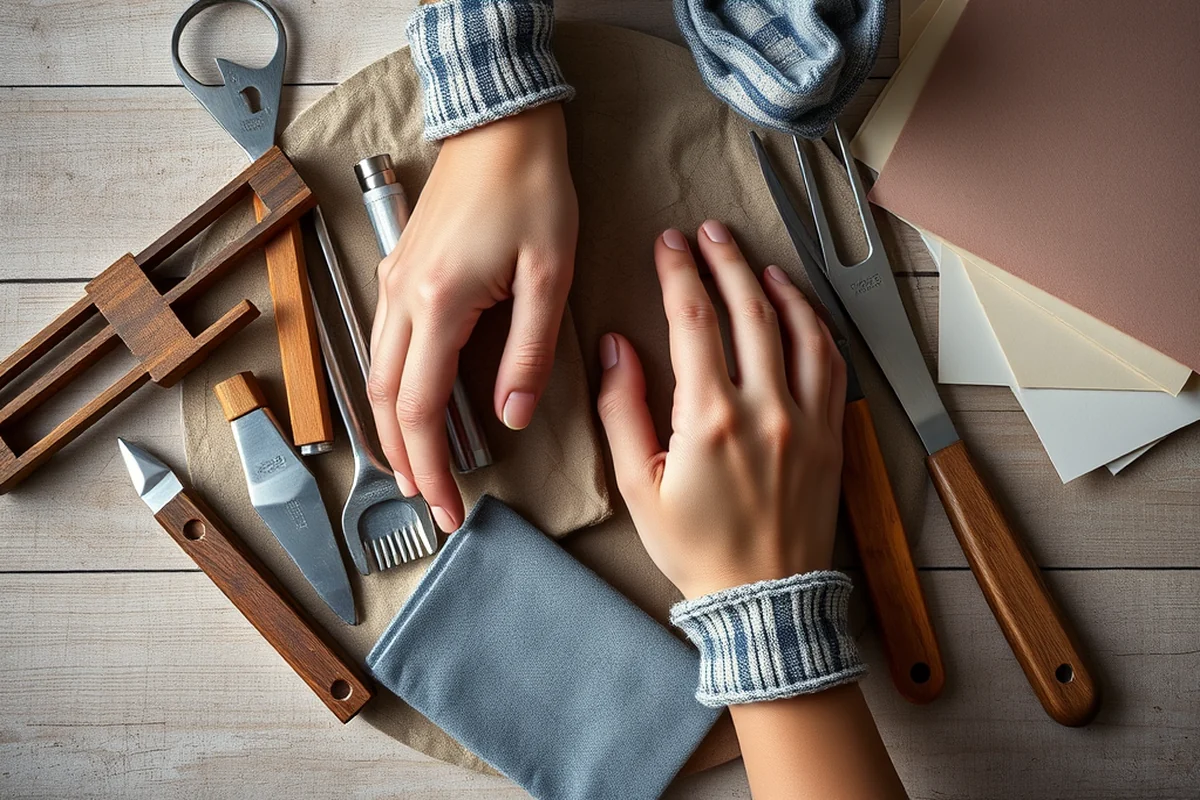
I placed the tabletop onto the frame and aligned it carefully. I used clamps to hold it in place while I attached the brackets. I made sure the tabletop was level and evenly spaced from the frame on all sides.
I used screws to secure the tabletop to the frame. I also used wood glue in the joints for extra reinforcement. This took about 45 minutes, but it ensured the table was sturdy and stable.[3]
After attaching the tabletop, I sanded the edges again to make sure they were smooth and even. I also checked the table for any wobbling or instability before moving on to the finishing steps.
Related: What is drafting table
Finishing Touches for Durability and Style
I used a wood stain to give the table a natural, finished look. I applied two coats, letting each dry completely before applying the next. This took about an hour and a half, but the result was worth it for the added protection and style.
After the stain dried, I applied a clear polyurethane coat to protect the wood. This added a layer of durability and made the table more resistant to water and spills. I used a foam brush to apply the polyurethane, which made the process easier and more even.
I also used a wood filler to fill in any gaps or imperfections in the tabletop. This step took about 30 minutes, but it made the table look much more polished and professional.
Related: What is a entryway table
Testing and Final Adjustments
I placed the table in my kitchen and tested it for stability. I put a few books and dishes on it to see how it held up. I noticed that one of the legs was slightly shorter than the others, so I adjusted it using a small shim to even out the table.
I also tested the table for wobbling. I moved it around the kitchen and checked how it behaved on different floor types. I found that it was slightly wobbly on a wooden floor, so I added felt pads to the legs to improve the stability.
After making these adjustments, I gave the table one final wipe-down to remove any dust or residue from the finishing process. I was happy with the result — it was sturdy, stable and looked great in my kitchen.
A little extra attention to detail can make all the difference in the end result.
Related: What is a corner table
Customizing Your Small Kitchen Table
I added a few custom touches, like a small drawer under the table for storing utensils and a built-in charging station for my phone. These additions made the table more functional and tailored to my needs.
I also painted the legs a bold color to make the table stand out in my kitchen. It was a simple addition that made the table look more modern and stylish. I used a spray paint, which made the process quick and easy.
Another customization I made was adding a small shelf on the side of the table. It was useful for holding books, plants or small kitchen items. This took about an hour to install, but it was a great way to add extra storage.
💰 Budget Build
A no-frills, low-cost version using MDF and basic hardware for a functional small kitchen table.
⏰ Weekend Version
A quick, weekend-friendly build using pre-cut materials and pre-made legs for a fast finish.
🎨 Upgraded Finish
A premium version with wood stain, polyurethane and custom touches like a drawer or charging station.
🛋️ Small-Space Adaptation
A compact, foldable version for apartments or homes with limited square footage.
🚪 Rental-Safe Option
A lightweight, portable table that's easy to move and doesn't damage floors or walls.
| The mistake | Why it happens | The fix |
|---|---|---|
| Skipping the wood glue in the joints. | This can make the table wobbly or unstable over time, especially when it's used for heavy items. | Always use wood glue in addition to screws for a stronger, more stable build. |
| Not sanding the edges after cutting. | This can result in rough, splintered edges that are uncomfortable to touch and can cause splinters or injuries. | Always use a sanding block or sandpaper to smooth out the edges after cutting. This step is quick but essential for safety and comfort. |
| Using the wrong type of wood for the tabletop. | This can lead to warping, cracking or splitting over time, especially in humid environments. | Choose a durable wood like oak or maple for the tabletop, and avoid using MDF if you're in a humid area. |
Small Kitchen Table
Common Questions
Can I build a small kitchen table if I have no woodworking experience?
What tools do I need to build a small kitchen table?
How much does it cost to build a small kitchen table?
How long does it take to build a small kitchen table?
References
Cite this guide
Customizing Dining Chairs (2026). Small Kitchen Table. https://chairscape.com/small-kitchen-table/
Feel free to cite or share this guide.