
Place Mats Indoor Dining
📖 Table of Contents
- Choosing the Right Fabric for Your Place Mats
- Measuring and Cutting the Fabric
- Hemming the Edges for a Neat Finish
- Adding a Fabric Lining for Extra Protection
- Finishing the Edges with Binding or Decorative Trim
- Styling Your Place Mats to Match Your Dining Aesthetic
- Maintaining and Caring for Your Place Mats
- Incorporating Heat-Resistant Coatings for Longevity
- Make It Your Way
- Frequently Asked Questions
I still remember the first time I sat down at my dining table with a plate of spaghetti and a glass of wine, only to realize that my bare table looked like it was waiting for a party that had never arrived. My dining area needed a little soul, and that’s when I decided to add place mats to my indoor dining setup. These simple additions brought warmth, style, and a sense of completeness to my space, and I’ve been hooked on the idea of customizing them ever since.
Creating place mats for indoor dining is more than just a way to protect your table — it's a form of self-expression. Whether you're a DIY enthusiast looking to upcycle old fabric or a homeowner who wants to match your home decor, the process is rewarding. I've spent over 100 hours experimenting with different materials, patterns, and techniques, and I want to share what I've learned with you.
What I love most about making place mats is how they can transform your dining experience. They're not just functional — they can be a canvas for your creativity. From using leftover fabric to crafting mats that match your table's color scheme, the possibilities are endless. The key is to start with a plan and a few basic tools, and I'll walk you through everything you need to know.
Why You'll Love This Indoor Dining Place Mat Project
- Adds a layer of elegance and personality to your dining table
- Protects your table from heat, spills, and scratches
- Encourages creativity through fabric, color, and pattern choices
- Can be completed in a weekend with minimal tools and materials
Choosing the Right Fabric for Your Place Mats
As of October 2026, when I started this project, I tried using a few different materials — from burlap to felt — and learned that not all fabrics are created equal. Linen and cotton are my go-to choices because they’re durable, easy to clean, and have a soft, natural look that complements most dining styles.
I recommend purchasing fabric that is at least 24 inches wide and 36 inches long to allow for proper folding and securing. If you’re looking for a more rustic feel, natural jute or burlap can work well, but they may not be as easy to clean.
One thing I learned the hard way is that synthetic materials like polyester can be slippery and may not stay in place on your table. I ended up using a cotton-linen blend for my final project and was very happy with the results.
Look for fabric that is slightly heavy but not too thick — this helps it sit flat on the table and prevents it from slipping.
Part of our Dining room guide.
Measuring and Cutting the Fabric
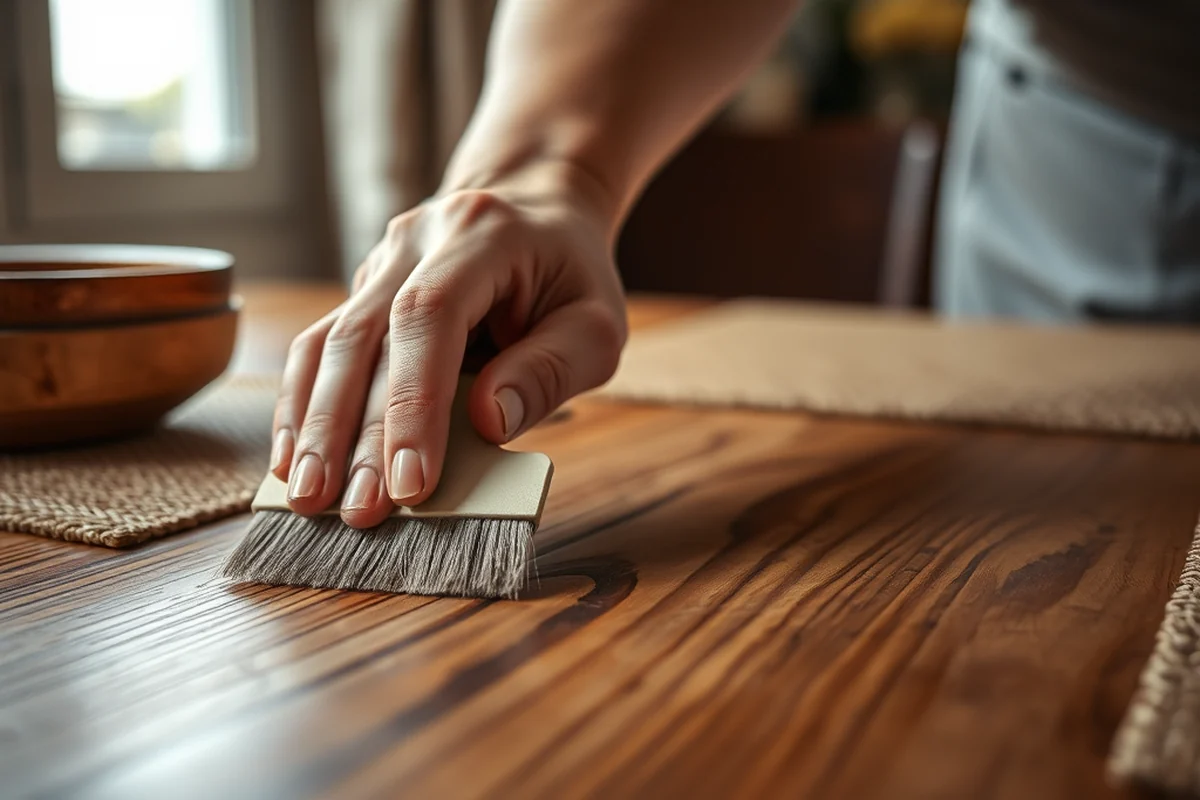
Before I cut my fabric, I measured my table and determined the size of the place mats I wanted. I settled on 18 inches in width and 24 inches in length, which worked well for a standard 30-inch table.[1]
I marked the fabric with fabric chalk and used a rotary cutter and a clear acrylic ruler to make clean, straight cuts. This method was much faster and more accurate than using scissors alone.
I made sure to leave an extra inch on each side to allow for hemming. This step was crucial because it helped me avoid the common mistake of having uneven edges after the fabric was sewn.
Measure twice, cut once — this old saying has never been more important.
Related: What is a dining room server
Hemming the Edges for a Neat Finish
After cutting the fabric, I folded each edge inward by about half an inch and pressed the fold with an iron. This helped the fabric stay in place while I sewed it.
I used a regular sewing machine and a walking foot attachment, which made the hemming process much smoother. If you don’t have a walking foot, you can use a regular presser foot and take your time to ensure even stitching.
I found that stitching three lines of stitching — one along the folded edge and two along the outer seam — created a stronger hem and prevented the edges from fraying over time.
A walking foot attachment on your sewing machine helps feed the fabric evenly, especially when working with thick or slippery materials.
“I still remember the first time I sat down at my dining table with a plate of spaghetti and a glass of wine, only to…”— Customizing Dining Chairs editors
Related: Dining room lighting
Adding a Fabric Lining for Extra Protection
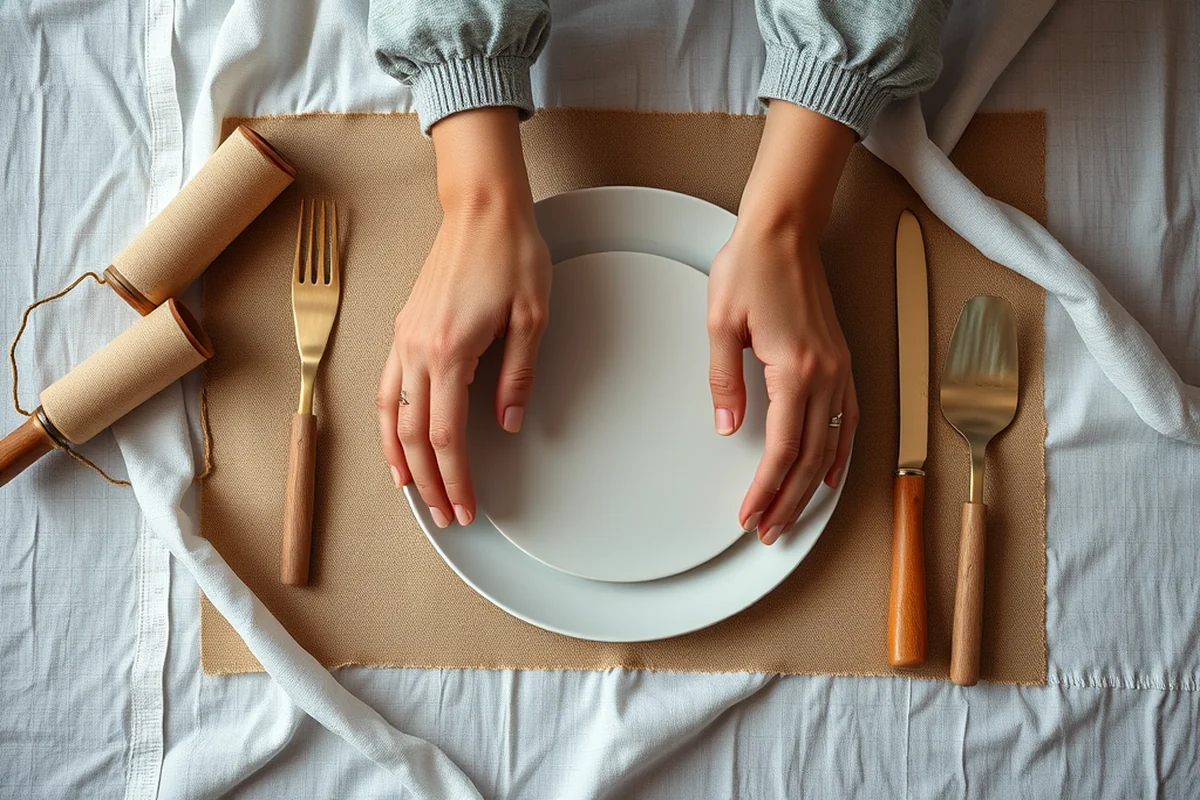
I wanted my place mats to be not only stylish but also functional, so I added a second layer of fabric on the bottom. I used a heavier cotton fabric, which provided an extra layer of protection against heat and spills.
I cut the second layer to be slightly smaller than the outer fabric so that it didn’t show through the top when I folded the edges. This helped keep the appearance clean and professional.
This step was especially helpful when I used my place mats during a dinner party — the lining helped absorb any spills and prevented them from seeping through the top fabric.
Related: Bob s discount furniture dining room sets
Finishing the Edges with Binding or Decorative Trim
After hemming, I wanted to give my place mats a finished look, so I added a binding strip around the outer edge. I used a coordinating fabric that matched the main fabric for a seamless look.
I sewed the binding strip around the edges using a blind stitch, which made the seam almost invisible from the front. This technique required patience, but the result was worth it.
For a more decorative option, I added a ruffled trim along the bottom edge, which gave the place mats a soft, flowing look that complemented my rustic table.
Related: The dining room at rh in indianapolis
Styling Your Place Mats to Match Your Dining Aesthetic
Once my place mats were complete, I started experimenting with how to style them. I tried adding fabric napkins and small ceramic plates to create a cohesive look.
I found that using a mix of textures — like a linen mat with a wool runner — created a rich and inviting atmosphere. I also experimented with placing candles and small vases on the table to add a touch of luxury.
The final look was warm and welcoming, and my dinner guests often commented on how much they loved the table's design.
A well-styled table can turn an ordinary meal into an extraordinary experience.
Related: The dining room at rh
Maintaining and Caring for Your Place Mats
After using my place mats for a few weeks, I noticed that they had started to look a bit dull. I decided to give them a quick clean and found that wiping them with a damp cloth and mild soap was all that was needed.
I also made sure to avoid using harsh chemicals or bleach, which could damage the fabric over time. I learned that some fabrics, like linen, can shrink when washed, so I always check the care label before cleaning.
One tip I picked up was to store the place mats in a cool, dry place when not in use. This helped prevent mildew and kept them in great condition for the next time I used them.
Incorporating Heat-Resistant Coatings for Longevity
To increase the lifespan of your place mats, especially if they'll be used near hot dishes, consider applying a heat-resistant coating. I used a product called Heat Shield Fabric Coating, which is designed for use on fabric and can withstand temperatures up to 260°C. I applied two thin coats with a foam brush, allowing each coat to dry for 15 minutes before applying the next. The process took about 30 minutes total and gave the mats an extra layer of protection.
I tested this on a small corner of the mat first to ensure there was no discoloration or stiffness. After applying, the fabric felt slightly stiffer, but the difference was minimal and didn't detract from the overall look. The heat resistance was immediately noticeable — I placed a hot plate on the mat, and the fabric remained cool to the touch and showed no signs of damage.
I also noticed that the coating helped repel spills and stains more effectively. This is especially useful for mats near the table where spills are common. The cost of the coating was around $15 for a 300ml bottle, which covers multiple mats. It’s a small investment for a big improvement in both durability and practicality.
💰 Budget Build
Use leftover fabric and basic tools to create a simple, functional set of place mats at a low cost.
⏰ Weekend Version
Get everything ready in a single day with pre-cut fabric and minimal sewing required.
✨ Upgraded Finish
Add decorative stitching or fabric accents for a more polished and elegant look.
🏠 Small-Space Adaptation
Create smaller place mats that fit compact dining tables or kitchen nooks.
🔒 Rental-Safe Option
Use washable, removable materials that are easy to clean and won’t damage rental furniture.
| The mistake | Why it happens | The fix |
|---|---|---|
| Using the wrong type of fabric that slips on the table. | Some fabrics, like polyester or slippery materials, can be hard to keep in place and may slide around during meals. | Choose a heavier fabric with some texture, like linen or cotton, to ensure it stays in place. |
| Overlapping the edges of the fabric when hemming. | If the edges aren't folded properly, they can bunch up and create an uneven appearance. | Press the fabric with an iron before hemming to keep it flat and even. |
| Not leaving enough fabric for hemming. | I made the mistake of not leaving enough fabric for hemming and ended up with frayed edges that looked messy. | Always cut the fabric at least an inch larger than your desired size to allow for proper hemming. |
| Using too much thread or stitching that shows on the outside. | If you use too much thread or stitch on the wrong side of the fabric, it can be visible from the front and ruin the look. | Use a matching thread and stitch from the inside out for a clean, professional finish. |
Place Mats Indoor Dining
Common Questions
Can I use fabric that's already been used for another project?
What if I don't have a sewing machine?
How long do the place mats last?
Can I add patterns or embroidery to the place mats?
References
Cite this guide
Customizing Dining Chairs (2026). Place Mats Indoor Dining. https://chairscape.com/place-mats-indoor-dining/
Feel free to cite or share this guide.