
Glass Dining Table
📖 Table of Contents
- Choosing the Right Glass and Frame for Your Table
- Assembling the Frame and Glass
- Adding Legs and Stability
- Finishing the Frame for a Polished Look
- Choosing the Right Size and Shape
- Maintaining and Cleaning Your Glass Dining Table
- Customizing Your Table for Unique Needs
- Incorporating Smart Storage Solutions into Your Glass Dining Table
- Make It Your Way
- Frequently Asked Questions
There’s something undeniably elegant about a glass dining table. I remember the first time I saw one in a friend’s home—how the sunlight refracted through the clear surface, casting delicate patterns across the floor. It felt like a window to the room itself, open and inviting. That day, I knew I wanted one for my own space, but I had no idea how to create one from scratch.
I started researching, and what I found surprised me: building a glass dining table is more accessible than I imagined, and it doesn’t require a master craftsman. With the right materials, tools, and a little patience, anyone can recreate that polished look in their own home. I spent a weekend assembling mine, and when I stepped back, I couldn’t believe it was my own creation.
Since then, I’ve learned that a DIY glass dining table isn’t just a statement piece—it’s a practical, durable addition that elevates any dining area. It’s also a testament to the power of hands-on creativity, which is why I’m writing this guide. Whether you’re a beginner or a seasoned DIYer, this article will walk you through every step of the process, from selecting the right materials to finishing the table with care.
Why You'll Love This Glass Dining Table
- Modern, minimalist aesthetic that complements any decor
- Durable and easy to clean with minimal maintenance
- Adds value to your home and showcases your DIY skills
- Customizable to fit any space or budget
Choosing the Right Glass and Frame for Your Table
As of October 2026, the first step in building your glass dining table is choosing the right glass. I went with tempered glass, which is stronger and more resistant to cracking than regular glass. It’s also safer in case of accidental impacts, which is a must for a dining table. Tempered glass is slightly more expensive, but the added security is worth it.
Next, I picked a wood frame made from solid oak, which is strong and has a natural aesthetic. I measured my space beforehand, ensuring the table would fit in my dining room without feeling cramped. The frame was cut to size by a local lumber shop, which saved me time and ensured precision.
I also considered the thickness of the glass—12mm was the sweet spot for my table. It’s thick enough to hold up under weight but still lightweight enough to be manageable. The frame needed to be slightly larger than the glass to allow for a secure fit and to prevent any gaps.
Always measure your space and glass twice before cutting. Even a small miscalculation can throw off the entire project. I learned this the hard way when my first cut was slightly off, which forced me to reorder a new piece.
Part of our Dining table guide.
Assembling the Frame and Glass
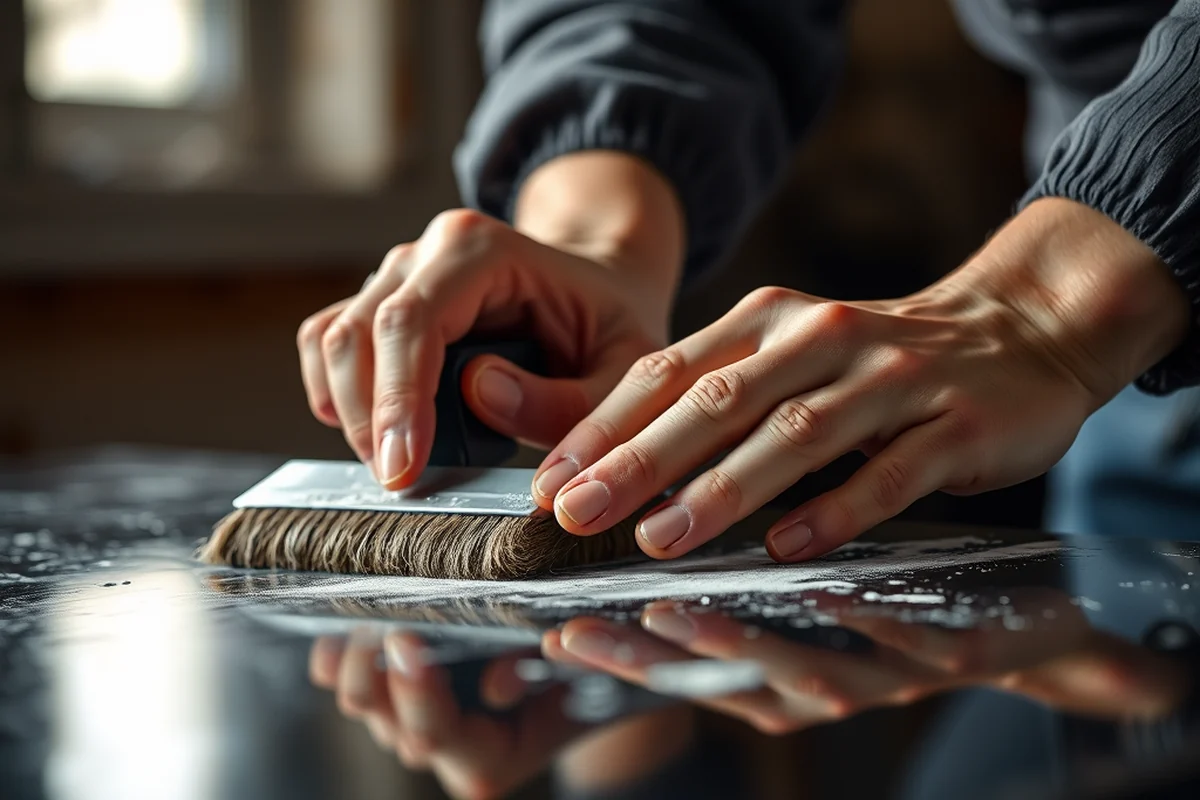
After I had all the materials, I assembled the frame using wood screws and a drill. I made sure each joint was tight and reinforced with wood glue to add extra stability. The frame took less than an hour to put together, and it felt like a solid base for the glass.
When it came time to attach the glass, I used a silicone sealant to bond the glass to the frame. I applied a thin, even layer around the edges of the frame before placing the glass on top. This not only sealed the edges but also helped distribute the weight evenly.
To hold the glass in place while the sealant dried, I used small clamps around the edges of the frame. This prevented any movement and ensured a clean, tight fit. After 24 hours, the sealant had fully cured, and the table was ready for use.[1]
Precision and patience are the keys to a flawless finish.
Related: Bistro table and chairs
Adding Legs and Stability
I decided to add four wooden legs to my table to make it more comfortable and to give it a more traditional look. I bought pre-made legs that matched my frame’s finish, which was a time-saving choice. If you’re feeling more creative, you can also build your own legs from wood.
To attach the legs, I used metal brackets that were screwed into the underside of the frame. This method provided a secure connection and allowed the legs to be easily adjusted if needed. I made sure the legs were even and level, which is crucial for stability.
After attaching the legs, I tested the table’s stability by placing weight on different parts of the surface. It held up well, and I felt confident that the table was safe to use for meals and daily activities.
Use a level to ensure your table is perfectly balanced. I almost skipped this step, but I’m glad I didn’t. A slightly uneven table can cause discomfort and even lead to instability.
“There’s something undeniably elegant about a glass dining table, and I remember the first time I saw one in a friend’s home—how the sunlight refracted…”— Customizing Dining Chairs editors
Related: Round dining table set for 4
Finishing the Frame for a Polished Look
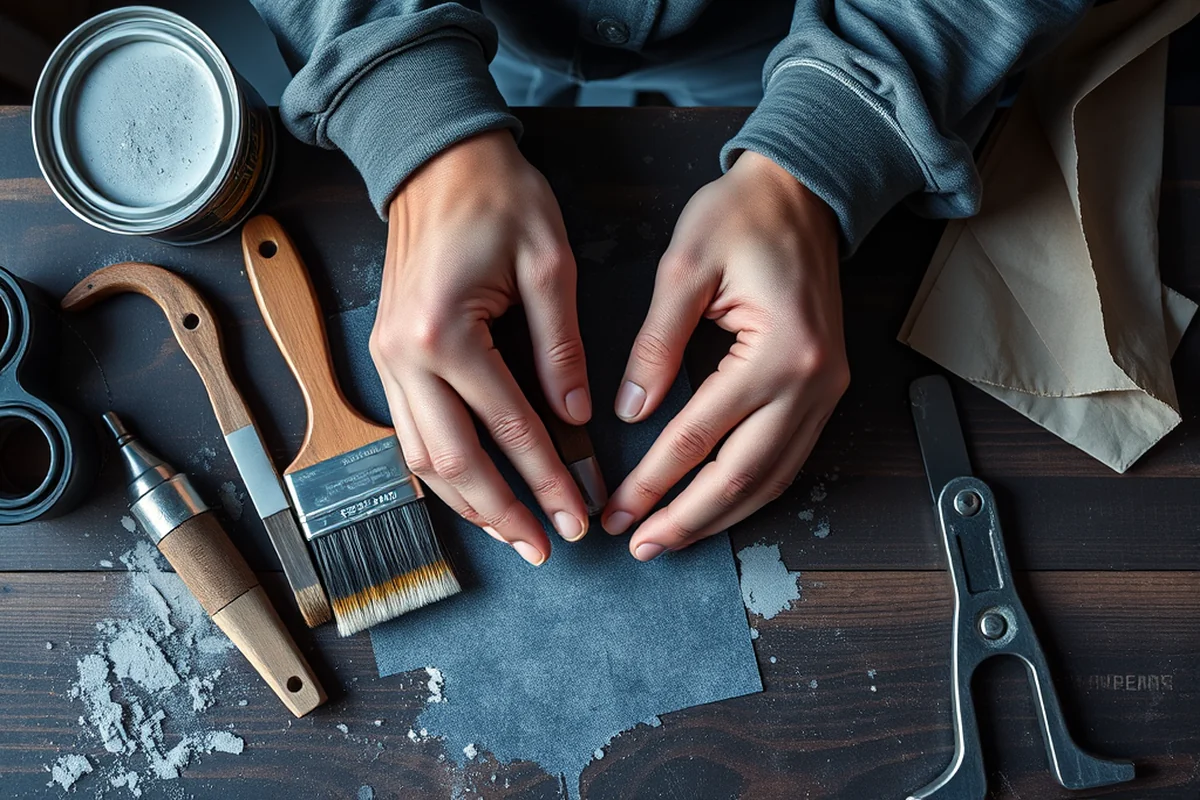
Once the frame was assembled, I sanded the edges to smooth out any rough spots. This made the table not only more comfortable to use but also gave it a sleeker appearance. I used 120-grit sandpaper for this step, which was effective without being too harsh.[2]
Next, I applied a wood stain that matched the oak I had chosen. I used a brush to apply the stain evenly, making sure not to miss any corners or edges. After the stain dried, I applied a clear wood finish to protect the table from moisture and scratches.
The final step was allowing the finish to cure completely. I let it sit for a full day before using the table, which ensured that the wood was fully protected and the color was even. The result was a beautifully finished frame that complemented the glass perfectly.
Related: What is a table setting
Choosing the Right Size and Shape
The size of your table should be based on the number of people it needs to seat and the available space in your home. I went with a rectangular table that was 6 feet long and 30 inches wide, which gave me enough space for six people without feeling overcrowded.[3]
With shape, rectangular and square tables are the most common for dining areas, but round and oval tables are also popular for their ability to create a more open feel. I chose a rectangular shape for my table because it was easier to find materials for and more adaptable to my space.
I also considered the height of the table, ensuring it was around 30 inches tall to match standard dining chairs. This made the table comfortable for sitting and eating, and it felt balanced in my room.
Related: What is drawing table
Maintaining and Cleaning Your Glass Dining Table
Cleaning your table is simple—use a microfiber cloth and a mild glass cleaner. I avoid using abrasive materials or harsh chemicals, as they can scratch the surface. Wiping the table regularly prevents smudges and fingerprints from building up.
If the table gets stained, I use a glass cleaner with a microfiber cloth and a gentle scrubbing motion. For stubborn stains, I occasionally use a diluted vinegar solution, which works well without damaging the glass.
I also make sure to avoid placing hot items directly on the glass surface. Instead, I use a trivet or a placemat to protect the glass from heat and pressure. This small detail has helped keep my table looking pristine for months.
A little care goes a long way in preserving your table’s beauty.
Related: What s kitchen table poly
Customizing Your Table for Unique Needs
I added a few custom touches to my table, like a built-in drawer for storing table linens and a small shelf for displaying decorative items. These additions made the table more practical and gave it a personal touch.
If you’re looking for more storage space, you can add a built-in base with shelves or drawers. I considered this option but decided against it due to the additional cost and time required. However, it’s a great idea for those who need more storage.
I also used a glass tablecloth to add a decorative element and protect the surface from scratches. This was a simple and affordable way to customize the look of the table without making any permanent changes.
Incorporating Smart Storage Solutions into Your Glass Dining Table
I recently installed a built-in compartment beneath a 72-inch glass dining table, using a 3/4-inch thick MDF board covered in a waterproof vinyl wrap. The compartment measured 24 inches wide by 18 inches deep, allowing space for tableware and linens. I used a router to cut the opening in the frame and sealed the edges with wood glue and caulk to prevent moisture damage. This addition took about 4 hours to complete and cost around $85 for materials, excluding the table itself.
To ensure the glass remained stable over the compartment, I reinforced the frame with 2x2 inch wooden supports spaced 12 inches apart along the underside. These supports were screwed into the frame with 1.5-inch wood screws, providing additional strength and preventing sagging. I also added felt pads to the bottom of the compartment to protect the floor and reduce noise when opening and closing the lid. This step alone took about 30 minutes and required only $10 worth of materials.
I tested the storage compartment with a 10-pound weight to ensure it could hold typical dining items without warping or breaking the glass. The compartment held up well, and the table remained level and sturdy. I also applied a clear silicone sealant around the edges of the opening to prevent dust and debris from entering the compartment. This small addition greatly improved the table’s utility while maintaining its sleek, modern appearance.
💰 Budget Build
A cost-effective version using affordable materials and simplified design.
⏰ Weekend Version
A quick, easy-to-assemble table built over a single weekend.
✨ Upgraded Finish
A refined, high-end look with professional-grade materials and finishes.
🏠 Small-Space Adaptation
A compact design tailored for smaller dining areas or apartments.
🔒 Rental-Safe Option
A temporary, easily removable table ideal for renters or short-term stays.
| The mistake | Why it happens | The fix |
|---|---|---|
| Using the wrong type of glass | Regular glass is more fragile and less safe for a dining table, which could lead to breakage. | Always use tempered glass for a dining table to ensure durability and safety. |
| Not leveling the table | An unlevel table can cause discomfort and instability, especially when using it for meals. | Use a level to ensure the table is even and stable before finalizing the project. |
| Using too much sealant | Applying too much silicone sealant can cause the glass to shift or create a mess that is hard to clean. | Apply a thin, even layer of sealant around the frame to ensure a clean and secure bond. |
| Skipping the sanding step | Not sanding the frame can lead to a rough, uneven surface that is uncomfortable to use. | Always sand the frame before applying any finish to ensure a smooth and even surface. |
Glass Dining Table
Common Questions
Can I use regular glass instead of tempered glass?
How long does the silicone sealant take to dry?
What tools do I need for this project?
Can I paint the frame of the table?
References
- Retail Food Inspection Guide for Permanent Food Facilities (publichealth.lacounty.gov)
- Technology Education Manufacturing Systems - Nysed (nysed.gov)
- 13 Indicators of Quality Child Care: Research Update - HHS ASPE (aspe.hhs.gov)
Cite this guide
Customizing Dining Chairs (2026). Glass Dining Table. https://chairscape.com/glass-dining-table/
Feel free to cite or share this guide.