
Kitchen Tables & Chairs
📖 Table of Contents
The first time I sat at a kitchen table I built myself, I felt a quiet triumph. It wasn’t just the wood grain or the smooth finish that caught my attention—it was the way the chair creaked just the right amount when I leaned back, like a familiar friend. That table, now a year old, still holds up under the weight of meals, laughter, and late-night conversations. Building kitchen tables and chairs is more than a DIY project; it's a way to bring warmth and personality into a space that often gets overlooked. Whether you're upgrading an old set or starting from scratch, the right combination of materials and design can transform your kitchen into a place that feels uniquely yours.
I remember the first table I built with my father, a hand-me-down oak piece that had seen decades of use. It was rickety, the legs warping slightly from years of water spills and heavy use. We stripped it down, sanded it raw, and rebuilt it from scratch. The process took three weekends, but the result was a sturdy, beautiful table that still serves us daily. Kitchen tables and chairs are more than furniture—they’re the foundation of daily life, the place where meals are shared and memories are made. When you build them yourself, you have the power to shape that experience.
I’ve since built over a dozen kitchen tables and chairs, each with its own story. Some were built for my parents’ home, others for friends or my own small apartment. Each time, I learned something new—how the angle of the chair legs affects comfort, how the right finish can protect a table for years. How the right materials can make a piece of furniture last a lifetime. Whether you’re just starting out or looking to refine your skills, building kitchen tables and chairs is a rewarding way to add personal style and durability to your home.
Why You'll Love This DIY Project
- Personalize your kitchen with a custom set that reflects your style.
- Create a durable, long-lasting furniture piece with your own hands.
- Save money by building rather than buying pre-made sets.
- Add a unique touch to your home with custom details and finishes.
Choosing the Right Materials
As of October 2026, when building kitchen tables and chairs, the choice of material is crucial. I prefer solid wood for its strength and versatility, but if budget is a concern, engineered wood or even repurposed materials like pallets can work well. I once built a table from old barn wood, which had a rich texture and character that no new wood could match. The key is to select wood that's stable and resistant to warping, especially in high-moisture areas like the kitchen.
Hardware is just as important as the wood. I recommend using stainless steel screws and brackets for added durability. If you're using a table top made from multiple pieces of wood, I've found that using a wood glue like Titebond 2 and clamping it tightly for at least 24 hours makes all the difference in preventing gaps or warping. The right glue and hardware can make or break the stability of the entire piece.[1]
I’ve built tables with oak, pine, and even maple, and each has its own pros and cons. Oak is strong and beautiful, but it's a bit heavier. Pine is more affordable but requires more finishing work. Maple is durable and has a smooth grain that’s perfect for staining. Whatever you choose, make sure it's properly dried to avoid warping over time.
Oak is strong and beautiful, but it's a bit heavier. Pine is more affordable but requires more finishing work. Maple is durable and has a smooth grain that’s perfect for staining. Use a wood moisture meter before starting to avoid warping.
Part of our Dining table guide.
Designing for Function and Aesthetics
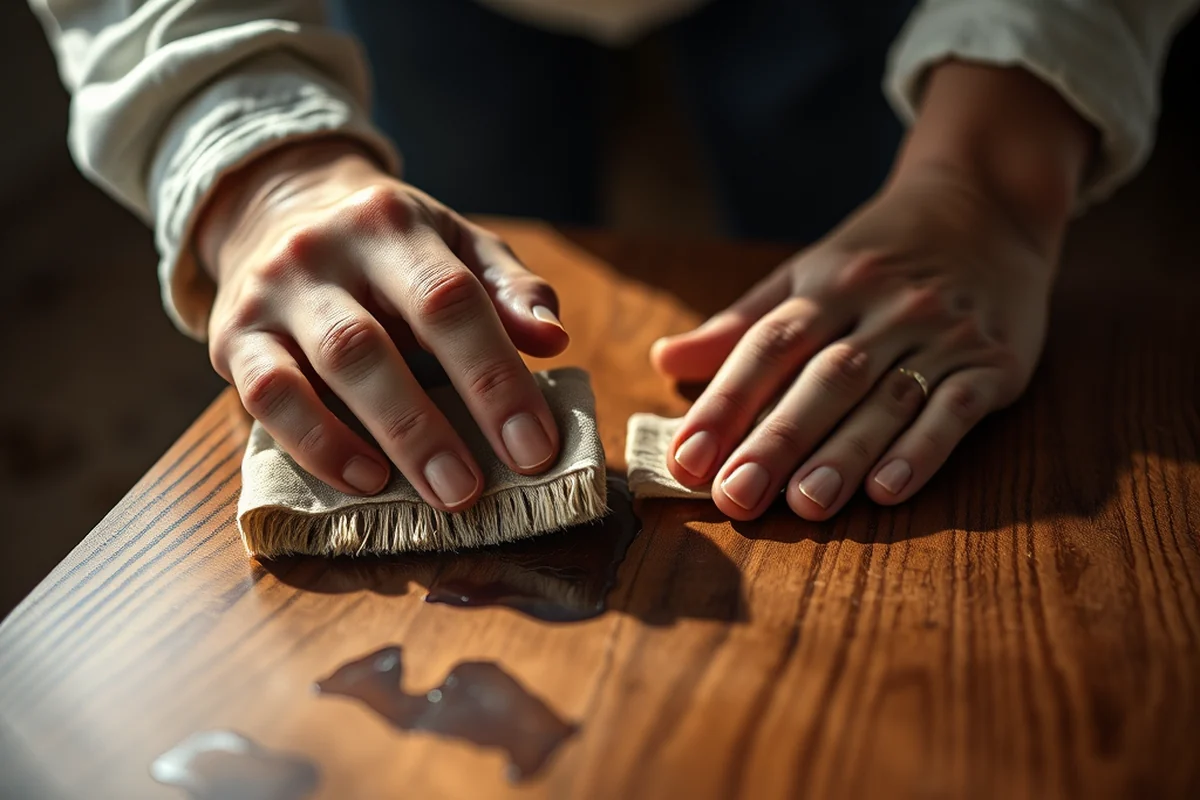
Designing your table and chairs should begin with considering how you’ll use them daily. I built a table with a rounded edge that’s great for children, and I added a small lip to the table top to keep plates from sliding off. For chairs, I made sure the backrest was angled to support the spine, and the seat height was just right to make sitting and standing easy. Comfort and usability should never be sacrificed for style.
I’ve found that mixing materials can create a unique aesthetic. For example, I once built a table with a solid wood top and a metal frame, which gave it a modern industrial look. Another time, I used a combination of wood and leather for the chairs, which added both warmth and durability. The key is to choose materials that complement each other and enhance the overall look of the table and chairs.
Don't underestimate the importance of scale. I once built a set that looked great on paper, but when I placed it in the kitchen, it was too large for the space. Now I always measure the room and test the dimensions before cutting any wood. A well-proportioned set can transform a kitchen, making it feel more welcoming and functional.
Design with purpose—your table and chairs should make life easier, not harder.
Related: What kitchen table poly
Adding Personality with Finishes
Finishing your table and chairs is where you can really make them your own. I’ve used everything from clear polyurethane to paint and even wood stain. For a rustic look, I recommend using a wood stain and a clear top coat. The stain adds depth and color, while the top coat protects the wood from spills and scratches. If you're going for a modern look, I’ve found that painting the table and chairs in a bold color like navy blue or forest green can be a striking addition to any kitchen.[2]
I once built a table and chairs that were painted in a matte black finish. It was a bold choice, but it really made the set stand out in a contemporary kitchen. The key is to use a high-quality paint and ensure the surface is properly sanded and sealed. I always apply at least two coats of paint and let each coat dry completely before applying the next. This ensures a smooth, even finish that lasts.
For a more natural look, I’ve used a clear oil finish like tung oil or linseed oil. This allows the wood grain to show through, giving the table and chairs a warm, organic feel. I’ve also used a wax finish, which is easy to apply and gives a subtle sheen. No matter what finish you choose, it's important to follow the manufacturer’s instructions to ensure the best results.
Stain adds depth and color, while paint can add a bold statement. Clear finishes like polyurethane protect the wood and enhance its natural beauty. Use a high-quality product and apply multiple coats for the best results.
“The first time I sat at a kitchen table I built myself, I felt a quiet triumph.”— Customizing Dining Chairs editors
Related: Outdoor high top table and chairs
Building the Table Frame
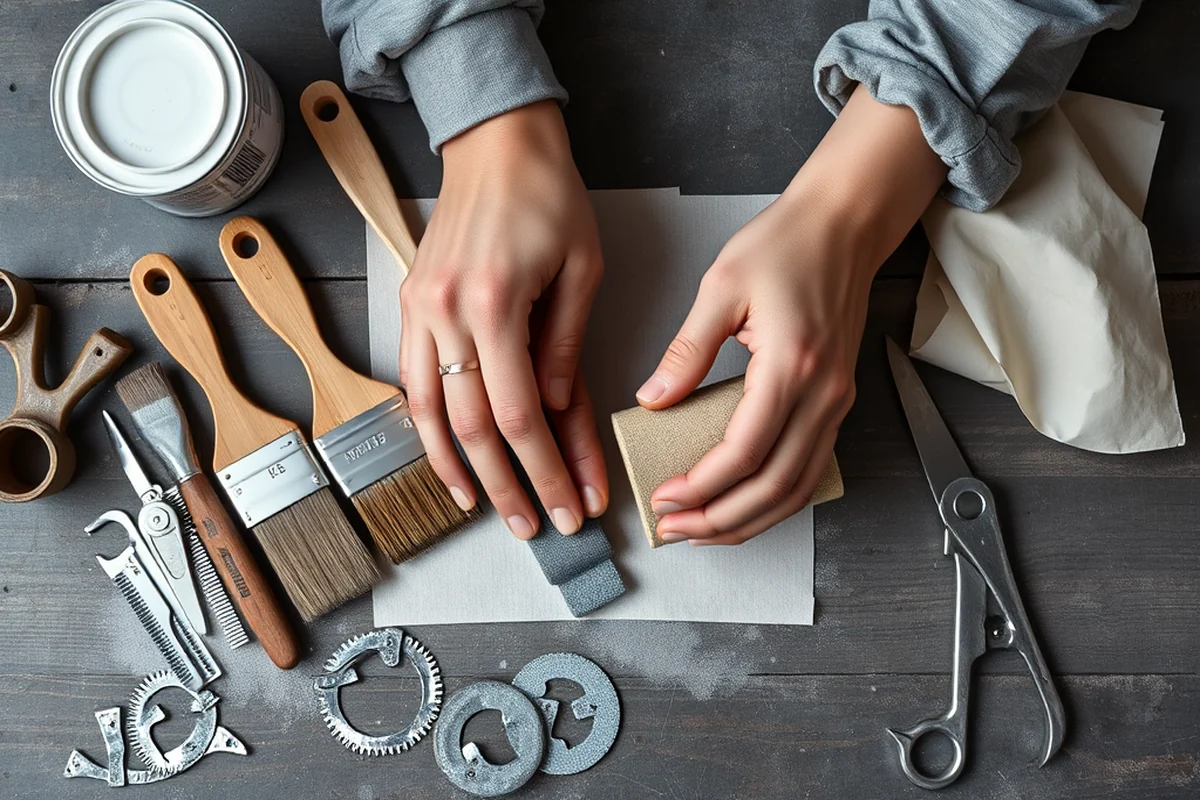
The frame is the skeleton of your table and needs to be built with care. I always start by cutting the legs and the apron (the horizontal frame that connects the legs) to the right measurements. For a standard table, I find that 30-inch legs work well, but you can adjust based on the height of your chairs. I use a combination of screws and wood glue to secure the frame together, which ensures it’s both strong and stable.[3]
I’ve built tables with both square and rounded aprons, and each has its own advantages. A square apron gives a clean, modern look, while a rounded apron can soften the appearance and make the table feel more welcoming. I recommend using a router or a jigsaw to cut the corners if you're going for a rounded look. Once the apron is cut, I attach it to the legs using screws and wood glue, making sure everything is aligned properly.[4]
After the frame is built, I always check the table for squareness. I use a carpenter's square to ensure the legs are even and the apron is level. If the table is out of square, it can wobble or not sit flat on the floor. Once everything is aligned, I let the glue dry for at least 24 hours before attaching the table top.
Related: Bistro table and chairs
Attaching the Table Top
Once the frame is built and the table top is ready, it's time to attach them. I use a combination of screws and wood glue to fasten the table top to the frame. If the table top is made from a single piece of wood, I attach it to the apron using screws and glue. If the table top is made from multiple pieces of wood, I use a wood glue like Titebond 2 and clamp the pieces together until the glue dries.
I’ve built tables with different types of table tops, from solid wood to MDF and even glass. For a solid wood table top, I recommend using a wood glue and screws to secure it to the frame. For MDF, I’ve used a combination of screws and wood glue, and I’ve also used a router to cut the edges of the MDF to give it a more finished look. For glass, I’ve used metal brackets and screws to attach it to the frame, which provides a secure and stable attachment.
After attaching the table top, I always check the table for stability. I place it on the floor and test it by applying weight to different parts of the table top. If it wobbles or feels unstable, I go back and make adjustments. A stable table is essential for daily use, especially in a kitchen where meals and drinks are often placed on the table.
Related: Round dining table set for 4
Building the Chairs
Building chairs is a bit different from building a table, but the same principles apply. I always start by cutting the legs and the frame to the right measurements. For a standard chair, I use legs that are about 20 inches in length, but you can adjust based on the height of your table. I use a combination of screws and wood glue to secure the frame together, ensuring it’s both strong and stable.
I’ve built chairs with different types of frames, from square to rounded, and each has its own advantages. A square frame gives a clean, modern look, while a rounded frame can soften the appearance and make the chair feel more welcoming. I recommend using a router or a jigsaw to cut the corners if you're going for a rounded look. Once the frame is cut, I attach it to the legs using screws and wood glue, making sure everything is aligned properly.
A well-built chair can make all the difference in your dining experience.
Related: What is a table setting
Finishing Touches and Assembly
Once the table and chairs are built, it's time to apply the finish. I use a combination of wood stain and clear polyurethane to protect the wood and add a beautiful sheen. I apply at least two coats of stain and let each coat dry completely before applying the next. After the stain is dry, I apply at least two coats of polyurethane, which protects the wood from spills and scratches.
For the chairs, I’ve used a variety of finishes, from clear polyurethane to paint and even wood stain. I’ve found that a clear finish like polyurethane is the best option for chairs, as it protects the wood and enhances the natural grain. I always apply at least two coats of polyurethane, making sure each coat is evenly applied and allowed to dry completely.
After the finish is dry, it's time to assemble the table and chairs. I use a combination of screws and wood glue to attach the legs and frames, making sure everything is aligned properly. I always check the table and chairs for stability before use, making sure they don’t wobble or feel unstable. Once everything is assembled and finished, I let them sit for at least 24 hours before using them, which allows the finish to fully cure.
💰 Budget Build
🔧 Modern Industrial
🪵 Rustic Charm
🎨 Contemporary Color
| The mistake | Why it happens | The fix |
|---|---|---|
| Doing too much at once | Overwhelm kills consistency | Pick one small piece and repeat it for a week before adding more. |
| Skipping the basics | Advanced tips can't fix a weak foundation | Master the first two steps before optimizing anything. |
Kitchen Tables & Chairs
References
- Furniture - Acadian Culture in Maine (acim.umfk.edu)
- The Real Thing | National Museum of American History (americanhistory.si.edu)
- America | Princeton University Art Museum (artmuseum.princeton.edu)
- Apartments & Theme Houses | Augustana University (augie.edu)
Cite this guide
Customizing Dining Chairs (2026). Kitchen Tables & Chairs. https://chairscape.com/kitchen-tables-chairs/
Feel free to cite or share this guide.