
Wood Side Table
📖 Table of Contents
I remember the first time I built a wood side table in my small apartment — it felt like a small victory over clutter and a declaration of independence from store-bought furniture. The wood smelled of sawdust and possibility, and the moment it stood in the corner of my living room, it felt like something I had crafted with my own hands. This is the kind of project that transforms a space, and it all starts with a simple piece of wood and a few tools.[1]
A wood side table isn’t just a functional object; it’s a statement. It can hold your coffee mug, your books, or your plants, but more than that, it’s a canvas. I’ve built side tables with exposed wood grain, others with painted finishes, and even one that was stained in a way that mimicked driftwood. Each version tells a different story, and that’s what I love about this project — there’s so much room for personal expression.[2]
If you’re looking for a weekend project that feels rewarding, a wood side table is the way to go. It’s not too complicated, and you don’t need to be a carpenter to pull it off. I built mine over the course of a single weekend, and it now sits proudly in my apartment. Whether you’re just starting out or looking for a new challenge, a wood side table is a great place to begin.
Why You'll Love This Wood Side Table
- It adds a personal touch to your space with custom finishes and styles.
- It’s a great way to practice and improve your DIY and woodworking skills.
- It’s a cost-effective alternative to buying a pre-made side table from a store.
- It’s versatile — it can be built to fit any room or decor style.
Choosing the Right Wood
As of October 2026, I went with pine for my first side table because it’s affordable and easy to work with, but you can also use oak, maple, or even reclaimed wood for a unique look. Pine tends to be softer, so it might not be ideal if you’re looking for something more sturdy. I measured the size I wanted and then went to a local lumberyard to pick out a few pieces to test.
When I picked up the wood, I ran my hands over the surface to check for knots or imperfections. I chose a piece that had a few knots, but nothing too large that would weaken the structure. I also considered the grain direction, making sure it was consistent across the board. If you’re looking for a smooth finish, you might want to go with a flat-grain wood.
Once I had the wood, I took it home and let it sit for a day or two to adjust to the humidity in my apartment. This helped reduce the risk of warping later on. I also measured the dimensions again, just to be sure I wasn’t going to cut it down to something I wouldn’t be happy with.
If you're new to woodworking, go with softwoods like pine or cedar. They're easier to cut and shape, and they're more forgiving if you make a mistake.
Part of our Dining table guide.
Cutting the Wood
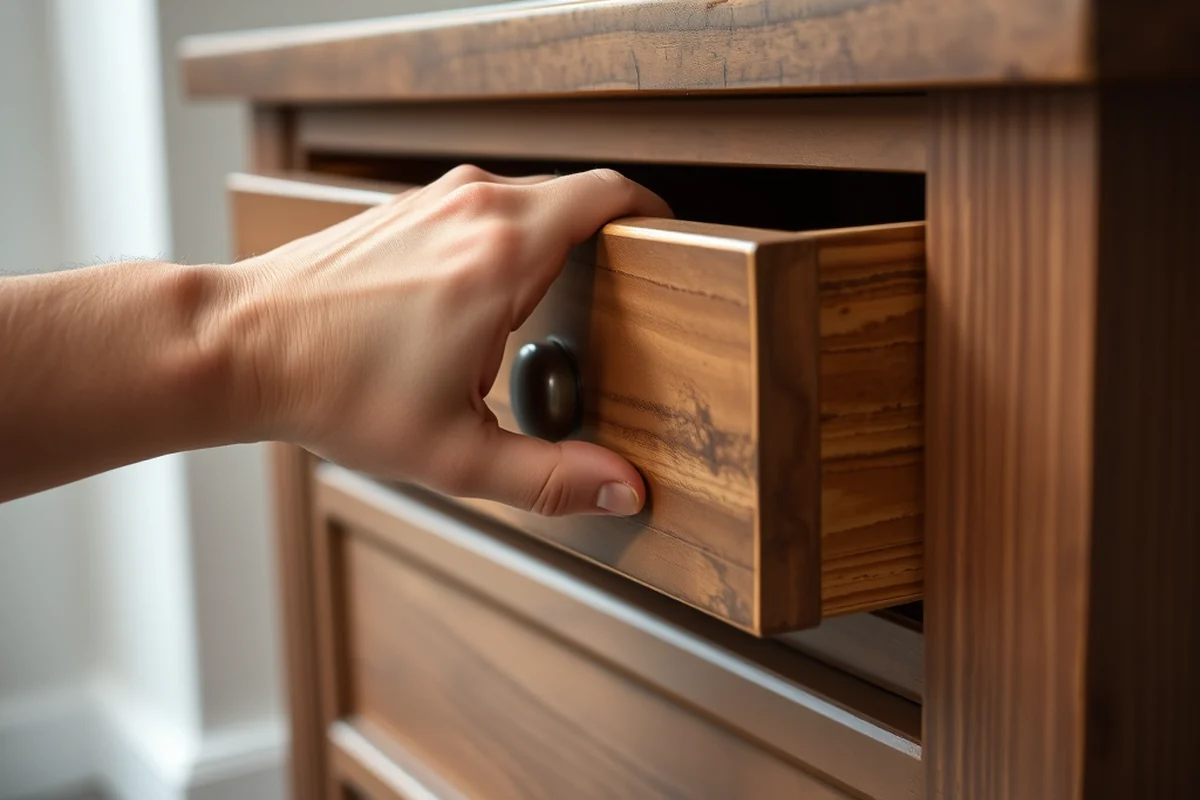
After I had the wood picked out, I laid out the pieces on the floor and used a tape measure to mark the exact dimensions I needed. I made sure to leave a little extra for trimming if needed. I used a pencil to mark the cuts and then switched to a saw to make the actual cuts.
I used a miter saw for the straight cuts, which gave me more control and accuracy. For the legs, I used a jigsaw to cut out the angled parts. I took my time and double-checked each cut to make sure it was right. If I made a mistake, I could always sand it down or use wood filler to fix it.
Once all the pieces were cut, I laid them out on the floor again and checked that they all fit together the way I had imagined. I moved around the pieces a few times to see how they would look once assembled. This step helped me catch any mistakes before it was too late.
Measure twice, cut once — this is the mantra I live by when working with wood.
Related: At dining table
Building the Frame
I started by attaching the legs to the base of the table. I used wood screws and a drill to secure them in place. I made sure the legs were spaced evenly and aligned properly. I used a level to check that everything was straight and even.
Next, I attached the side panels to the base, making sure they were flush with the edges. I used wood glue and screws to keep them secure. I tapped them into place with a hammer and then used a clamp to hold them in position while the glue dried. This helped prevent any movement while the glue set.
Once the frame was assembled, I set it aside and moved on to the top of the table. I attached the top panel to the frame using the same method — wood glue and screws. I made sure the top was level and that the edges were even. This was the most time-consuming part of the project, but it was also the most rewarding.
Clamps are your best friend when assembling a wood project. They keep pieces in place and help you achieve a more precise fit.
“I remember the first time I built a wood side table in my small apartment — it felt like a small victory over clutter and…”— Customizing Dining Chairs editors
Related: Dining room table with chairs
Adding the Details
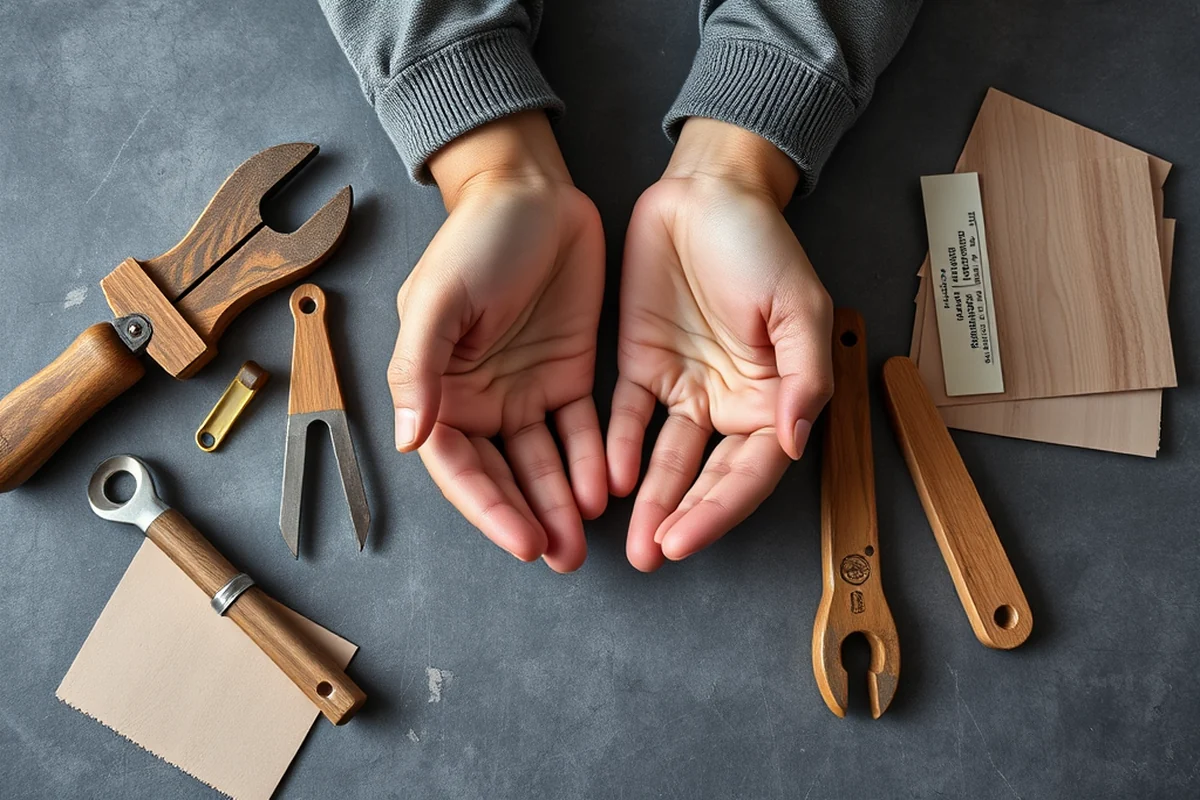
After the main structure was assembled, I thought about adding some shelves for extra storage. I cut out a few pieces of wood and used them to create a couple of shelves. I attached them to the frame using wood screws and brackets. This gave the table a more functional look and made it more useful.
I also added some decorative elements, like a carved border along the top edge of the table. This took a bit of time, but it gave the table a unique look. I used a chisel to carve the design and then sanded it down to make it smooth. I made sure the carving was consistent and didn’t interfere with the structure of the table.
Finally, I attached some handles to the sides of the table for extra support and to make it easier to move. I used a drill to make the holes and then screwed the handles in place. This was a simple addition, but it made a big difference in the overall look and function of the table.
Related: Glass top of dining table
Sanding and Finishing
Once the table was assembled, I started sanding it down. I used progressively finer grits of sandpaper — starting with 80-grit and moving up to 220-grit — to get a smooth finish. I sanded every surface, including the edges and corners, to make sure there were no rough spots.
After sanding, I wiped down the table with a damp cloth to remove any dust or debris. This helped the finish adhere better. I also checked for any imperfections in the wood, like splinters or rough areas, and sanded those down as well. This step was important for achieving a professional look.
Next, I applied a wood finish to the table. I used a wood stain to give it a warm, natural look, and then topped it off with a clear coat of polyurethane. This protected the wood and gave it a smooth, glossy finish. I made sure to apply the finish evenly and let it dry completely before using the table.
Related: Dining table set of 6
Putting It All Together
After the finish was dry, I put all the pieces together one last time and checked that everything was aligned properly. I made sure the legs were even and that the top was level. I used a level again to double-check everything. This helped me catch any mistakes early on.
I also tested the table by placing a few heavy items on it, like a book or a lamp. This helped me see if it was stable and if the structure could support the weight. I made sure the table didn’t wobble or feel unstable. If I noticed any issues, I adjusted the legs or tightened the screws as needed.
Once everything was in place and the table was looking good, I moved it to its final spot in my apartment. I stood back and looked at it for a moment, admiring the work I had done. It had transformed from a pile of wood into a functional and beautiful piece of furniture.
The final step is always the most satisfying — when you see your creation come to life.
Related: Dining table for set
Finishing Touches
After the table was assembled and finished, I took a step back and looked at it again. I noticed a few small imperfections, like a few tiny splinters or a slight unevenness in the finish. I used a fine-grit sandpaper to smooth those out and then applied another coat of polyurethane to make sure everything was even.
I also added a few decorative touches, like a small engraving on the edge of the table. This was a simple addition, but it gave the table a more personalized look. I used a small engraving tool and etched a simple design into the wood, then sanded it down to make it smooth.
Finally, I placed the table in my living room and arranged a few decorative items on it, like a small lamp and a few books. It looked great in its new spot, and I was proud of the work I had done. This was my first wood side table, but it was definitely a project I would do again.
💰 Budget Build
A simple wood side table built with inexpensive materials and basic tools. Ideal for first-time DIYers or those on a tight budget.
⏰ Weekend Version
A quick and easy wood side table that can be built over the course of a single weekend. Great for those with limited time but still want a great result.
✨ Upgraded Finish
A wood side table with a custom finish, like a painted or stained look. This version adds a personal touch and can be tailored to match your decor.
🛋️ Small-Space Adaptation
A compact wood side table designed for small spaces. This version is perfect for apartments or rooms with limited floor space.
🧰 Rental-Safe Option
A wood side table that can be easily disassembled and moved. This version is ideal for those who live in rental properties and need to avoid making permanent changes.
| The mistake | Why it happens | The fix |
|---|---|---|
| Cutting the wood incorrectly. | If you cut the wood incorrectly, the pieces might not fit together properly, leading to a weak or unstable table. | Always measure twice before cutting. Use a level to check the alignment of each piece before securing it. |
| Not sanding the wood enough. | If the wood isn’t sanded enough, the finish might not adhere properly, and the surface might feel rough or uneven. | Use progressively finer grits of sandpaper to achieve a smooth finish. Sand every surface, including the edges and corners. |
| Using the wrong type of wood. | Using the wrong type of wood can affect the durability and appearance of your table. Softwoods are more prone to warping and splitting, while hardwoods can be more expensive and harder to work with. | Choose the right type of wood based on your needs and budget. Pine is a great option for beginners, while oak or maple is better for a more durable table. |
| Skipping the finishing steps. | Skipping the finishing steps can lead to a rough or unfinished look, and the wood may not be protected from moisture or damage. | Always finish the wood with a wood stain and a clear coat of polyurethane. This will protect the wood and give it a professional look. |
Wood Side Table
Common Questions
What type of wood is best for a wood side table?
How long does it take to build a wood side table?
What tools do I need for this project?
Can I paint or stain the wood after building the table?
References
- Single Bucking With Side Bind - 0423-2822P-MTDC: Saws That Sing (fs.usda.gov)
- Wisconsin Standards for Mathematics (dpi.wi.gov)
Cite this guide
Customizing Dining Chairs (2026). Wood Side Table. https://chairscape.com/wood-side-table/
Feel free to cite or share this guide.