
How To Upholstered Dining Room Chairs
📖 Table of Contents
When I first took on the task of upholstering my dining room chairs, I was intimidated by the thought of handling fabric and foam like a professional. But after a weekend spent cutting, stretching, and stitching, I ended up with a set of chairs that looked like they’d been custom-made by an interior designer. Upholstering dining chairs is more accessible than you might think, and the transformation is worth the effort. I remember the first time I sat in my newly upholstered chair—it felt like I was sitting on a cloud. The chair no longer looked like it had been left out in the rain for a decade.[2]
The process of upholstering dining chairs isn’t just about aesthetics; it’s a way to breathe new life into old furniture and make it uniquely yours. Whether you’re trying to match a new decor scheme or simply want a more comfortable place to eat, this project can be both rewarding and cost-effective. I’ve found that with the right materials and tools, even someone with little to no experience can walk away with a finished product that looks and feels like a professional job.[3]
One of the best parts of this project is how much it can be tailored to your specific style. I chose a bold, patterned fabric to make a statement in my dining room, but others might prefer something more neutral and timeless. Whatever your preference, the steps are the same, and the satisfaction of seeing your hard work come to life is unmatched. So, if you’re ready to transform your dining space and make your own furniture, read on for a complete guide to upholstering dining room chairs.[4]
Why You'll Love This Project
- Transform old chairs into new, custom pieces with minimal effort
- Add comfort and style to your dining space without buying new furniture
- Save money by upcycling instead of purchasing new chairs
- Enjoy the satisfaction of a completed DIY project that looks professional
Gather the Right Materials and Tools
As of September 2026, the first step in any upholstery project is gathering the right materials. I used 3/4-inch high-density foam for cushioning and a durable fabric that could withstand the wear and tear of daily use. The foam I chose was affordable and easy to work with, and I bought about four yards of fabric to make sure I had enough for all four chairs. You’ll also need a staple gun, a pair of sharp scissors, and a staple remover to take off any mistakes you make along the way.
In addition to these basics, I found that having a few extra tools on hand made the process easier. A utility knife helped me cut the foam precisely, and a seam ripper came in handy when I needed to adjust the fabric fit. I also invested in a small can of fabric spray adhesive to hold the fabric in place temporarily while I worked. This made the process much smoother and helped me avoid wrinkles in the fabric.
One of the most important parts of this step was making sure I had enough fabric. I measured each seat and backrest carefully and added an extra 10% to my purchase just to be safe. This way, I didn’t have to rush the process or end up running short, which would have forced me to make hasty decisions that could have affected the finished look.[1]
Spray adhesive is a game-changer when working with fabric. It helps you position the fabric correctly before stapling it, reducing the chance of wrinkles and misalignment.
Prepare the Chairs for Upholstery
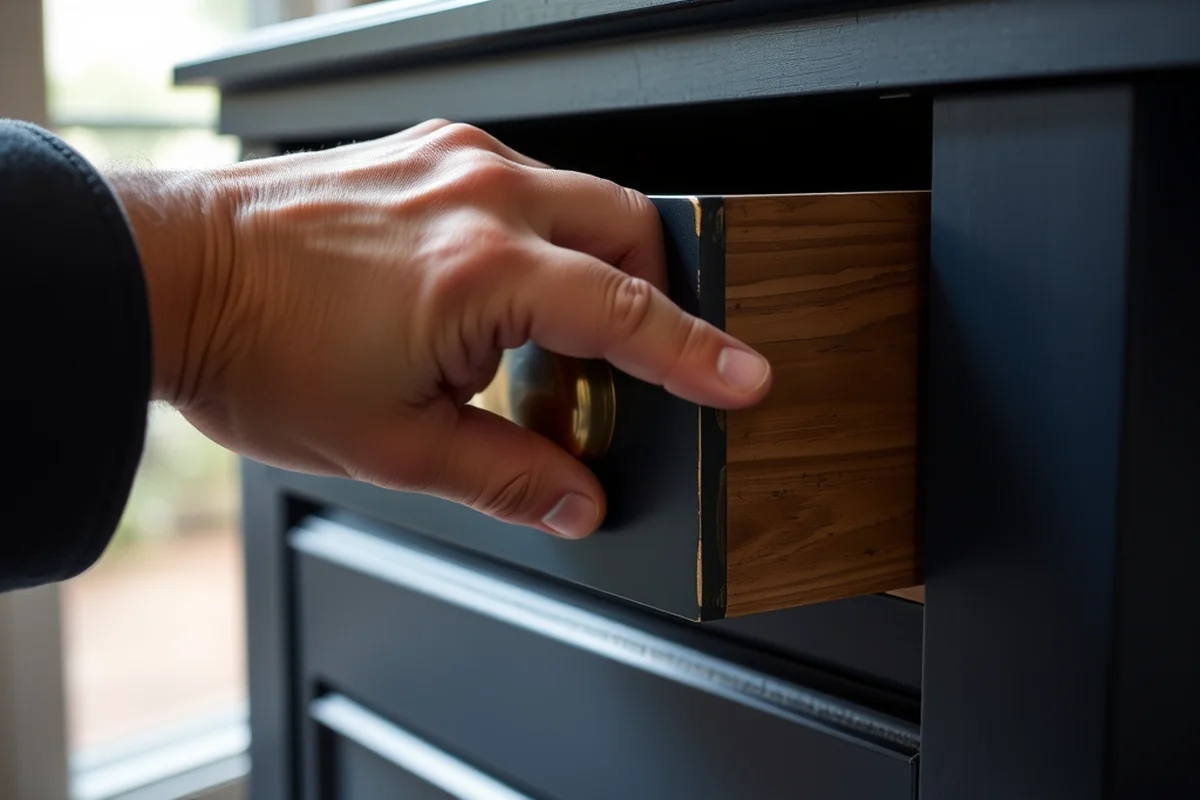
Removing the old fabric was the first major task. I used a staple remover to carefully pop out each staple, being careful not to damage the frame or the padding underneath. Once the staples were out, I pulled the fabric down and set it aside. I noticed that some of the padding had started to sag, so I took the opportunity to replace it entirely.
Replacing the padding was an important step. I cut the new foam to fit each section of the chair—seat, backrest, and arms—using a ruler and a utility knife. I made sure the foam was snug but not too tight, which would cause the fabric to stretch unevenly later. After replacing the padding, I gave the frame a quick clean with a damp cloth to remove any dust or old adhesive.
Once the frame was clean and the new padding was in place, I took a step back and examined the chairs. They looked like a fresh start, and I felt more confident that the next steps would be easier now that the foundation was solid. This preparation was crucial to ensuring the final result looked neat and professional.
A clean frame is the foundation of a beautiful chair.
Related: Why are dining chairs with arms called carvers
Related: I need dining chairs
Related: Best budget office chairs
Cut and Position the Fabric
Cutting the fabric was one of the most precise parts of the job. I measured each section of the chair carefully and cut the fabric slightly larger than needed to allow for overlap when wrapping around the frame. I used a ruler and a fabric marker to mark the edges, which helped me stay on track as I worked.
When positioning the fabric, I started with the seat, laying it over the new foam and padding. I made sure the fabric was centered and aligned with the edges of the seat. I used the fabric spray adhesive to hold the fabric in place temporarily while I worked. This helped me avoid wrinkles and ensured the fabric was smooth and even.
As I moved to the backrest and arms, I repeated the same process. I took my time adjusting the fabric as I went, making sure it was tight but not stretched too much. The key was to maintain even tension throughout, which would make the final result look polished and professional.
Always measure the fabric before cutting. Even a small miscalculation can lead to a major issue later on. Taking your time here will save you from having to redo sections.
“When I first took on the task of upholstering my dining room chairs, I was intimidated by the thought of handling fabric and foam like…”— Customizing Dining Chairs editors
Related: Dining chairs budget
Related: Dining chairs ivory
Stapling the Fabric to the Frame

Stapling the fabric was the most labor-intensive part of the job, but it was also the most satisfying. I started by laying the fabric flat over the seat and backrest, making sure it was centered and not twisted. I used the staple gun to secure the edges, beginning at the bottom and working my way up. I made sure to leave about 1/2 inch of fabric overhang on each edge.
I worked slowly, stapling around the edges of each section and making sure the fabric was taut but not stretched. I used a small piece of wood to press the fabric against the frame as I stapled, which helped create a flat and even surface. I also took care to keep the staples evenly spaced, which made the final look more professional.
After I had finished stapling the seat and backrest, I stepped back and looked at the chair. It was already starting to look like something I could be proud of. This step was crucial to ensuring the fabric stayed in place and didn’t sag over time, and I felt confident that I had done it right.
Trimming and Finishing the Edges
Once the fabric was secured, I moved on to trimming the edges to create a clean finish. I used the utility knife and a ruler to cut away the excess fabric, making sure to leave a slight overhang for the final step. I trimmed each edge carefully, watching out for any areas where the fabric might be uneven or stretched.
After trimming, I used a small piece of wood to press the fabric into the corners of the frame. This helped the fabric settle properly and ensured that the edges were smooth and even. I also checked for any wrinkles or bubbles in the fabric and adjusted them as needed.
The final step in this section was using the staple gun again to secure the trimmed edges. I made sure each staple was placed evenly and that the fabric was pulled tightly against the frame. Once this was done, the chair looked like it had been professionally finished.
Testing and Adjusting the Fit
After I finished the first chair, I sat down on it to test the comfort and fit. The foam provided a good amount of support, and the fabric was snug but not too tight. I noticed that the backrest felt slightly loose in the middle, so I took it apart and adjusted the foam and fabric to correct the issue.
I made a few small adjustments, adding a bit more tension to the backrest and re-stapling the fabric to make sure it was even. I also tested the chair for durability, pushing on the seat and backrest to see if they held up under pressure. I was happy to see that they didn’t sag or shift.
After making these adjustments, I felt more confident that the chair would hold up over time. This step was important because it allowed me to catch any issues before they became bigger problems later on. I felt like I had truly finished the project and could now move on to the next chair.
Test before you finish—it’s the only way to know if it’s right.
Repeating the Process for All Chairs
After finishing the first chair, I moved on to the second and third chairs, repeating the same steps. I used the same foam and fabric to ensure consistency in the look and feel of each chair. I also took extra care to make sure each chair was aligned the same way to avoid any discrepancies in the final set.
As I worked on the remaining chairs, I noticed that the process became faster and more efficient. I had already learned the steps, so I didn’t have to refer back to my notes as much. This made the project go more smoothly, and I was able to complete all four chairs in just over a weekend.
By the time I was done with the last chair, I had a complete set of dining chairs that looked like they had been custom-made. The transformation was incredible, and I was thrilled with the results. This step was the final piece of the puzzle, and it made the entire project feel like a complete success.
💰 Budget Build
Use affordable foam and fabric to create a functional and stylish set of chairs without spending a lot of money.
⏰ Weekend Version
Finish the project in just one weekend by focusing on the essential steps and skipping any non-essential details.
✨ Upgraded Finish
Add custom padding, decorative trim, and high-quality fabric to create a luxurious and personalized look.
🛋️ Small-Space Adaptation
Use smaller chairs or modify the design to suit a compact dining area or living space.
🏠 Rental-Safe Option
Choose removable fabric and easy-to-clean materials to make the project suitable for rental spaces or temporary living arrangements.
| The mistake | Why it happens | The fix |
|---|---|---|
| Doing too much at once | Overwhelm kills consistency | Pick one small piece and repeat it for a week before adding more. |
| Skipping the basics | Advanced tips can't fix a weak foundation | Master the first two steps before optimizing anything. |
How To Upholstered Dining Room Chairs
Common Questions
Can I use any type of fabric for upholstering chairs?
Do I need to replace the padding when upholstering chairs?
How long does it take to upholster a dining chair?
What tools are essential for this project?
References
- Ravioli Chair - Greg Lynn FORM. - The Art Institute of Chicago (artic.edu)
- Upholsterers | Arvada, CO (arvadaco.gov)
- Prize 2 : Annual Waterfalls Chinese Auction (auction.nirc.edu)
- Facilities & Furnishings - Residential Life - Boston College (bc.edu)
Cite this guide
Customizing Dining Chairs (2026). How To Upholstered Dining Room Chairs. https://chairscape.com/how-to-upholstered-dining-room-chairs/
Feel free to cite or share this guide.