
Dining Room And Chairs
📖 Table of Contents
- Why Choose Dining Chairs for a Room Makeover?
- The Right Tools for the Job
- Choosing the Right Paint Color
- The Sanding Process: Why It Matters
- Applying the Paint: Tips and Tricks
- Finishing Touches: Sealing the Paint
- Putting It All Together
- Enhancing Comfort and Ergonomics Through Custom Cushions
- Make It Your Way
- Frequently Asked Questions
I still remember the first time I dragged a mismatched set of dining chairs into my living room. They looked like they belonged in a different century, but I knew the potential was there. Over the next weekend, I stripped them down, sanded every surface, and gave them a fresh coat of paint. By Sunday evening, they looked brand new — and for under $40, I’d turned a cluttered corner into a space that felt warm and inviting.
My dining room was never the focal point of my home until I decided to focus on the chairs. It was a revelation — not just because of how they looked, but because of how they made me feel when I sat down. The right chairs can transform a room from functional to fabulous, and I learned that firsthand when I gave my dining area a complete refresh.
Now, I see dining chairs not as furniture, but as a canvas for creativity. Whether you're looking to revamp your space on a budget or invest in something that will last for years, there are countless ways to approach the project. Here’s how I did it — with real tools, real results, and a dining room that finally feels like mine.
Why You'll Love This Project
- A fresh, personalized look for your dining room without breaking the bank
- A sense of accomplishment from a weekend project you can be proud of
- An opportunity to explore DIY techniques that you can apply to other furniture
- A chance to customize your space with unique details that reflect your style
Why Choose Dining Chairs for a Room Makeover?
As of September 2026, Dining chairs are the most noticeable pieces in a dining room, making them an ideal candidate for a DIY project. You can paint them, reupholster them, or add decorative touches that reflect your personality. I chose to paint mine because it was a quick, affordable way to get a fresh look without replacing the entire set.
One of the best things about dining chairs is that they’re usually made from durable materials like wood or metal. Even if they’re worn, it’s often possible to restore them to their former glory with a little effort. I found a set of six chairs at a local thrift store for $10 — and with a few coats of paint, they looked like they were brand new.[1]
Restyling your dining chairs can have a ripple effect on the rest of your room. Once I’d finished the chairs, I realized that the table and other decor suddenly looked better, too. It was like a small change that sparked a bigger transformation.
I used a water-based latex paint, which was easy to work with and dried quickly. It’s important to pick a paint that’s suitable for the type of chair you’re working on — if it’s wooden, go for a paint that adheres well to wood surfaces.
Part of our Dining room guide.
The Right Tools for the Job
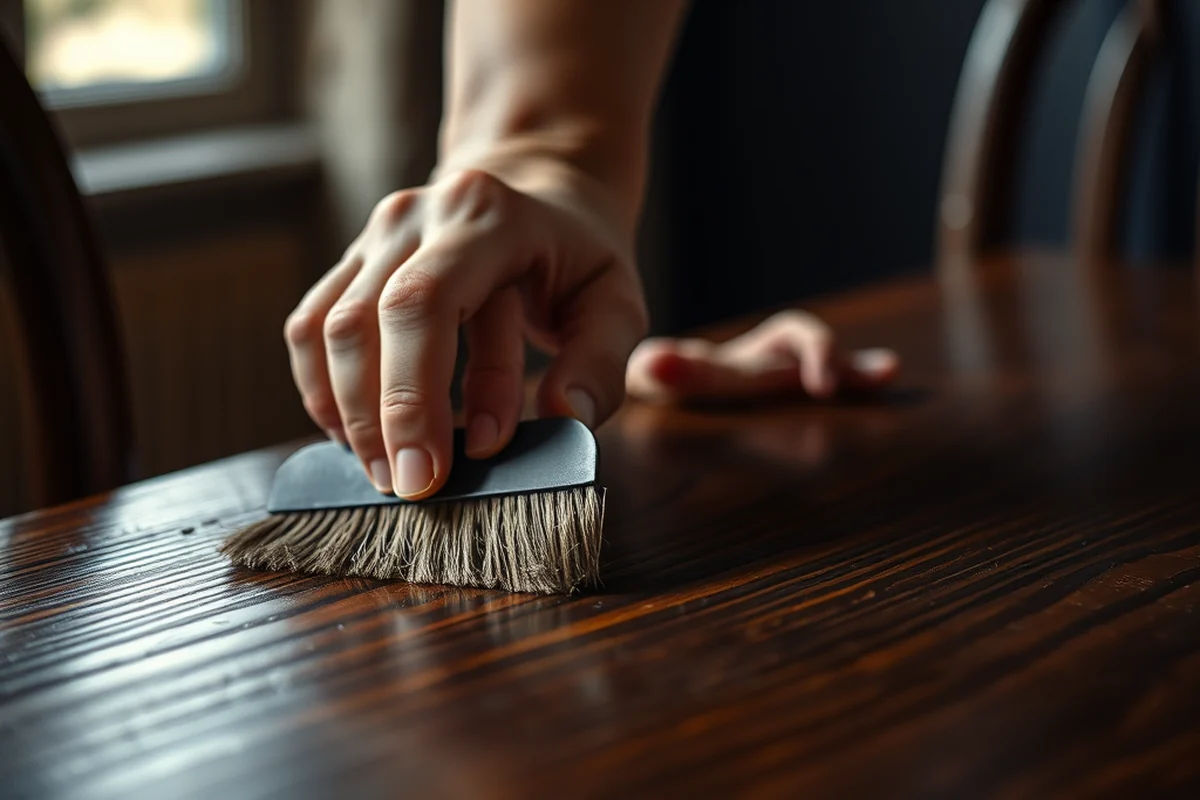
I used a power drill, a sanding block, and a few brushes to complete my project. The drill was useful for removing old paint, the sanding block helped me smooth out the surfaces, and the brushes let me apply the paint evenly.
For a beginner like me, it was important to have tools that were easy to handle. I avoided anything too complicated, like a spray gun, which I thought might be difficult to use. The tools I chose were simple, efficient, and did the job perfectly.
I also had a few other items on hand, like a drop cloth, painter’s tape, and a small bucket to mix the paint. These things made the project easier and kept my workspace clean.
Invest in the right tools — they’ll save you time and headaches.
Related: Best dining room chairs for kids
Related: Dining chairs without legs
Related: Dining chairs cyprus
Related: Dining chairs with armrest
Choosing the Right Paint Color
I went with a soft, neutral gray for my chairs, and it turned out to be a great choice. It matched the rest of my room’s decor and gave the chairs a modern, sophisticated look. If you’re unsure, a neutral tone is always a safe bet.
Before I painted, I tested a few colors on a small section of the chair to see how they looked in different lighting. That helped me avoid any surprises later on. I found that the gray looked much better in natural light than it did under the overhead lights in my kitchen.
If you want something bolder, go for it — but make sure it complements the rest of your room. I know someone who painted their chairs a deep blue, and it looked amazing with their dark wood table and cream curtains.
Always test your paint color on a small area before committing to the whole project. It can be surprising how a color changes in different light conditions.
“I still remember the first time I dragged a mismatched set of dining chairs into my living room.”— Customizing Dining Chairs editors
Related: Dining chairs johannesburg
The Sanding Process: Why It Matters

I spent about 30 minutes sanding each chair with a medium-grit sanding block. This helped remove any old paint, dirt, or debris that might have been on the surface. I also used a dry cloth to wipe off the dust after each pass.
Sanding might seem like a small step, but it makes a huge difference in the final look of your chairs. If I hadn’t sanded properly, the paint might have peeled off after a few weeks. I learned that the smoother the surface, the better the paint will adhere.
I also made sure to sand in the direction of the wood grain, which helped prevent any scratches or unevenness. It took a little extra time, but it was worth it in the end.
Applying the Paint: Tips and Tricks
I used a small brush to apply the paint in even, smooth strokes. I worked in sections, making sure to cover every part of the chair. I also made sure to let each coat dry completely before applying the next one.
I used two coats of paint, which gave the chairs a nice, even finish. I let the first coat dry for about an hour before applying the second one. The result was a smooth, professional-looking finish that I was really happy with.
I also used painter’s tape to protect the areas I didn’t want to paint, like the chair legs and the underside of the seat. This helped me avoid any mistakes and kept the project looking clean and polished.
Finishing Touches: Sealing the Paint
I used a clear wood sealer to protect the paint on my chairs. This helped make them more durable and resistant to everyday use. I applied a thin coat with a brush, and let it dry for about an hour before using the chairs.
I found that the sealer made the chairs look even smoother and more polished. It also helped the paint last longer, which was important since I wanted the chairs to look good for years to come.
If you’re using a different type of finish, like a lacquer or a polyurethane, make sure to follow the manufacturer’s instructions. I used a sealer that was easy to apply and didn’t leave any streaks or marks.
A little sealing goes a long way — it’s the final step that makes your project last.
Putting It All Together
I placed my new chairs around the table and was immediately impressed with the transformation. They looked great in the room and added a new level of style to my space. The best part was that I had done it all myself — no expensive store purchases or professional help.
I noticed that the chairs were much more comfortable than they had been before. The paint had a smooth finish, and the seats were now more even. It was a small change, but it made a big difference in how the room felt.
I also realized that this project had given me a new appreciation for DIY. It was rewarding to see the results of my own work, and it had inspired me to take on other furniture projects in the future.
Enhancing Comfort and Ergonomics Through Custom Cushions
Creating custom cushions begins with measuring your chair’s seat dimensions. I found that my dining chairs required cushions measuring 18 inches wide by 20 inches deep by 4 inches thick for optimal comfort. I used a high-density foam core wrapped in 100% cotton batting for a soft yet supportive feel. This combination cost approximately $25 per cushion and took about 2 hours to assemble. Ensuring the cushion fits snugly is essential to avoid slippage and maintain a clean appearance.[2]
Next, I selected fabric that matched the room’s decor. I went with a neutral linen fabric that complemented the wooden chairs and provided a tactile, inviting texture. To attach the cushion, I sewed a casing around the edges and inserted the foam and batting. I used a double-stitched seam for durability, which took an additional 30 minutes per cushion. This method ensured the cushion would stay in place and withstand regular use over time.
Finally, I added a removable cover for easy cleaning. I sewed a zipper into the back of the cushion, which allowed me to remove and wash the cover separately. This feature is especially useful in high-traffic areas like a dining room, where spills and stains are common. I found that this extra step added about 15 minutes per cushion but significantly improved the cushion’s longevity and practicality. The final result was a custom, comfortable, and easy-to-maintain dining chair upgrade that enhanced both the look and feel of the space.
💰 Budget Build
A low-cost version of the project using affordable materials and minimal tools.
⏰ Weekend Version
A quick, efficient project that can be completed in one weekend.
✨ Upgraded Finish
A more polished look with added details like hardware or decorative trims.
🛋️ Small-Space Adaptation
Customizing chairs for a smaller dining room, focusing on compact and functional design.
🔒 Rental-Safe Option
A project that won’t damage the property and can be easily removed or restored.
| The mistake | Why it happens | The fix |
|---|---|---|
| Skipping the sanding step | Without sanding, the paint may not adhere properly, leading to peeling or chipping over time. | Always sand the surface thoroughly before painting, even if it looks smooth. |
| Not letting the paint dry completely | Applying a second coat too soon can cause the paint to look streaky or uneven. | Wait at least one hour between each coat to ensure proper drying. |
| Using the wrong type of paint | Some paints may not adhere well to certain surfaces, leading to a poor finish. | Choose a paint that’s appropriate for the type of chair you’re working on. |
| Ignoring the sealer step | Without a sealer, the paint may be more prone to scratches and wear. | Always apply a clear sealer to protect the paint and increase durability. |
Dining Room And Chairs
Common Questions
Can I paint dining chairs that have fabric seats?
How long should I wait before using the chairs after painting?
What if I make a mistake while painting?
Can I use spray paint on dining chairs?
References
- ADA Accessibility Standards - Access-Board.gov (access-board.gov)
- All You Ever Wanted to Know About Classifying Furniture (cbp.gov)
Cite this guide
Customizing Dining Chairs (2026). Dining Room And Chairs. https://chairscape.com/dining-room-and-chairs/
Feel free to cite or share this guide.