
Reupholster Dining Chairs Diy
📖 Table of Contents
I remember the first time I sat down on a reupholstered dining chair — the softness of the fabric, the way the wood frame felt like it had been restored to its former glory. The quiet satisfaction of knowing I had done it myself. Reupholstering dining chairs DIY is not just about saving money; it's about transforming your space with your own hands and imagination. Whether you’re updating an old set or starting from scratch, this project offers a unique blend of creativity and craftsmanship that can’t be found in a store.
Over the years, I’ve reupholstered chairs of every shape and size, from sleek modern designs to rustic farmhouse tables. The process is more accessible than many people think, and the results are worth the effort. With a few tools, some fabric, and a little patience, you can breathe new life into your dining area without breaking the bank. It’s a project that fits well into a weekend or even a few afternoons, depending on your pace and the complexity of the design.
What makes reupholstering dining chairs DIY especially rewarding is the personal touch it adds. You can choose fabrics that match your home’s decor, add unique patterns, or even experiment with bold colors. It’s a way to express your style and create a space that feels truly yours. As I’ve discovered, the real magic happens when the chair feels just right — comfortable, functional, and beautiful, all at once.
Why You'll Love This DIY Project
- Customize your space with fabric choices that reflect your personality
- Save hundreds of dollars compared to buying new chairs
- Enjoy the satisfaction of a completed project made by your own hands
- Transform old or damaged chairs into stylish, functional pieces
What You’ll Need to Get Started
As of August 2026, First, choose the right fabric. Look for something durable and easy to work with — I’ve found that 100% cotton or microfiber works well for most dining chairs. You’ll also need foam padding, a staple gun, a hammer, and some wood screws if you’re replacing the original hardware.[1]
Don’t forget to measure your chairs accurately. I once miscalculated the fabric needed and had to go back to the store, which cost me both time and money. Always buy a little extra — about 10% more than your calculations show — to allow for mistakes and trimming.[2]
Lastly, make sure you have a clean, flat workspace. I like to use an old table or even the floor, covered with a drop cloth. It’s important to be organized and prepared — this is where the magic begins.
Always take precise measurements and double-check them. I’ve learned that even a small error in fabric length can lead to an uneven final look.
Part of our Chairs home guide.
Preparing the Chair for Reupholstering
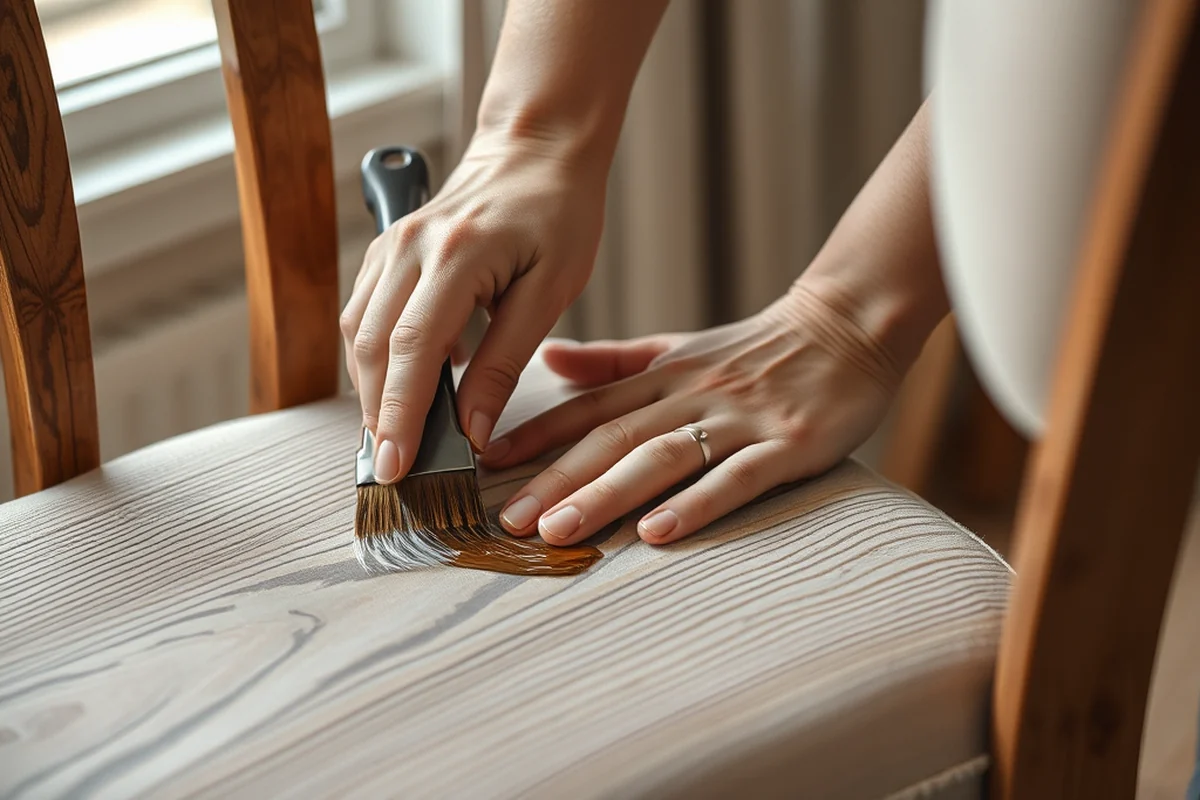
Begin by removing the old fabric and padding. If your chair has a removable cover, take that off first. If it's stitched on, you may need to use a seam ripper or carefully cut around the seams. I’ve found that using a utility knife to cut through the old fabric is faster, though it does require a bit more caution.
Once the fabric is off, inspect the frame and padding. If the padding is worn out or compressed, replace it with new foam. I prefer using 3/4-inch thick foam for dining chairs — it’s firm enough to support the weight but still comfortable.
After replacing the padding, make sure the frame is clean and free of any old adhesive. I always use a damp cloth and mild soap to wipe it down before proceeding.
A clean frame is the foundation of a beautiful reupholstered chair.
Related: Dining chairs auckland
Related: Dining chairs cheapest
Related: Can dining chairs
Related: Dining chairs affordable
Related: Dining chairs ikea canada
Choosing the Right Fabric and Color
When I started, I was tempted to go for something too fancy or patterned. But I quickly learned that the fabric needs to be durable enough to handle everyday use. I now look for fabrics with a tight weave and a high thread count — these are less likely to pill or tear.
Color is another important consideration. I’ve found that neutral tones like beige, gray, and navy are versatile and easy to match with other furniture. However, if you want to make a bold statement, don’t be afraid to go for a bright color or a unique pattern.
Always test the fabric on a small section of the chair before cutting. I’ve made the mistake of buying a fabric that looked great in the store but didn’t match the wood grain once applied. A little test patch can save you from a major disappointment.
Always test the fabric on a small part of the chair before cutting. This can prevent costly mistakes and ensure the final look is exactly what you want.
“I remember the first time I sat down on a reupholstered dining chair — the softness of the fabric, the way the wood frame felt…”— Customizing Dining Chairs editors
Cutting and Attaching the Fabric
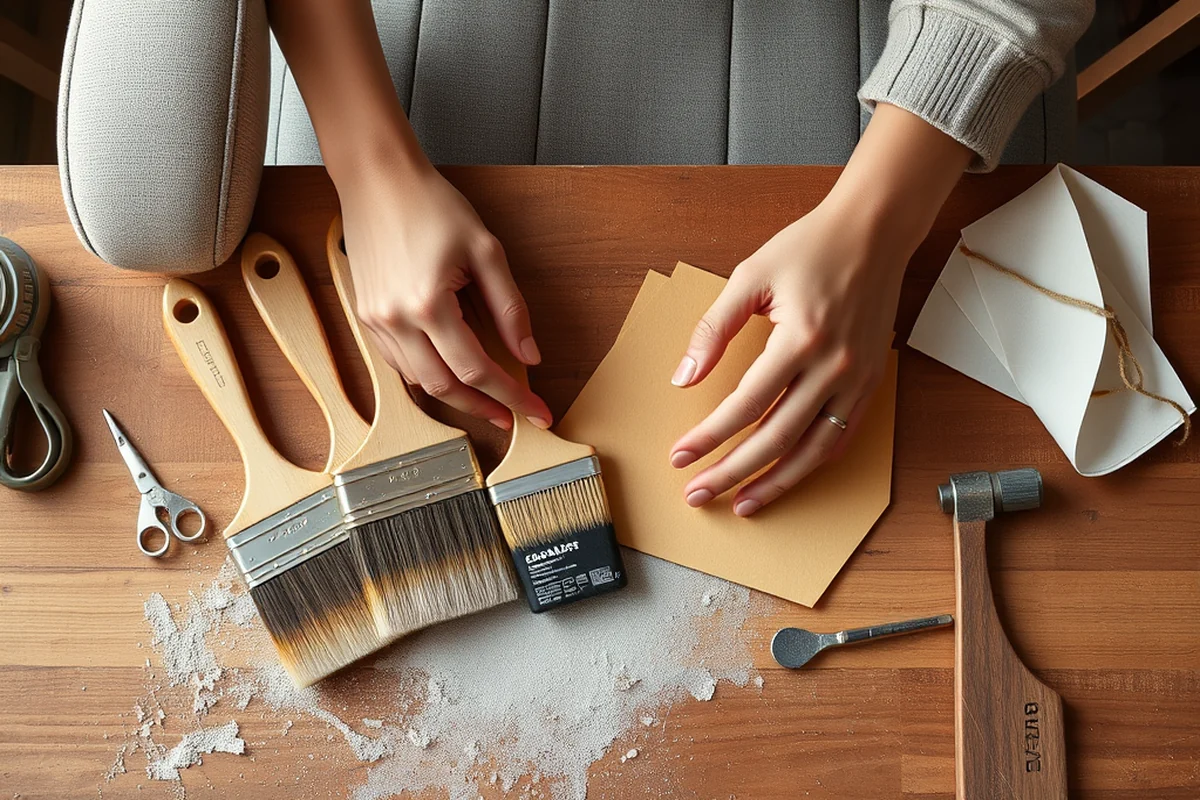
Start by cutting the fabric to fit the chair. I always cut slightly larger than needed and then trim it down as I go. This gives me room for error and makes the process more forgiving. Use sharp scissors to ensure clean cuts — dull blades can cause frayed edges.
Next, attach the fabric to the chair using a staple gun. I find that starting at the bottom of the chair and working my way up is the most efficient method. Be sure to pull the fabric taut as you staple it — this prevents wrinkles and ensures a smooth finish.
Don’t forget to staple around the edges and into the corners. I’ve made the mistake of skipping some spots and ended up with a loose, uneven look. Taking the time to secure every corner and edge is worth it in the end.
Adding the Final Touches
Once the fabric is fully secured, trim any excess fabric around the edges. Be careful not to cut too close — I’ve had fabric come loose because I trimmed it too short. Use a sharp pair of scissors and take your time.
If you’re using a fabric that doesn’t have a tight weave, consider using a fabric protector spray. I’ve used this on my chairs and found that it helps prevent staining and makes cleaning much easier. It’s a small step that can have a big impact.
Finally, inspect the chair from all angles. Make sure the fabric is smooth, there are no wrinkles, and the staples are hidden. I always take a step back and look at the chair from a distance — it helps me spot any imperfections I might have missed.
Finishing the Project with Care
After attaching the fabric and trimming the excess, I like to give the chair a final inspection. Check for any loose staples or uneven sections. I’ve found that a quick pass with a hand sander or a small file can help smooth out any rough edges or staples that are visible.
If you’ve used a fabric protector spray, now is the time to apply it. This step is optional but highly recommended, especially if you’re using a fabric that’s prone to staining. I’ve used it on my chairs and noticed a significant improvement in how easy they are to clean.[3]
Once everything is in place, sit down and test the chair. It should feel comfortable and stable. If you notice any discomfort or instability, take the time to fix it before moving the chair to its final spot.
A well-finished chair is a chair that will last for years.
Maintaining Your Reupholstered Chairs
Regular cleaning is essential. I recommend using a soft cloth or a vacuum with a brush attachment to remove dust and debris. For fabric that’s prone to stains, I use a mild soap and water solution — always spot testing first.[4]
Avoid using harsh chemicals or abrasive cleaners, as they can damage the fabric over time. I’ve found that a few drops of fabric cleaner and a damp cloth work well for most stains. Never soak the fabric — this can cause it to shrink or warp.
Finally, rotate the cushions and check the frame regularly. This helps distribute wear evenly and prevents any one area from becoming too worn out. I’ve noticed that doing this every few months makes a big difference in how long the chairs last.
💰 Budget Build
A no-frills approach using affordable materials and basic tools — perfect for those on a tight budget.
⏰ Weekend Version
A quick and efficient project that can be completed in a single day with minimal setup.
✨ Upgraded Finish
A more detailed version with premium fabrics, decorative trims, and custom detailing for a luxurious look.
🛋️ Small-Space Adaptation
A streamlined version of the project designed for compact spaces or multi-functional furniture.
🏡 Rental-Safe Option
A project that’s easy to disassemble and relocate — ideal for those who move frequently or rent.
| The mistake | Why it happens | The fix |
|---|---|---|
| Cutting the fabric too short | This can lead to a loose fit or uneven look once the fabric is attached. | Always cut the fabric slightly larger than needed and trim it down after attaching it to the chair. |
| Not securing the fabric properly | Leaving the fabric loose can cause it to sag or come loose over time. | Make sure to staple the fabric securely around all edges and corners, pulling it taut as you go. |
| Using the wrong type of fabric | Some fabrics are too thin or stretchy, which can lead to a poor fit or damage over time. | Choose a durable fabric with a tight weave and test it on a small section of the chair before cutting. |
| Skipping the padding replacement | Old or worn-out padding can affect the comfort and stability of the chair. | Always inspect the padding and replace it if it’s damaged or compressed. |
Reupholster Dining Chairs Diy
Common Questions
How long does it take to reupholster a dining chair?
What type of fabric is best for dining chairs?
Do I need any special tools?
Can I reupholster chairs without replacing the padding?
Cite this guide
Customizing Dining Chairs (2026). Reupholster Dining Chairs Diy. https://chairscape.com/reupholster-dining-chairs-diy/
Feel free to cite or share this guide.
References
- Factors affecting occupational utilization - Bureau of Labor Statistics (bls.gov)
- Upholstery Shop | State of Rhode Island Department of Corrections (correctionalindustries.doc.ri.gov)
- Correctional Retail Showroom | NH Department of Corrections (corrections.nh.gov)
- Re-validated January 29, 201 - GSA (gsa.gov)